To install a fence, start by confirming your property lines using a surveyor or local records. Next, calculate the materials needed and budget for costs, including permits and labor. Check local regulations to ensure compliance, and choose materials that suit your design preferences. Gather the necessary tools and mark where your posts will go. Set the posts in concrete for stability, attach the panels securely, and install gates with strong hardware. Follow these steps for a successful fence installation.
Key Takeaways
- Confirm your property lines by hiring a licensed land surveyor to avoid disputes later on.
- Estimate your budget by calculating material costs, labor, and permit fees. Don't forget to set aside a little extra for unexpected expenses.
- Check local regulations for allowable fence height and materials. Make sure to obtain any necessary permits before you start.
- Gather essential tools like a post hole digger, mixer, and level to ensure a smooth installation and a sturdy fence.
- Follow a clear installation process: keep posts level, mix concrete properly, and securely attach panels and gates for the best results.
Property Measurement and Boundary Identification
When planning to install a fence, the first step is to confirm your property lines to avoid disputes with neighbors. Check your property deeds and local records to determine boundaries. For precise measurements, consider hiring a licensed land surveyor. Accurate measurements are crucial as they ensure cost efficiency by preventing over-purchasing or running short on materials. Additionally, understanding property boundaries helps in maintaining good neighbor relations.
It's also a good idea to talk to your neighbors about your plans to prevent any misunderstandings.
To clearly mark your property lines, use stakes or painted lines. Employ measuring tools like tape measures or surveyor's wheels, and if your property is large, break it down into smaller sections.
Remember to account for any obstacles, such as utility lines or trees, and double-check all measurements. Document everything for future reference, and verify your plans with neighbors to avoid boundary issues.
Material Estimation and Budgeting
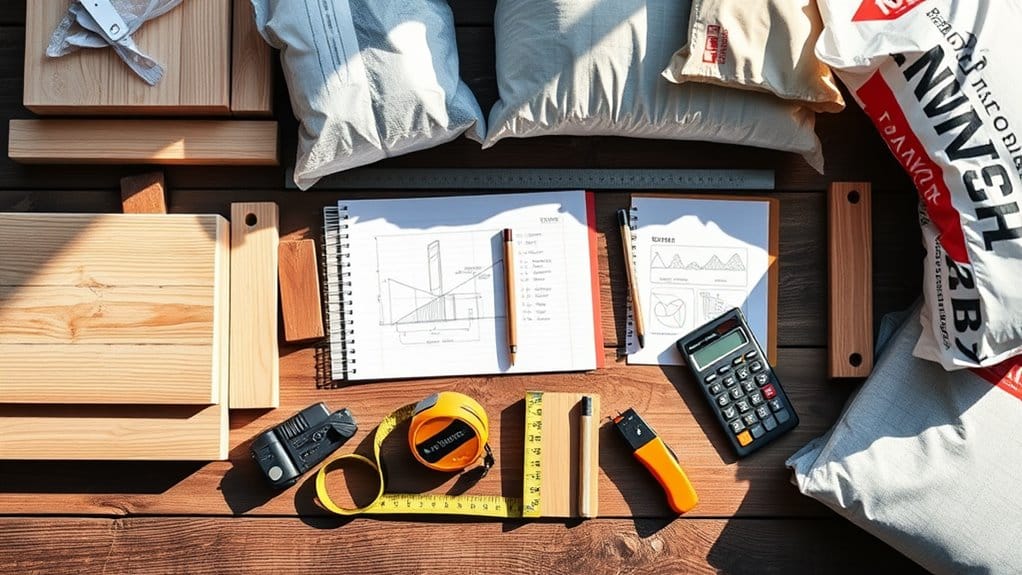
To estimate materials for your fence project, first, determine how many posts, rails, and pickets you need based on your design. Then, calculate your total costs by including material prices, labor, and any extra fees. It's smart to set aside a contingency fund for unexpected expenses that may come up during installation. Additionally, be sure to evaluate total linear footage of the fence to ensure accurate material estimates. Also, consider the material longevity of your chosen fencing option, as this can impact both your budget and maintenance needs in the long run.
Calculate Material Quantities
Calculating material quantities for your fence installation is crucial for staying on budget and ensuring a successful project. Here's a straightforward guide:
- Measure Linear Footage: Assess your site and measure the total distance for the fence, factoring in slopes and obstacles. Consider any local ordinances that may dictate the height and type of fence.
- Count Posts: Divide your total footage by the standard post spacing, usually 6 or 8 feet apart, to determine how many posts you need.
- Calculate Panels: Divide the total linear footage by the width of each panel to find out how many panels are required.
- Account for Hardware: Remember to include nails, screws, and any materials needed for gates. Proper post sizing is essential to ensure the fence's durability and stability.
Choose your materials wisely, as they'll impact both the quantity needed and the overall cost.
Planning effectively will pave the way for a smooth installation.
Estimate Total Costs
Estimating the total costs for your fence installation is crucial to stay within budget.
Start with material costs: wood typically ranges from $10 to $45 per linear foot, while wrought iron can reach up to $85.
Next, consider labor costs, which usually run between $1,200 and $1,600, depending on your project's size and complexity.
Don't overlook permit fees, which can add to your total. If upfront costs are a concern, explore financing options.
Finally, remember to include potential expenses for gates or removing an old fence. A clear estimate will help you plan effectively and reduce financial stress. Additionally, maintenance costs fluctuate based on the type of material you choose, affecting your long-term budgeting.
Set Contingency Fund
When planning your fence installation, it's crucial to set aside a contingency fund for unexpected expenses.
Here are four key areas to consider for your budget:
- Weather Delays: Be ready for interruptions caused by rain or snow.
- Material Costs: Prepare for possible price hikes on materials.
- Labor Shortages: Consider the impact of potential worker shortages on your timeline.
- Equipment Failures: Account for the chance of equipment breakdowns during the job.
Additionally, keep in mind that planning ahead can help you avoid overspending and ensure you have the right materials for your project.
Having these factors in mind will help you stay on track and manage costs effectively.
Regulatory Compliance and Design Selection
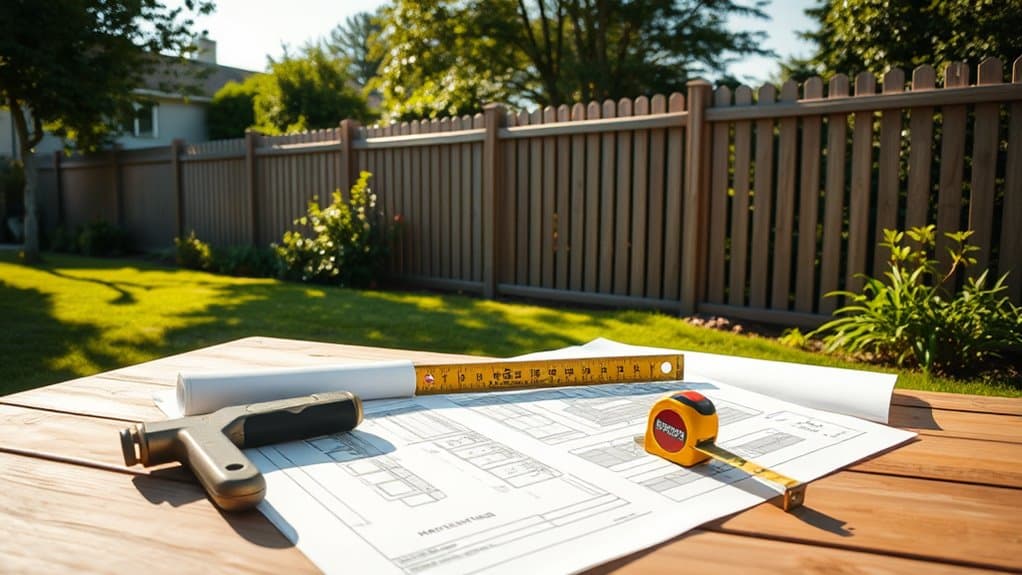
Understanding regulatory compliance is crucial for fence installation, as it impacts your design choices. Be sure to check local rules on height and materials, as these can shape your design.
Stay informed about any regulatory changes that could affect your project. Obtaining necessary permits involves submitting detailed applications, often costing between $50 and $500.
Safety is key; ensure your design meets visibility requirements and check for underground utilities.
Your fence should meet both aesthetic and functional needs—like privacy and security—while adhering to local regulations. Balancing these aspects helps you avoid fines and ensures a successful outcome for your property.
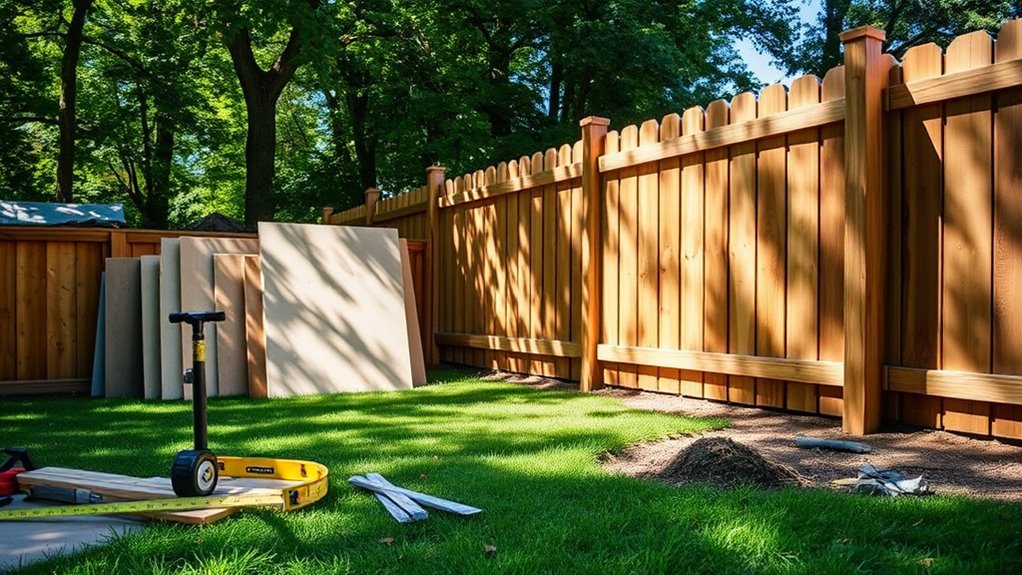
Tools and Materials Needed for Installation
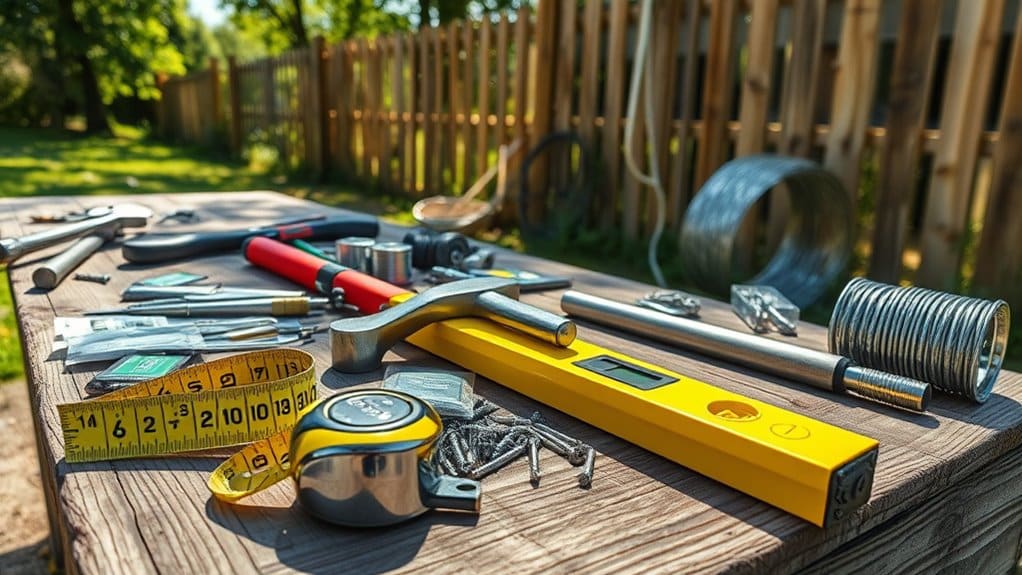
For a successful fence installation, having the right tools and materials is key.
Here's a straightforward list of what you'll need:
- Measuring tape: To measure the distance between posts accurately.
- Post hole digger: For digging precise holes for your fence posts.
- Circular saw: To make clean cuts through various materials.
- Ready mix concrete: To secure the posts firmly in the ground.
Having these essentials will help ensure your fence is sturdy and can withstand the elements.
Investing in quality tools will make the installation process smoother and lead to a longer-lasting fence.
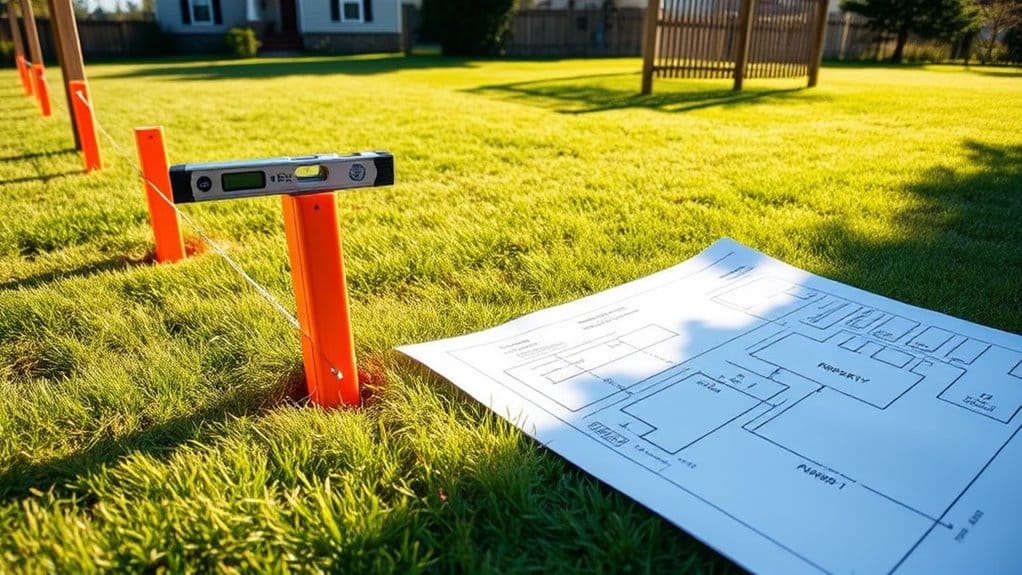
Preparing the Installation Site

Preparing the installation site is crucial for a stable and secure fence. Start by assessing the area for soil type, slopes, and any buried utility lines to prevent damage.
Remove any obstacles like large rocks, stumps, or debris that could block the fence line. Clear away any vegetation that might hinder installation and plan how to dispose of it.
Mark your fence line by staking corners and using string for straight edges. Ensure the ground is level and stable, adjusting the soil as needed.
This preparation sets the stage for a successful fence that will last for years.
Setting Fence Posts for Stability
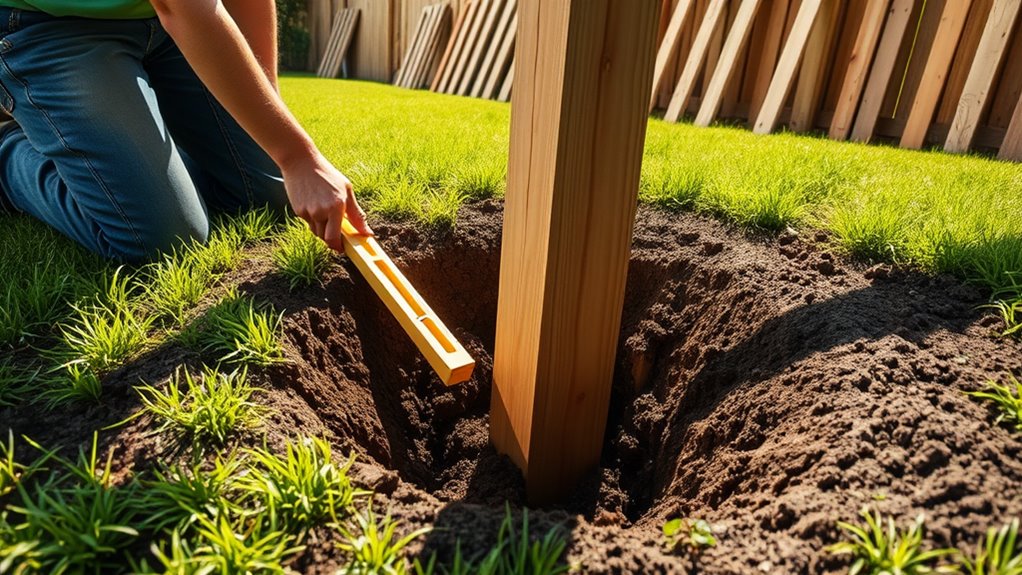
To set fence posts securely, start by digging holes that are at least one-third the height of the fence.
Mix concrete thoroughly for a solid base, then fill the hole while ensuring the post is straight.
Before the concrete sets, check that each post is level to avoid alignment problems later.
Digging Post Holes
Digging post holes is essential for a strong and stable fence. Here's how to do it effectively:
- Mark Your Spots: Use tape measures and string to pinpoint where each post will go.
- Clear the Ground: Remove any debris, rocks, or plants that might obstruct your digging.
- Drill Pilot Holes: Create small holes with a drill or auger to guide your digging tool.
- Depth Matters: Dig at least to the frost line to prevent the posts from shifting.
Keep it simple, and you'll have a solid fence in no time!
Concrete Mixing Techniques
After digging the post holes, the next step is mixing concrete to ensure your fence posts are stable.
Use a wheelbarrow for mixing, adding water gradually until you reach a consistency similar to pancake batter. This helps the concrete set evenly and strengthens it.
Avoid the "dry-bag method" as it can cause uneven curing. A drill with a mixing paddle is a great tool for thorough mixing without overdoing it, which can make the concrete harden too soon.
Proper mixing prevents brittle spots and boosts your fence's durability, so keep these tips in mind!
Ensuring Post Levelness
To ensure your fence posts are level and stable, follow these straightforward techniques:
- Use a Post Level: A post level with dual bubbles helps you check both vertical and horizontal alignment.
- Secure with Rubber Bands: Attach the level to wooden or metal posts using rubber bands to keep it steady.
- Magnetic Levels for Metal Posts: If you're working with metal posts, magnetic levels are a great way to ensure they stay put while you make adjustments.
- Check the Bubbles: Regularly inspect the bubbles to confirm that they're centered and the posts are aligned.
Don't forget to stabilize the posts with anchors or get a friend to help you during the leveling process.
These tips will help your fence remain durable and visually appealing.
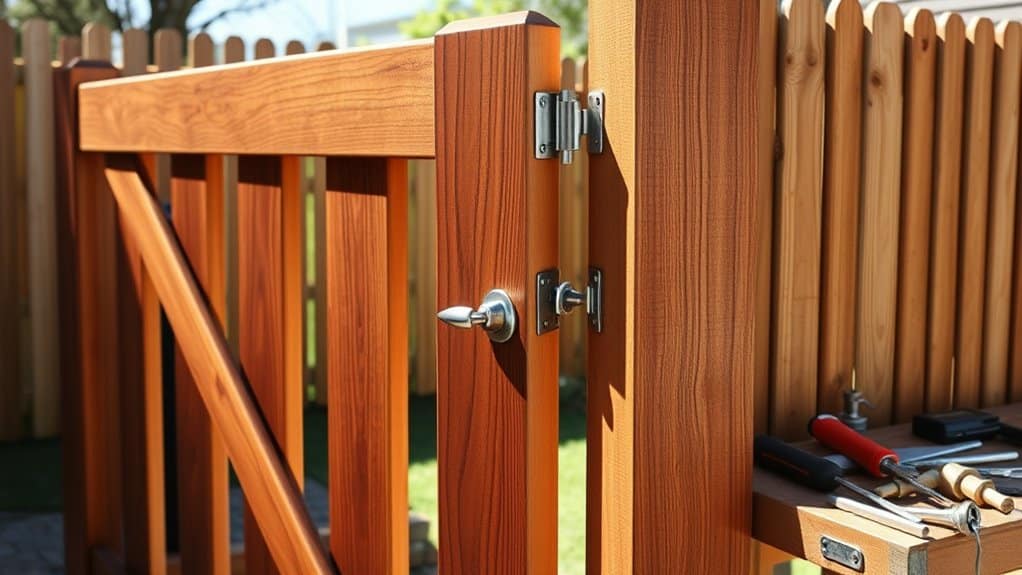
Attaching Fence Panels for a Secure Fit
To ensure a secure fit when attaching fence panels, start with the right tools: a cordless drill, wood screws, tape measure, level, and pencil.
Make sure your posts are spaced 8 feet apart for standard panels. Choose fasteners that match your material for durability; screws are generally stronger than nails.
Use a spacer to keep the panel at the correct distance from the post during installation. When securing the panels, drive screws at an angle to grip the post tightly.
Regularly check for levelness and adjust as needed for stability and a neat appearance.
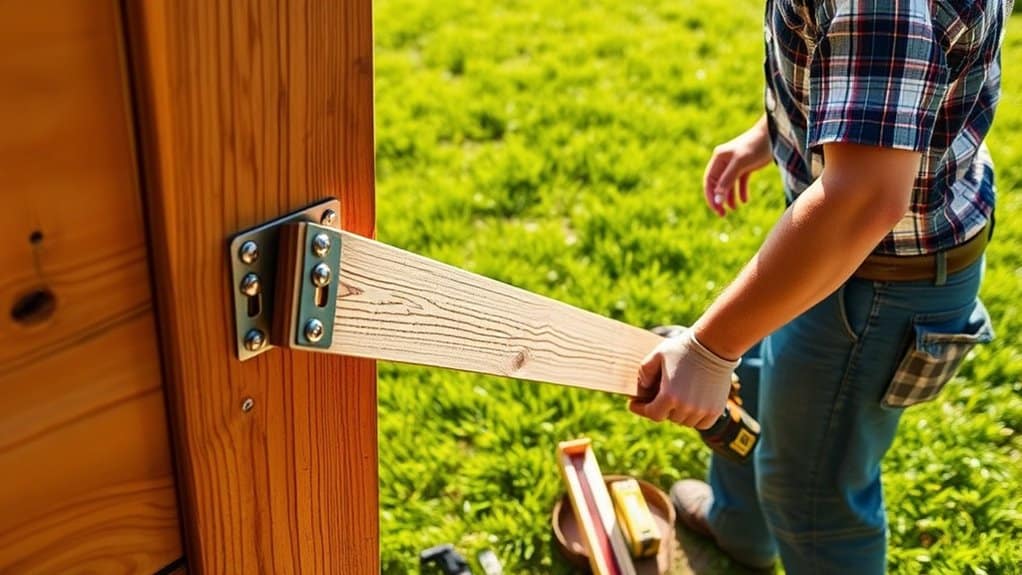
Installing Gates and Hardware for Functionality
Installing gates and hardware is crucial for a functional and attractive fence. Here are some straightforward steps to follow:
- Choose Quality Materials: Use sturdy 2x4s for the gate frame and opt for weather-resistant hardware.
- Secure Installation: Attach hinges with lag screws and ensure the gate aligns well with the fence.
- Ensure Proper Alignment: Use a string and pins to get the right positioning, leaving a 1-inch gap for smooth opening and closing.
- Regular Maintenance: Check for any sagging and lubricate the hinges periodically to prevent wear.
Consider your gate design to match your style, and focus on durable hardware to boost security.
Following these steps will help keep your gate functional and looking good over time.
Frequently Asked Questions
How Long Does a Typical Fence Installation Take?
A typical fence installation takes about 2 to 5 days. The timeline can vary based on factors like the length of the fence, the type of materials used, and the terrain of the area. For instance, a simple wooden fence in a flat yard may go up faster than a vinyl fence on a rocky slope. Additionally, weather conditions can also impact how quickly the installation can be completed.
Can I Install a Fence During Winter Months?
Yes, you can install a fence in winter. While challenges like snow and frozen ground exist, experienced contractors can handle these issues. They ensure posts are placed below the frost line for stability.
What Are the Best Fence Materials for Harsh Climates?
For harsh climates, metal fencing is an excellent choice due to its corrosion resistance, while vinyl offers great moisture protection. If you prefer wood, go for pressure-treated wood or cedar, but remember to maintain it regularly to prevent decay in tough conditions.
How Do I Maintain My Fence After Installation?
To maintain your fence after installation, conduct regular inspections. Clean it by removing debris and apply protective finishes to prevent moisture damage. Think of it like a quick tune-up for your fence to help it last longer!
Can I Install a Fence on a Slope?
Yes, you can install a fence on a slope. Choose between stepped or racked fencing for stability and a good look. Make sure to check local regulations before you start.
Conclusion
Now that you've completed your fence installation, you can enjoy your newly private space. With proper planning and hard work, you've created not just a boundary, but a reflection of your style and security. Take a moment to appreciate your effort; each post and panel represents your vision. Enjoy the satisfaction of your accomplishment—your yard is now ready for whatever comes next.
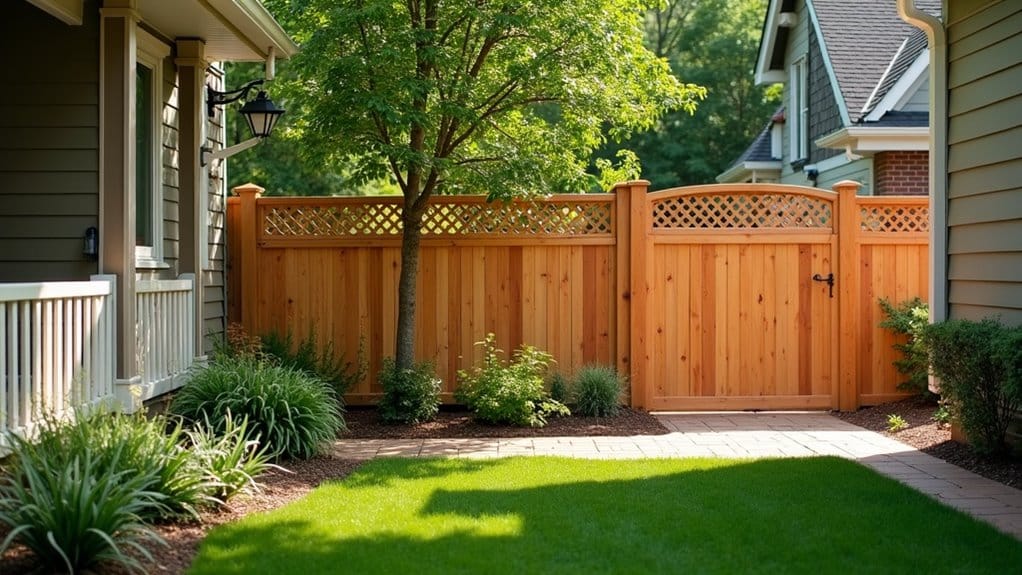
Harness the charm and durability of wooden fencing—discover the top types that suit every home style and elevate your outdoor Read more
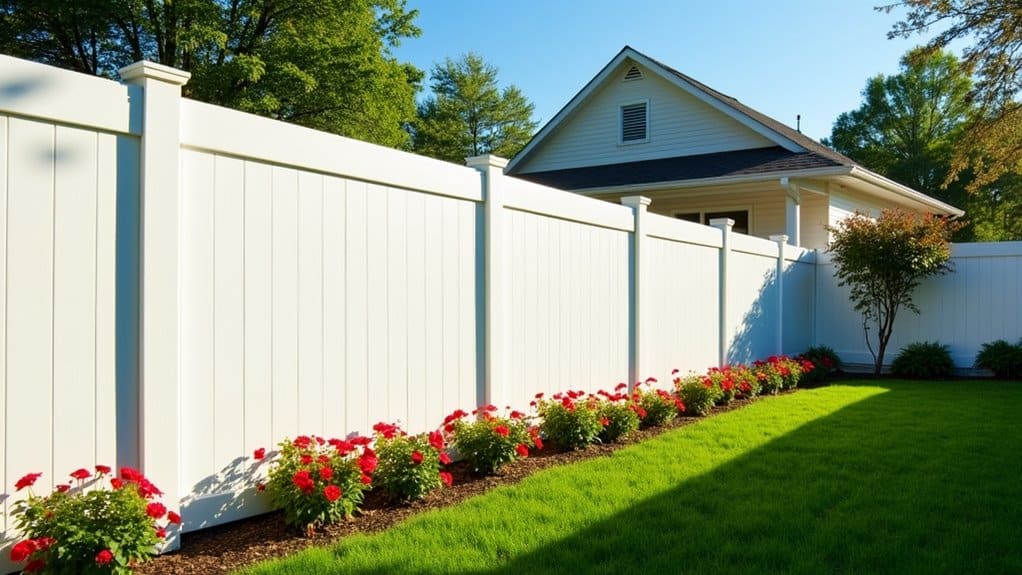
Find out how vinyl fencing combines affordability and durability, transforming your property while leaving you curious about its advantages over Read more
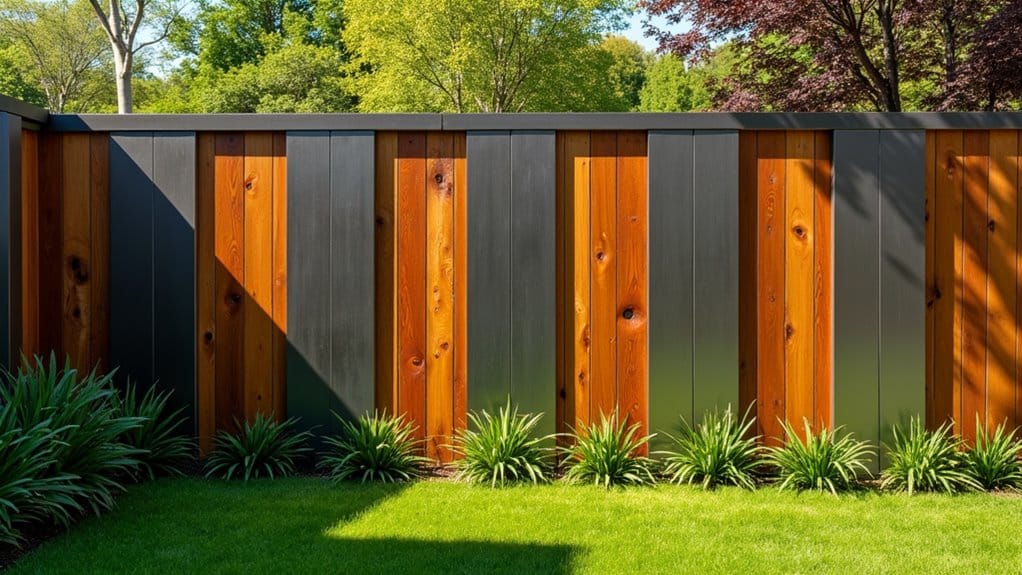
Create a stunning, personalized barrier with hybrid fencing—discover how combining materials can elevate your outdoor space in unexpected ways. Explore Read more