Building a fence on a slope requires careful planning. Start by measuring the slope's degree and marking the posts about six feet apart. You can choose between two main styles: a stepped design, which looks like a staircase, or a racked style that follows the slope's natural line to avoid gaps. Make sure the posts are firmly anchored, especially in loose soil. To enhance your fence, consider adding plants or decorative features. With these straightforward techniques, you can create a fence that not only serves its purpose but also enhances your yard.
Key Takeaways
- Start by assessing the slope with stakes and a clinometer to decide between a stepped or contoured fence design.
- Select an installation technique based on how steep the slope is, making sure the panels stay level to avoid gaps.
- Use deep post anchors and concrete for stability, and consider the soil type to prevent erosion.
- Boost your fence's look by matching its color to the landscape and using plants to fill any gaps.
- Create a sketch of your fence layout to visualize the project, ensuring your materials comply with local regulations and fit your budget.
Assessing the Slope
Building a fence on a slope can be tricky, so understanding the terrain is crucial. Start with precise measurements. Use stakes, string, and a tape measure to find the rise and run of your slope. Calculate the slope percentage by dividing the height difference (rise) by the horizontal distance (run).
For accurate measurements, use the string method: place stakes at the top and bottom of the slope, tie a string between them, and measure the distance from the string to the ground. A clinometer can also directly measure the slope's angle. It's important to consider that soil conditions in your area can impact the stability of the fence posts.
To find the slope percentage, use the formula: Slope (%) = height/length x 100. You can convert this percentage to degrees if needed. Higher percentages indicate steeper angles, which may require special considerations during installation.
Consider the type of soil and the slope's degree when planning your fence installation, as these will affect your fencing technique. Proper slope assessment ensures stability and enhances the overall look of your fence.
Planning Your Fence Layout
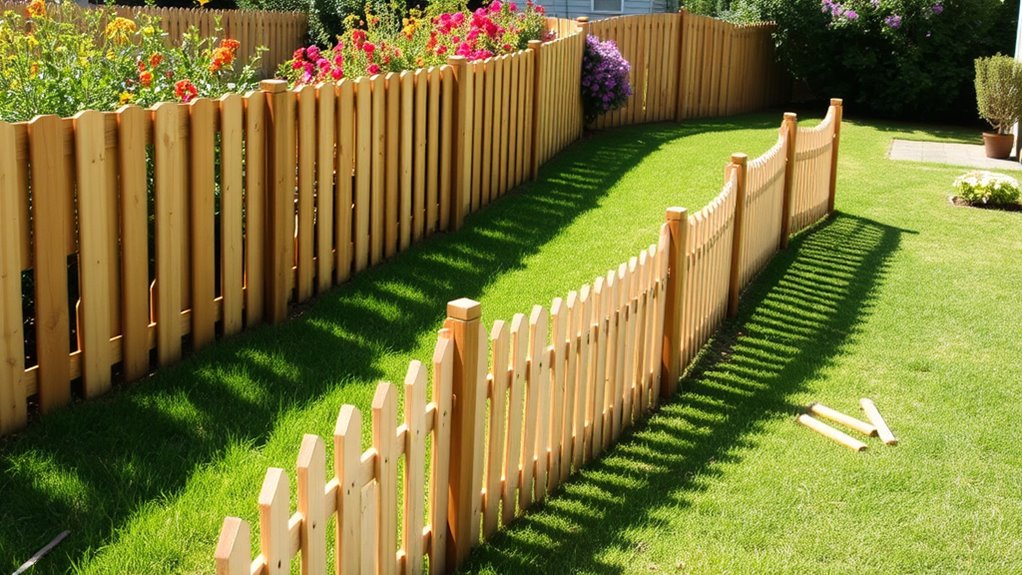
After assessing the slope, it's time to plan your fence layout. Start by surveying your property to understand the terrain. Note the slope degrees and any obstacles, then mark your boundary lines and stake out where the fence will go. Use a transit or laser level for accurate measurements.
Decide if a stepped or contoured fence is best for your slope. Mark where the slope changes and determine post spacing—ideally 4 to 6 feet apart for stability. Remember to consider your fence materials, as each has different installation needs. For example, wooden fencing can provide a timeless look but requires regular maintenance to prevent rot and decay.
As you mark post locations, use stakes and string to visualize your layout, ensuring everything is aligned correctly. Measure downhill from the string line to accurately account for elevation changes. Understanding slope degree is essential for determining the most effective fence installation method.
Make sure your fence blends with the natural landscape to avoid awkward looks and potential stability issues. Also, think about drainage to prevent water from pooling around the posts, which could compromise your fence.
With careful planning, you can create a strong and attractive fence that enhances your property.
Choosing Installation Methods
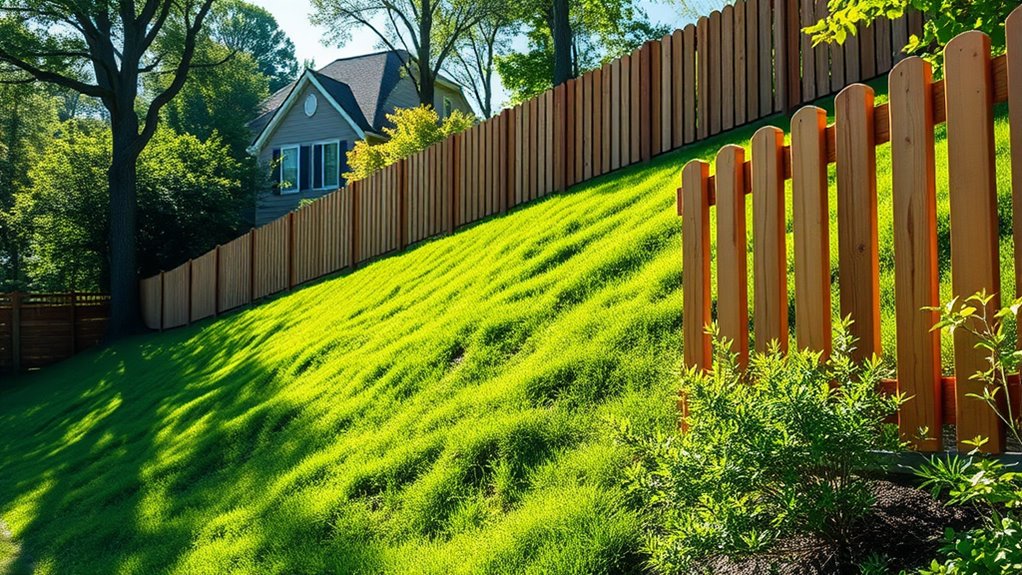
Choosing the right installation method for a fence on a slope is crucial for both functionality and appearance. You generally have two options: the stepped method and the sloped method, each with its own benefits.
The stepped method creates a series of horizontal rails like stairs, which is a budget-friendly choice. However, it leaves gaps underneath the fence, which can be problematic for small pets. This method works best with pre-assembled panels, making installation easier. Additionally, gaps may exist, posing risks for pets and aesthetics, which homeowners should consider. It's important to note that local regulations may dictate specific height and design restrictions that could impact your fence choice.
In contrast, the sloped method angles the rails to follow the terrain, eliminating gaps at the bottom. This design not only looks better but also keeps pets secure. While it requires individual pieces instead of pre-assembled panels, it may be worth the extra effort for those prioritizing aesthetics and safety.
Ultimately, your decision should reflect your needs, budget, and the specifics of your landscape.
Understanding the Racked Method
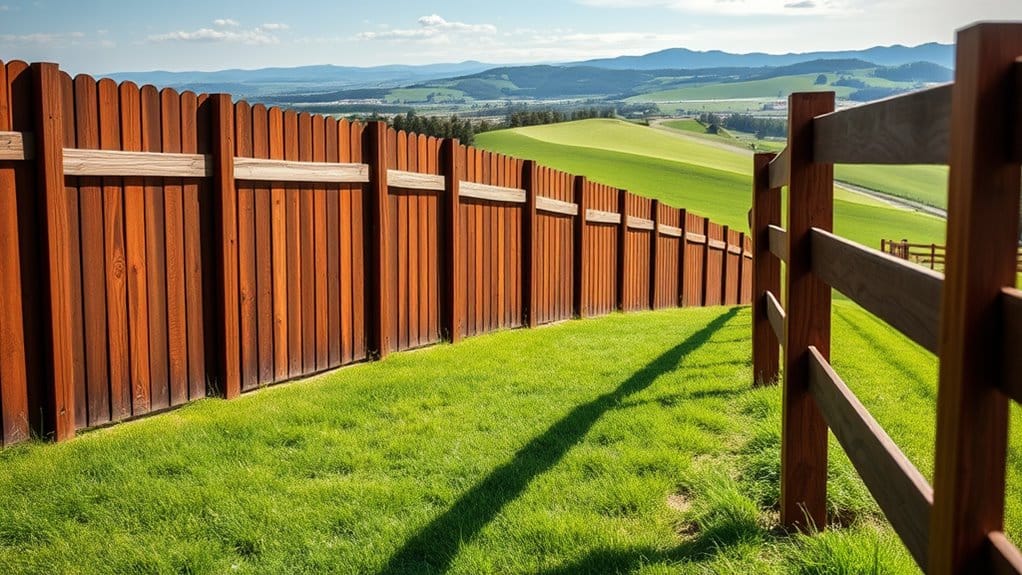
The racked method is an effective way to install fencing on gradual slopes, combining functionality with visual appeal. This technique ensures your fence looks uniform and eliminates gaps between the bottom rail and the ground. Before installation, evaluate the slope's grade and mark the path for your fence. Each piece should be custom-fitted to follow the terrain closely, preventing any gaps. While this method may be a bit pricier due to material needs, it greatly enhances the look of your property and keeps pets safe by preventing escapes. Effective drainage is also crucial as it prevents erosion around fence posts, which can compromise the fence's stability over time. Additionally, understanding local regulations is essential to ensure your fence complies with neighborhood guidelines and avoids potential disputes.
Here are the main features:
| Feature | Description | Benefits |
|---|---|---|
| Slope Compatibility | Ideal for gradual slopes | Seamless integration |
| Rail Alignment | Rails are angled with the slope | Improved stability |
| Aesthetic Appeal | Consistent, smooth appearance | Enhances property value |
With careful setup, you'll have a fence that serves its purpose effectively while beautifully complementing your landscape.
Understanding the Stepped Method
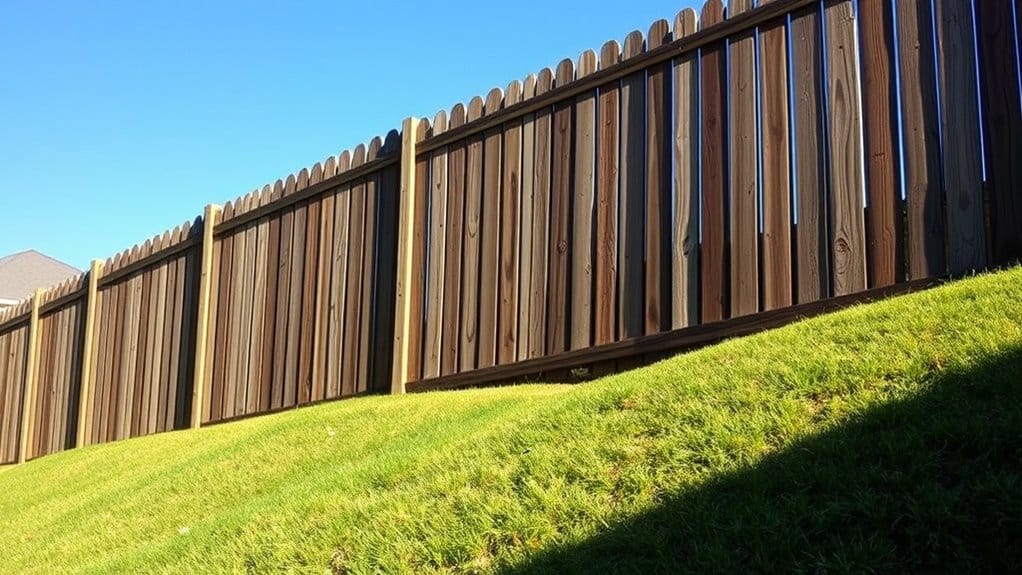
When installing a fence using the stepped method, you'll create sections that follow the slope of the land. This not only makes installation easier but also provides better stability on steep areas. You can fill any gaps with landscaping features, which can enhance both the look and functionality of your yard. Additionally, proper post placement is crucial to ensure the fence remains secure and visually appealing as it adapts to the slope.
Installation Steps Overview
Installing a fence on a slope can be straightforward if you follow a few key steps.
Start by assessing the slope: measure the rise over run to understand the terrain's challenges. Mark where the grade changes and determine if a stepped installation is suitable. Use a line level to accurately determine the slope angle before proceeding. It is important to consider local regulations that may affect your fence height and style.
Plan your post spacing to keep them 4 to 6 feet apart for stability, and mark their locations with spray paint or stakes.
When attaching the panels, position them at different heights to create a step-down effect that follows the slope.
Cut your posts to varying lengths to match the slope while keeping the panels aligned horizontally. This will naturally create gaps underneath each panel.
To enhance appearance, consider filling these gaps with landscaping materials or planters.
Finally, ensure all posts are plumb and adjust panel angles with a circular saw as needed.
Advantages of Stepped Method
Homeowners often find that the stepped method for fence installation on a slope has notable benefits. This approach creates horizontal sections, or "steps," that align with the land's natural shape.
One key advantage is its visual appeal; the stepped design looks intentional and blends well with the landscape. Additionally, this method enhances structural integrity. By keeping the fence panels level at each step, it reduces the chances of warping or bending, effectively handling the terrain's height variations. Moreover, stepped fencing is typically more stable in windy areas, distributing weight evenly and reducing the risk of collapse.
Maintenance is also simpler with the stepped method. Since the fence is divided into segments, you can easily address issues in one section without impacting the entire fence. Replacing a panel becomes a straightforward task, ensuring the overall structure remains intact.
Preparing for Installation
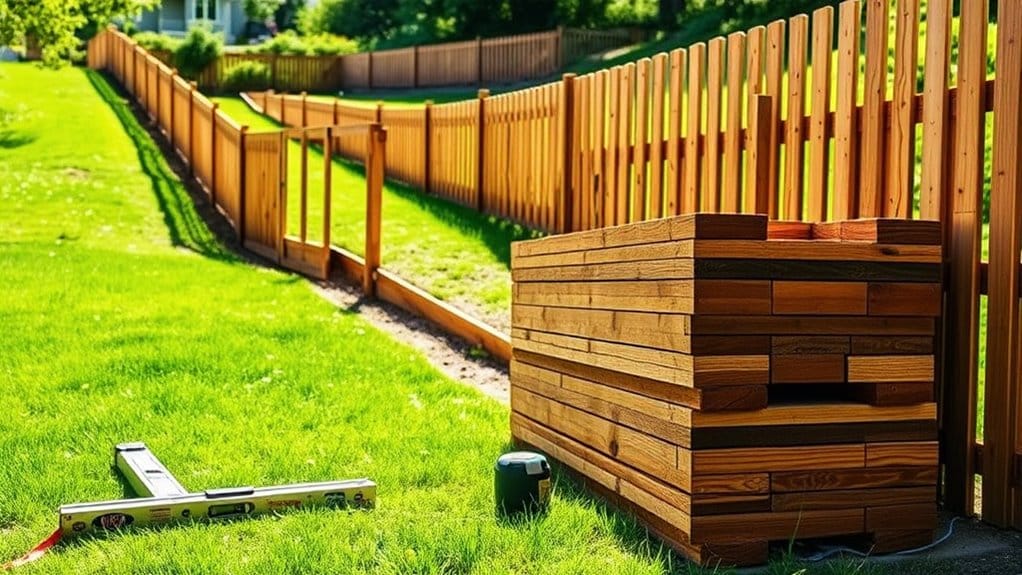
Installing a fence on a slope takes careful planning. Start by assessing the terrain to understand the slope ratio—measure the horizontal distance and vertical rise. Look for areas where the grade changes sharply, as this will influence your fence design and materials. Depending on the slope, you might need a racked or stepped fence style.
Next, outline the fence's position by marking the top and bottom points of the slope. Use a mason's line to ensure your fence line is parallel to property lines and measure the distance from the line to the ground to calculate the slope drop. To determine how much each section of the fence will drop, divide the total slope drop by the number of sections, and mark where the posts will go.
When preparing the ground, dig deeper post holes for stability and use heavy-duty post anchors suitable for slopes. Make sure each post hole is the same depth, regardless of the slope, and fill them with concrete for added strength. It's important to remember that the maximum recommended slope for a racked or stepped fence is 45 degrees, which will guide your installation process.
Lastly, create a drainage solution by adding decorative stones or gravel at the bottom edge to help manage water flow and support the fence's stability.
Installing Fence Panels
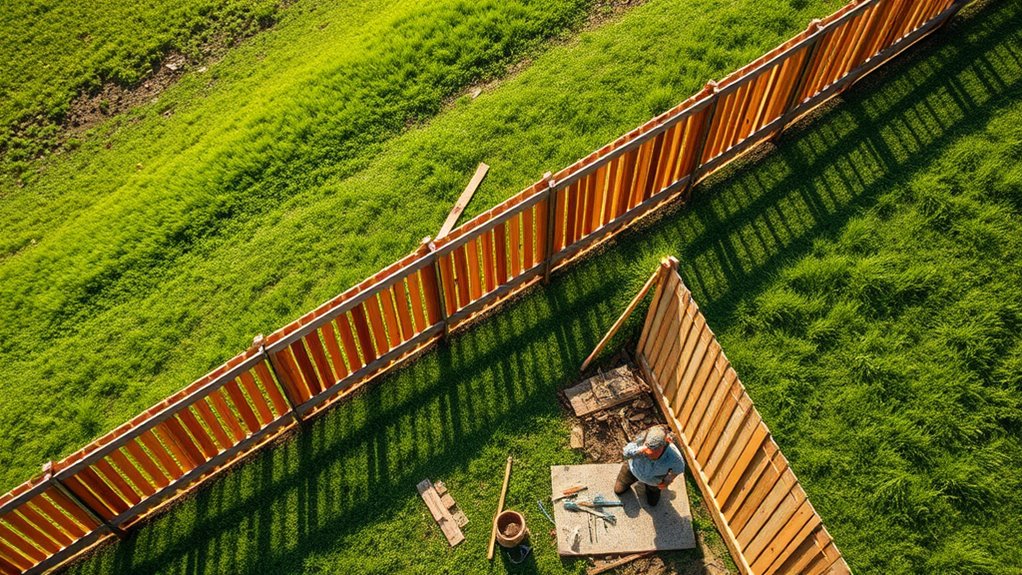
When installing fence panels on a slope, you have two options: stepped or racked. Stepped fences create a staggered look, so you'll need to trim your posts and panels accordingly. Racked fences require careful adjustments to ensure the bottom rails sit flush with the ground. For slopes over 10 degrees, trimming of rails is necessary to achieve the best results. Whichever method you choose, make sure your posts are level and stable for a strong, long-lasting fence.
Stepped Fence Installation Techniques
When installing stepped fence panels, it's crucial to keep each panel level, no matter the slope's angle. This ensures a neat, professional look. Additionally, proper drainage is essential to prevent water pooling around the fence, which can lead to damage over time.
Start by assessing the slope and marking where the posts will go. As you attach each panel to the posts, make sure they're level. For steeper areas, you might need pry bars to help adjust the panels.
Here are some tips to make your installation easier:
| Task | Tips |
|---|---|
| Leveling Panels | Always use a level tool |
| Placing Posts | Mark based on the slope grade |
| Managing Gaps | Use spacers for ground gaps |
While some gaps between the fence and ground are unavoidable, careful planning can minimize them. With these straightforward techniques, your stepped fence will follow the slope and look great.
Racked Fence Panel Adjustments
For steep slopes, racked fence panel adjustments are your best bet. Start by measuring your slope, like a 3/1 ratio where it rises 3 feet over 1 foot. This helps in planning how to adjust the panels.
Begin installation at the lowest point and work your way up. Cut the bottom of each panel at an angle to match the slope, keeping the tops level. This ensures consistent alignment.
As you place each panel, use a level to check for evenness. If needed, trim or reposition the panels until they fit well. Achieving proper alignment is key for a neat and functional fence.
With these adjustments, you'll end up with a sturdy fence that enhances your landscape.
Post Leveling and Stability
Properly leveling fence posts is crucial for stability, especially on slopes.
Here's a straightforward guide to ensure your fence posts stand strong:
- Use a Post Leveler: Check each post is plumb from multiple angles. This ensures a stable fence.
- Choose the Right Anchors: Opt for heavy-duty post anchors designed for sloped surfaces for optimal support.
- Dig the Right Holes: Aim for holes that are 2 to 3 feet deep and twice the post's width. Deeper holes provide better stability.
- Use Galvanized Hardware: Secure your posts with galvanized brackets to prevent rust and enhance durability.
Ensure your holes are deeper than the anchors for added security.
Special Soil Considerations
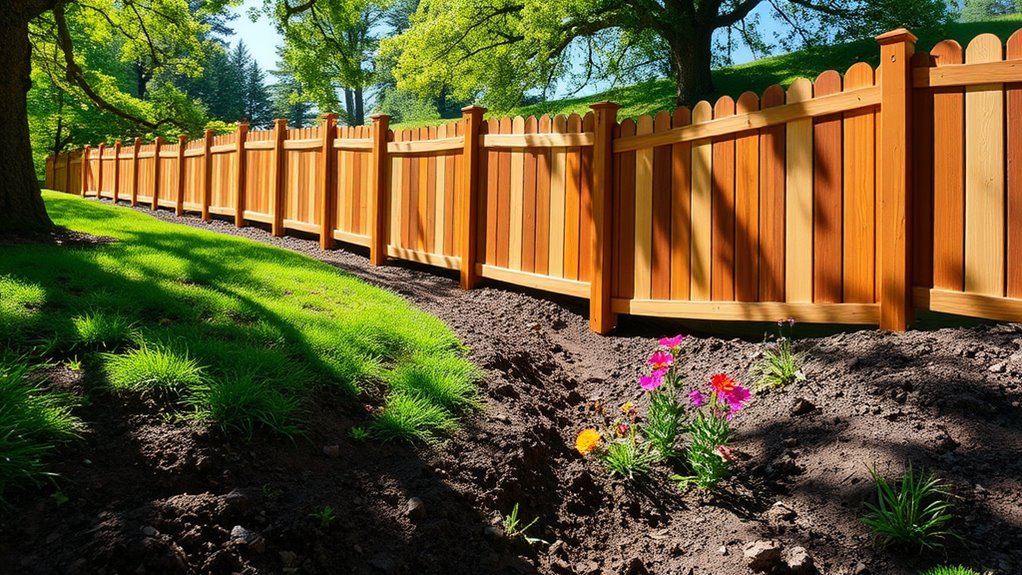
When building a fence on a slope, it's crucial to consider the soil conditions for stability and durability.
Start by checking your soil type: clay provides a strong base for heavier fences, while sandy or loose soils may need extra support. Be aware of soil erosion, which can weaken your fence and the surrounding area.
Analyze local soil conditions to choose the right materials and methods. Good drainage is key—implement solutions to manage water runoff and prevent pooling around your posts.
Assessing the slope accurately will help you design a fence that can handle water flow and reduce erosion risks.
Consider installing drainage systems to redirect excess water away from the fence. Retaining walls or brush packing can also stabilize the soil.
Remember, the slope's gradient will influence your installation approach and erosion control strategies.
With these considerations, you'll be able to build a strong and lasting fence, no matter the slope.
Effective Installation Techniques
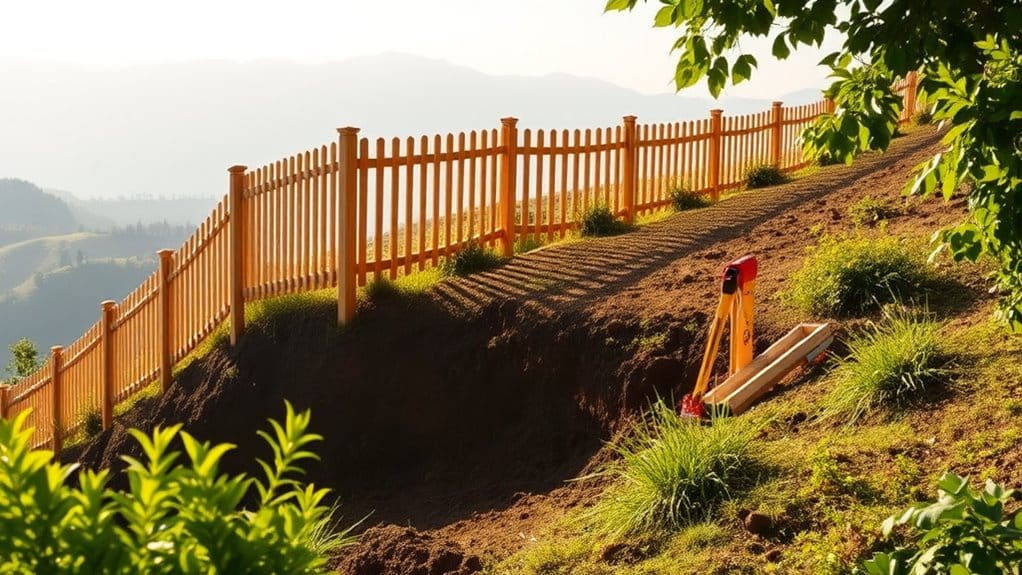
To build a sturdy fence on a slope, first measure the slope's angle to choose the best installation method.
You can go with a racked design, which follows the slope, or a stepped design, which creates flat sections.
Make sure each post is securely anchored to maintain strength and stability.
With proper planning, your fence won't only fit the landscape but also last for years.
Slope Measurement Methods
Understanding the slope of your land is crucial for fence installation, as it affects both stability and appearance. To accurately assess the slope, consider these straightforward methods:
- Slope Ratio: Calculate the rise over run (e.g., a 3/1 slope means it rises 3 feet for every 1 foot of run).
- Clinometer Use: Use a clinometer or a level with a measuring tape to find the slope gradient.
- Identify Break Points: Pinpoint where the land grade changes to see how it impacts your fence line.
- Soil Type: Assessing soil type helps you understand how well your fence posts will anchor.
For precise slope calculations, use a string, stake, and string level to measure rise and run.
Take multiple measurements for longer slopes and average them for accuracy. Keeping a record of these details ensures a solid foundation for your fence, tailored to your land's slope.
Choosing Installation Technique
Choosing the right installation technique for a fence on a slope is crucial for both function and appearance. The slope's steepness and fence material will determine the best approach.
For gentle slopes, a racked fence is a good option. It follows the land's contour, preventing gaps where pets could escape. If the slope is steeper than 10 degrees, trimming the rails may be necessary, adding complexity to the installation.
For steeper inclines, a stepped fence works well. It creates a stair-step pattern, making it easier to install with prefabricated panels, but it can leave triangular gaps at the bottom. These can be filled with landscaping material for improved safety and aesthetics.
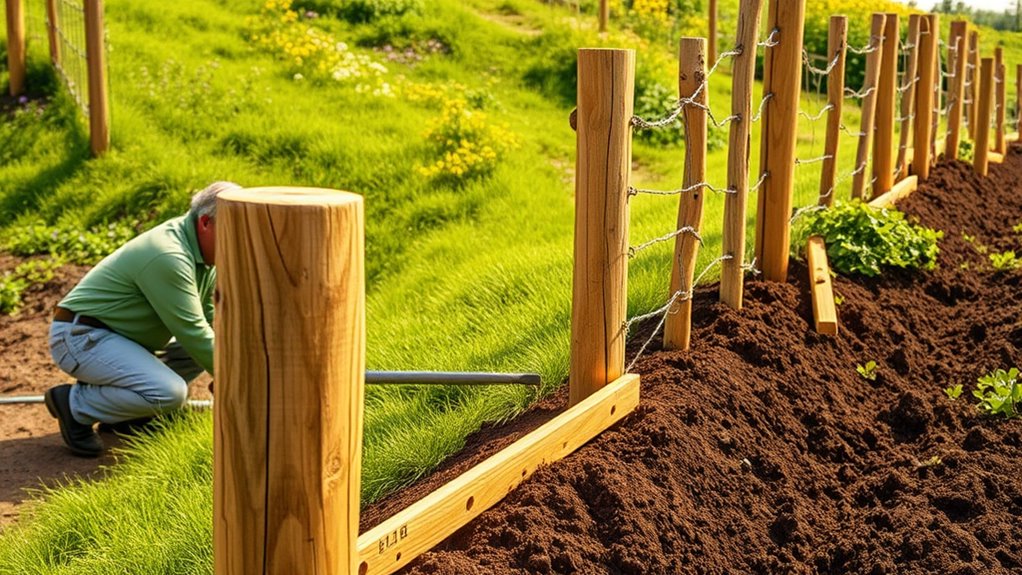
Contour wire fences are another option for dramatic slopes. They use flexible materials to fit the land's shape but require careful post placement for stability.
Consider your landscape's features and your style preferences when deciding. A bit of planning and visualization can help you choose the best technique for your fence project.
Ensuring Post Stability
To ensure your fence posts remain stable on a slope, careful planning and execution are key. Here are four straightforward techniques:
- Choose Durable Materials: Use materials like pressure-treated wood or vinyl that can handle weather changes and stay strong over time.
- Use Deep Post Anchors: Heavy-duty anchors, such as helical anchors, should be buried at least one foot deep for maximum stability.
- Install Posts Vertically: Make sure each post is perfectly vertical, not leaning with the slope, to maintain a neat appearance and proper alignment.
- Reinforce with Concrete: Pour concrete around your anchors to enhance stability and reduce movement.
Tips for Maintaining Stability
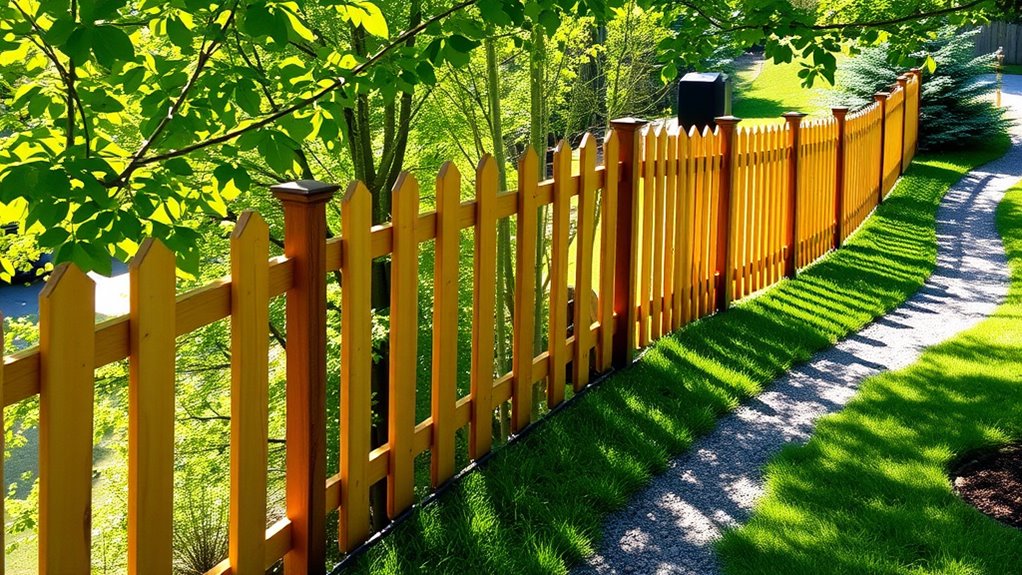
Maintaining stability in a sloped fence is crucial for its durability. Start by assessing the soil type; this helps in choosing the right method for your fence installation. Measure the slope to decide whether to use stepped, racked, or terraced designs.
When setting up posts, dig deeper holes and use metal post anchors for solid support. Ensure each post is perfectly upright to prevent leaning. Bury them at least a foot deep for extra stability, and use heavy-duty galvanized hardware for connections.
Regularly inspect the fence for any loose posts or panels. Adding braces between panels can provide additional support.
On steep slopes, consider using shorter panel sections that follow the land's contour to enhance stability. Following these tips will help keep your fence secure and functional for years.
Enhancing Aesthetic Appeal
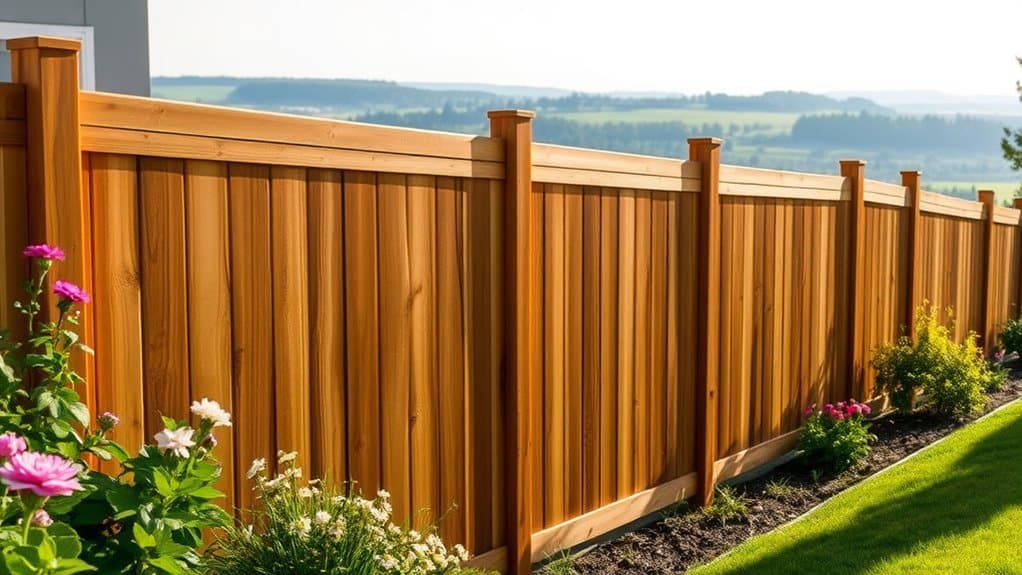
To enhance the aesthetic appeal of a fence on a slope, consider these straightforward strategies:
- Contoured Fences: These maintain a uniform height and create a gentle wave effect, adding elegance to your yard.
- Hybrid Designs: Combining stepped and contoured styles can offer a balanced look that's both functional and visually appealing.
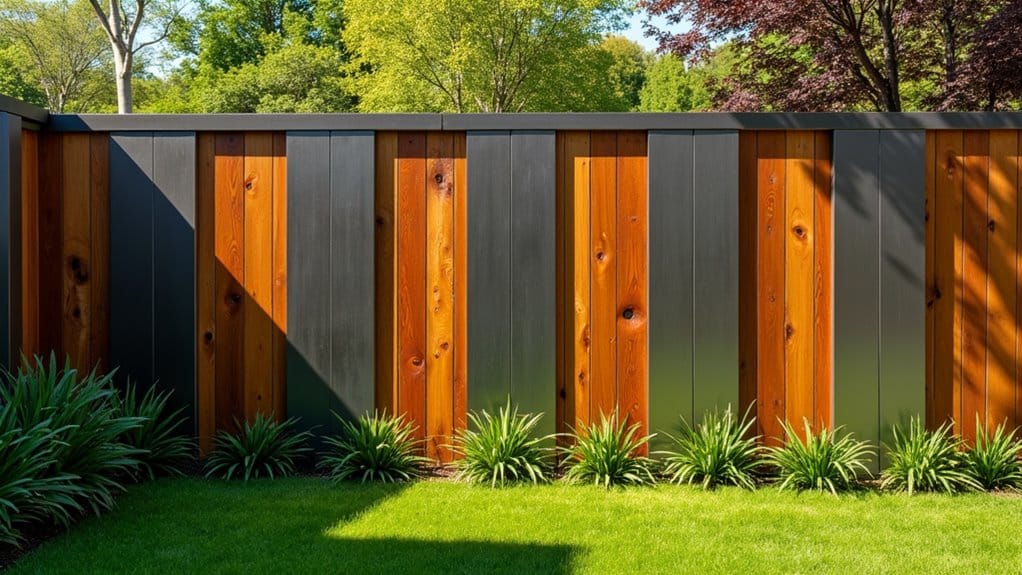
- Material Choices: Use wooden or metal panels that follow the slope's shape. This not only looks good but also helps the fence blend into the landscape.
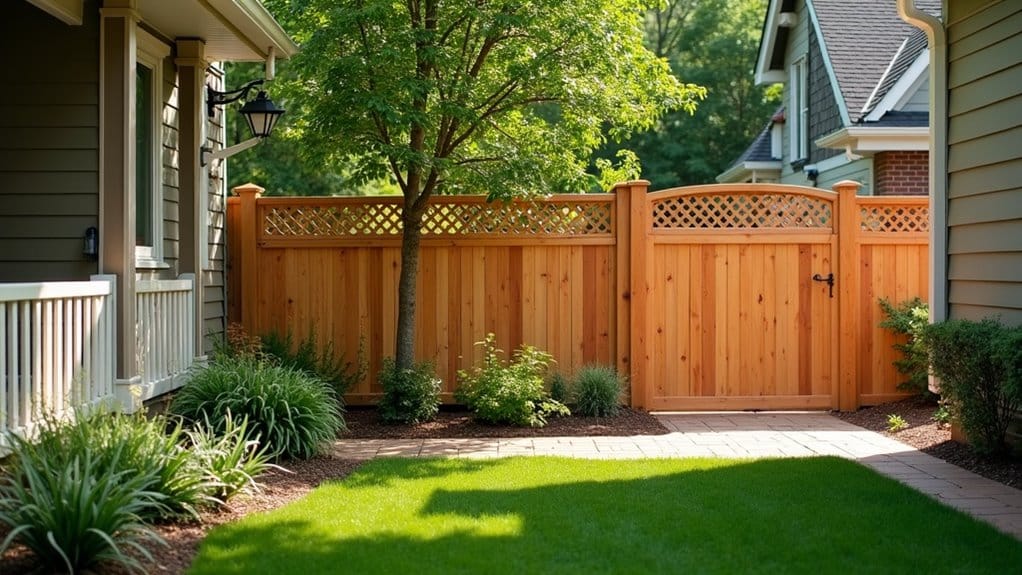
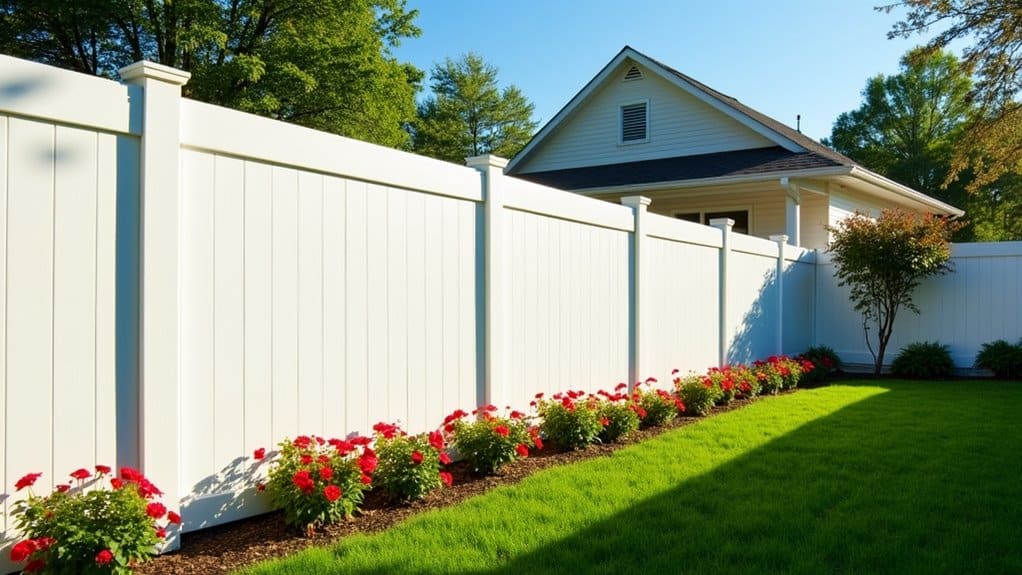
- Landscaping: Surround the fence with shrubs or decorative rocks to create a smooth transition between the fence and your garden, enhancing its overall appearance.
Frequently Asked Questions
What Types of Materials Are Best for Fencing on a Slope?
When selecting fencing materials for a slope, consider wood, vinyl, or metal. Wood allows for customization, making it a popular choice. Vinyl is durable and low-maintenance, perfect for busy homeowners. Metal fences provide strong support and adapt well to uneven ground, ensuring stability. Choose based on your needs and the slope's severity.
How Do I Prevent Water Erosion Around My Fence?
Prevent water erosion around your fence to avoid muddy messes. Use drainage solutions like ditches or barriers to redirect water. Planting grass or shrubs can also help stabilize the soil and reduce erosion.
Can I Install a Fence on a Very Steep Slope?
Yes, you can install a fence on a steep slope. Use techniques like stepped or racked designs to ensure stability and adapt to the terrain. For example, a stepped fence follows the contour of the slope, while a racked fence tilts along the slope. Both methods can help you achieve a secure and effective fence installation.
Are There Local Regulations for Building Fences on Slopes?
Yes, check your local regulations for fence permits related to slopes. For example, if your yard has a steep incline, ensure the fence height complies with local limits to avoid fines. Understanding spacing requirements is also crucial to stay within the law.
How Can I Landscape Around My Sloped Fence?
To landscape around your sloped fence, try using climbing vines and colorful shrubs for a vibrant look. Incorporate terracing and planter boxes to add visual interest and ensure proper drainage. These methods will enhance stability while making your space more inviting.
Conclusion
To build a sturdy fence on a slope, start by assessing the incline and planning your layout. You can choose between the racked method, which follows the slope, or the stepped approach, which creates distinct levels. Consider soil conditions to ensure stability and durability. With careful planning and a bit of creativity, your fence will not only serve its purpose but also enhance your home's appeal.

