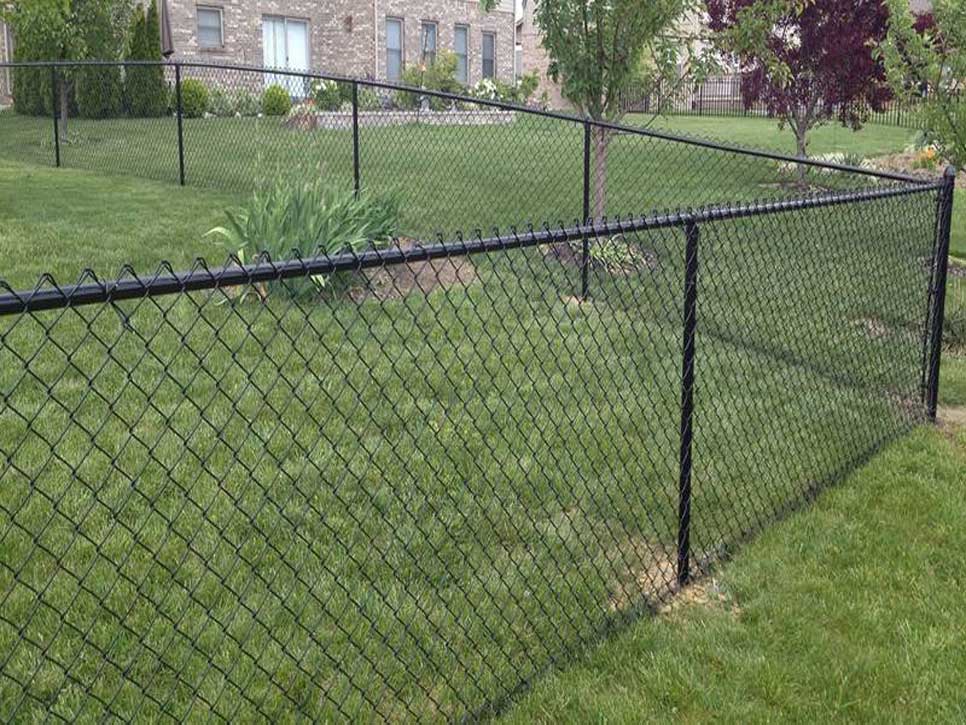
To install a DIY chain link fence in your backyard, follow these steps:
- Check Local Regulations: Start by looking into your local rules and getting any necessary permits.
- Prepare the Area: Clear the fence line of any debris and mark where the posts will go, with a maximum spacing of 10 feet apart.
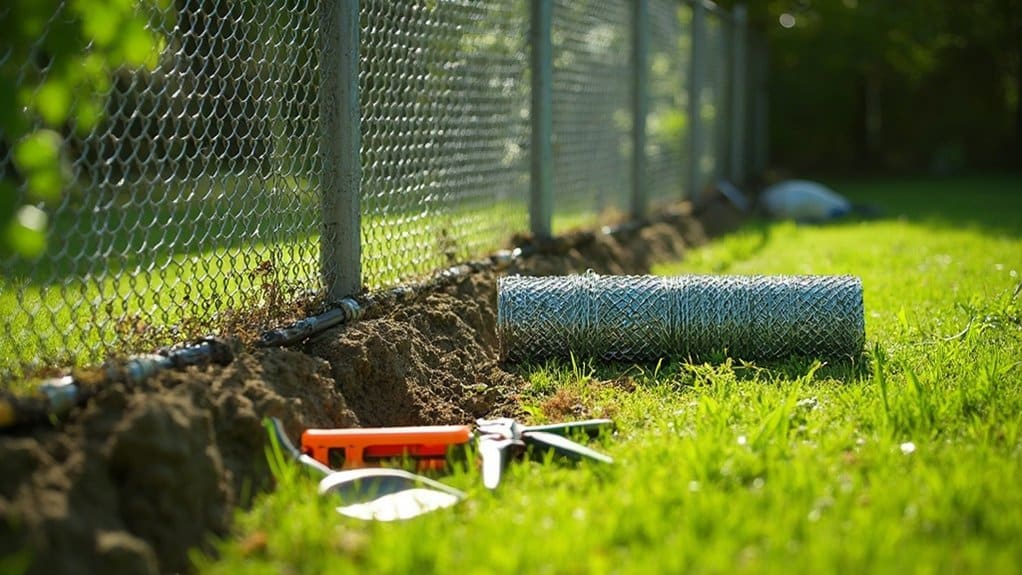
- Dig Post Holes: Dig holes about 2 feet deep for each post.
- Set the Posts: Place the posts in the holes and secure them well.
- Attach the Chain Link: Use tension bands and wire ties to attach the chain link mesh tightly to the posts.
Regular maintenance will help your fence last longer. This straightforward process makes it easy to enhance your yard’s security and aesthetics.
Key Takeaways
- Check with local authorities for necessary permits and zoning laws before you start.
- Clear the area and accurately mark your property lines to prevent issues with neighbors.
- Place your posts no more than 10 feet apart and dig holes at least 2 feet deep for solid support.
- Attach the chain link mesh to the posts using tension bands, making sure it’s tight to avoid sagging.
- Regularly inspect and maintain your fence to prevent rust and keep it strong.
Check Local Regulations
Before installing a chain link fence, check your local regulations. Start by contacting your local government’s code enforcement office to ask about necessary permits.
Make sure to understand zoning laws, including fence height limits and setback requirements. If you live in a homeowners association (HOA) community, review their rules on fencing as well. It’s also important to be aware of potential fines for installing a fence without a permit.
Also, ensure your materials meet ASTM standards and locate any underground utilities. This will help you avoid issues and ensure a smooth installation. Additionally, be aware that chain link fences are prohibited in front and side yards facing public streets according to Proposed Regulation 2.
Clear the Fence Line
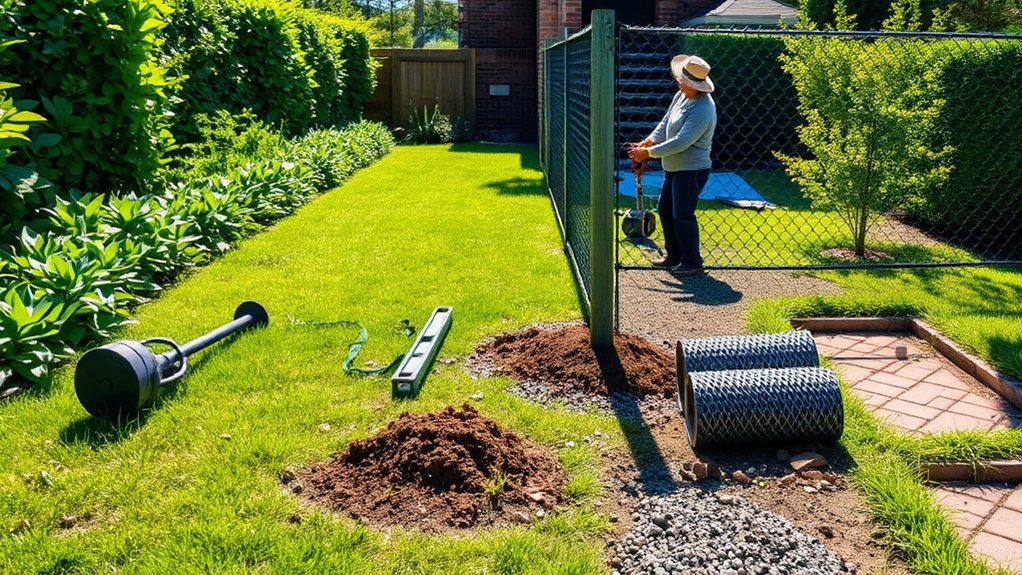
Before installing your chain link fence, clear the area of any rocks, plants, and debris. This will ensure a safe working space. Also, check for hazardous materials or hidden utility lines to keep the installation process safe and smooth. Additionally, it’s important to call 811 to locate any underground utility lines before digging to prevent accidents. Properly assessing property lines before installation can help avoid future disputes with neighbors.
Remove Obstacles Effectively
To ensure a successful fence installation, it’s crucial to clear the fence line of all obstacles. Start by identifying any rocks, shrubs, or debris that could get in the way. Remove visible trash and construction waste to create a clean workspace. For small rocks or roots, a shovel works well for quick removal. Use string lines or stakes to mark your fence boundary accurately for precise alignment. If you encounter larger obstacles like trees or stumps, make sure to remove them properly. Don’t forget to check for utility lines to avoid damage while digging. A clear area will make your installation process much smoother, especially when preparing for stepped installation to effectively manage the slope. Additionally, ensure that the post depth is adequate to prevent leaning or toppling, which is particularly important in sandy soils.
Ensure Safe Access
To ensure a smooth fence installation, safe access to the area is crucial. Here are key steps to consider:
- Locate Underground Utilities: Check for utility lines to prevent damage.
- Mark the Fence Line Accurately: Use stakes and string to outline where the fence will go.
- Assess the Terrain: Look for uneven ground that may require adjustments.
- Prepare Tools and Materials: Gather everything beforehand to avoid delays.
- Secure Permissions: Get any necessary permits to stay compliant with local regulations.
- Consider shared fence responsibilities to clarify obligations with your neighbor before starting the project.
Following these steps will help make your project efficient and safe.
Determine Post Placement
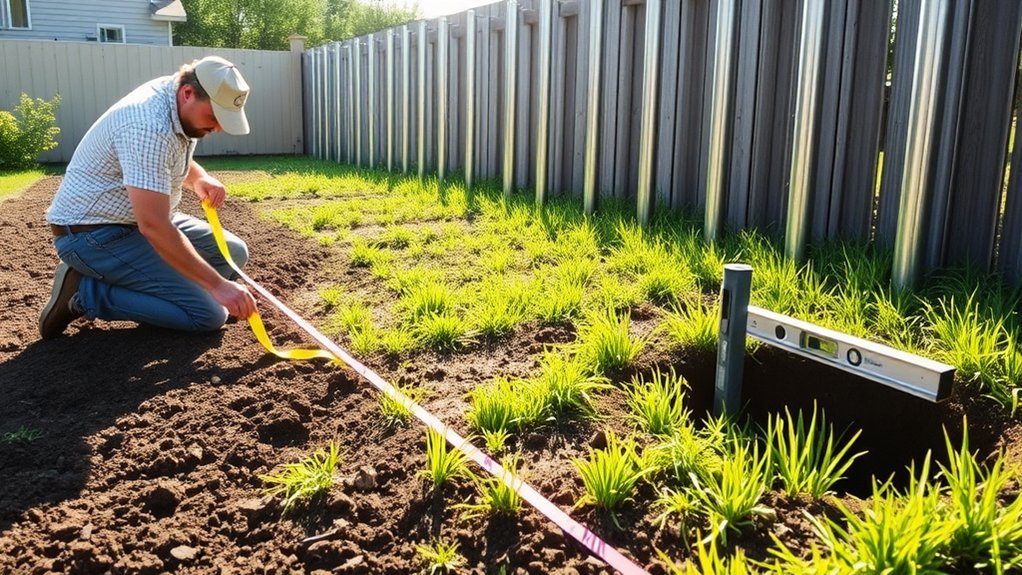
Determining post placement is crucial for the strength and stability of your chain link fence. Proper spacing not only reinforces the fence but also adapts to the terrain. Aim to space your posts no more than 10 feet apart. Here’s a simple table for reference:
| Post Type | Recommended Spacing | Terrain Considerations |
|---|---|---|
| Corner Posts | 10 feet | Adjust for slopes |
| End Posts | 8-10 feet | Watch for landscape features |
| Intermediate Posts | 4-10 feet | Thicker posts can span wider |
| Gate Posts | 6-8 feet | Ensure hardware clearance |
| All Posts | 3-4 feet (min) | Compensate for soft soil |
Before starting, mark your layout and ensure it’s within property lines for compliance. Proper post placement is essential for a cost-effective solution that maximizes the durability and security of your fence.
Installing Posts and Rails
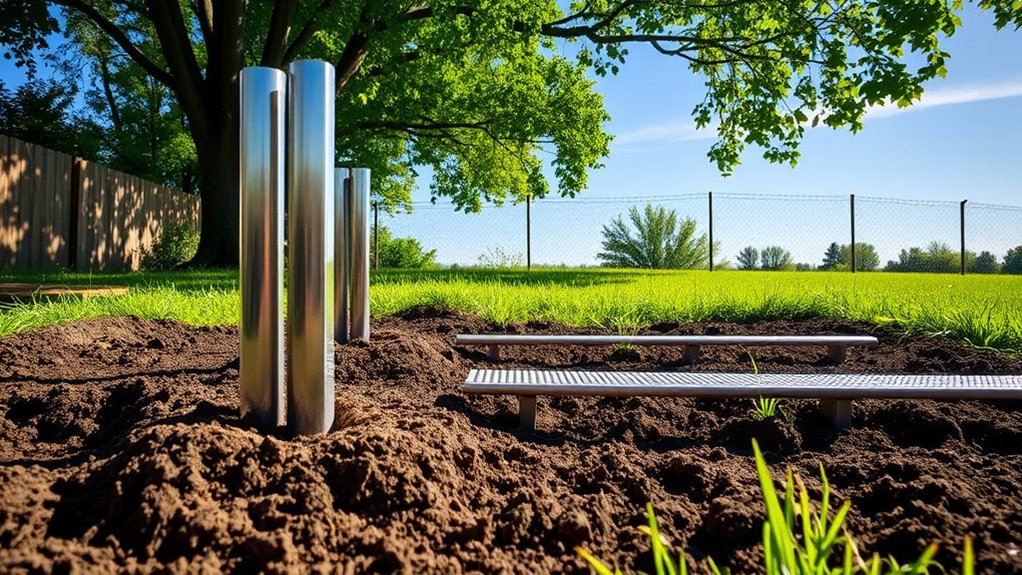
To build a strong chain link fence, start by digging post holes to the right depth and width.
After setting the posts in concrete, attach the top rails securely.
Finally, add post caps to shield the tops from moisture and debris.
Post Hole Preparation
Preparing post holes correctly is key to a stable and long-lasting chain link fence. Here’s what to keep in mind:
- Hole Diameter: Dig holes about three times the post width.
- Hole Depth: For a 6-foot fence, aim for holes around 2 feet deep.
- Soil Types: Check your soil; some types may need deeper holes to go below the frost line.
- Digging Tools: Use a post hole digger or power auger for quicker work.
- Materials Needed: Have stakes and a level ready to ensure your posts are placed accurately.
Attach Top Rails
Attaching the top rails is crucial for a stable and good-looking chain link fence. Start by sliding the top rail through the loop caps on the end posts. If the rails are too long, use a hacksaw to cut them to size so they fit snugly. Secure the ends with nuts and bolts for added stability.
Adjust the installation as needed to match the terrain, ensuring the fence follows the land’s shape. Double-check that all connections are tight to avoid sagging. If you have long stretches, consider adding extra supports to maintain tension and integrity.
Secure Post Caps
Now that the top rails are secure, let’s move on to the post caps. These are crucial for protecting your posts and improving the fence’s durability and look.
- Select materials like galvanized or vinyl-coated steel for durability.
- Consider acorn or dome caps for a stylish touch.
- Use loop caps for a clean design that integrates well with the rails.
- Install caps properly to avoid water build-up.
- Ensure they fit tightly to block dirt and insects.
Tensioning and Securing the Mesh
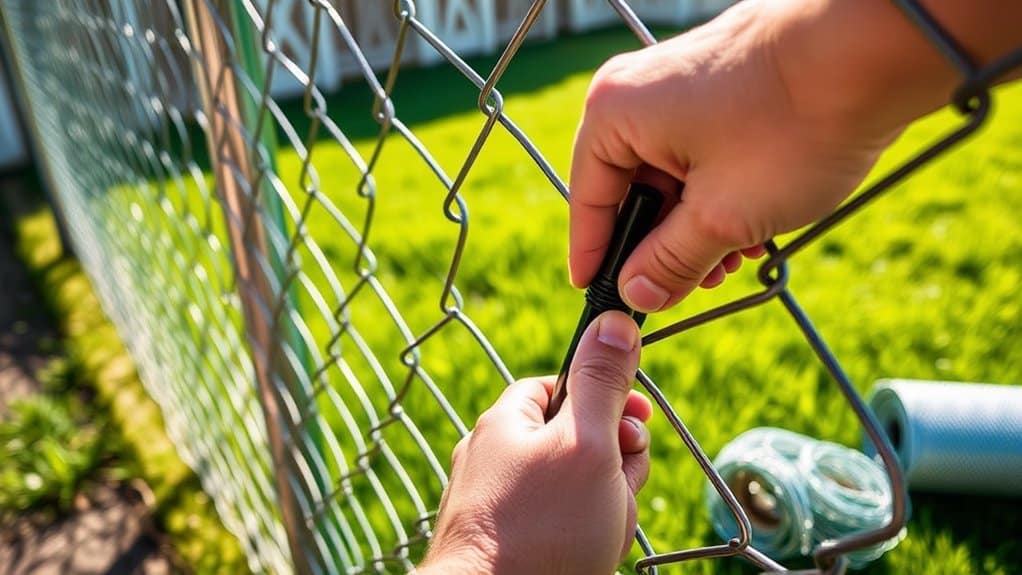
Start by attaching the chain link mesh to the terminal posts using tension bands and carriage bolts. This is crucial for effective tensioning.
Use a fence puller to tighten the mesh, ensuring it’s snug but still has a little give—about 2-4 cm when pressed. Secure the mesh to line posts with fence ties every 12-18 inches and add wire ties around the top rail every two feet for extra stability.
Check the entire fence line for consistent tension and avoid over-tightening, as this can damage both the mesh and posts. Regular inspections will help keep your fence in great shape and prevent sagging.
Adding Additional Features
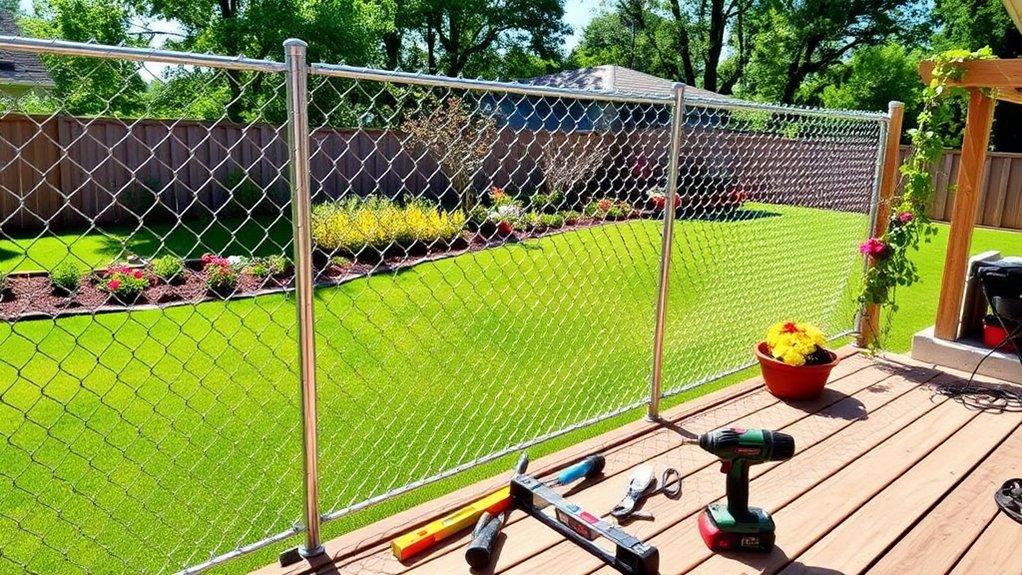
Enhancing your chain link fence can boost both its functionality and appearance. Here are some straightforward ways to upgrade it:
- Privacy Solutions: Add privacy slats or fabric for more seclusion.
- Lighting Options: Use solar lights or LED setups to brighten your yard.
- Garden Touches: Incorporate climbing plants or decorative art for visual appeal.
- Stylish Gates: Choose unique gates that match your fence’s design.
- Colorful Mesh: Opt for vinyl-coated mesh for a contemporary look.
Maintenance and Finish
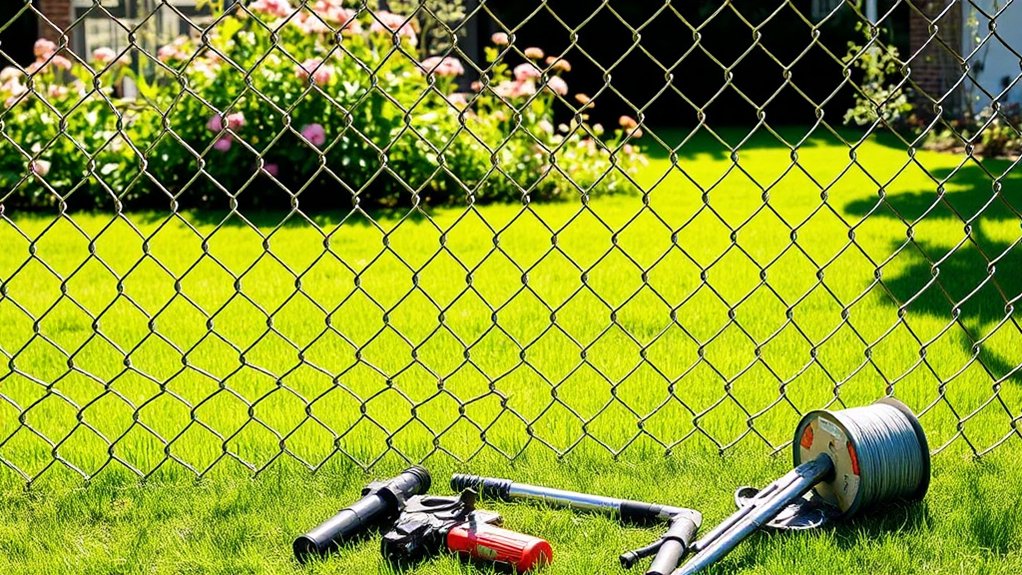
To keep your chain link fence functional and attractive, regular maintenance and suitable finishes are crucial.
Perform annual rust protection with coatings and clean it regularly to remove dirt. Trim back nearby vegetation to avoid root damage and moisture issues. Conduct inspections every six months to identify and fix any problems, like loose fittings or broken sections.
For finishes, go for a galvanized option for corrosion resistance, or consider vinyl for added durability.
Powder-coated finishes last longer, while rust-resistant paints and sprays provide extra protection.
These steps will help maintain your fence’s strength and appearance over time.
Final Inspection
Final Inspection
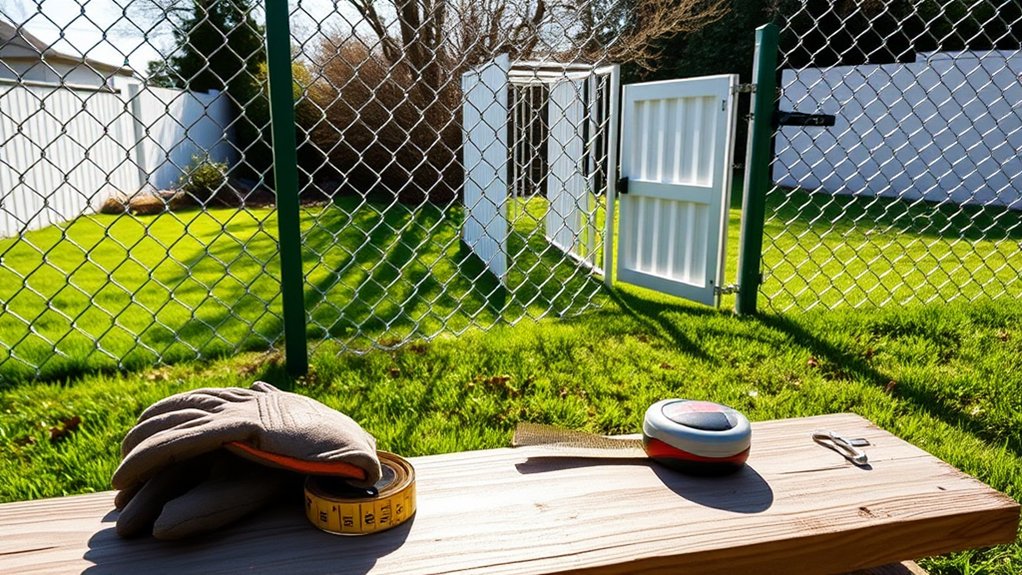
Before finishing your chain link fence installation, it’s crucial to conduct a final inspection to ensure it’s durable and functional.
Follow this checklist to spot any issues:
- Look for visible damage or irregularities.
- Test gates to ensure they open smoothly and align properly.
- Check panels for sagging or tears.
- Gently shake each post to confirm stability.
- Inspect all hardware for tightness and rust.
Taking the time for this final check will help you catch problems early, keeping your fence strong and reliable for years.
Document any findings and plan repairs as needed to maintain its condition.
Frequently Asked Questions
What Type of Chain Link Fence Material Should I Choose?
When selecting chain link fence material, opt for galvanized steel for long-lasting strength, or choose vinyl-coated options for a more appealing look. Make sure to pick the right height based on your needs, and don’t overlook compatible gates for easy access.
How Deep Should Post Holes Be for a Chain Link Fence?
For a chain link fence, post holes should be dug to a depth of at least one-third to half the height of the posts. For example, if your posts are 6 feet tall, aim for a depth of 2 to 3 feet. Adjust this based on your soil type and local building codes to ensure stability.
Can I Install a Chain Link Fence Alone?
Yes, you can install a chain link fence by yourself, but it can be challenging. To make it easier, consider using the right tools, like a post hole digger and tension wrench. If possible, ask a friend for help, especially when lifting heavy panels. This will make the job safer and faster.
What Tools Are Essential for a DIY Chain Link Fence?
To install a chain link fence effectively, you’ll need key tools: a post hole digger for digging holes, a measuring tape to ensure accurate spacing, a level to keep posts straight, and tension bands for securing the fence. These essentials help you measure correctly, maintain stability, and attach everything properly, ensuring a smooth installation process.
How Long Does It Take to Install a Chain Link Fence?
Installing a chain-link fence usually takes one to two days. The exact time depends on the site’s preparation and how complex the installation is. Good planning is key to completing the project efficiently and on time.
Conclusion
Installing a DIY chain link fence can boost your backyard’s security and appearance. With proper care, these fences can last over 20 years, making them a smart investment for homeowners. Regular checks and simple repairs will keep your fence functional and looking good. Once you’re done, take a moment to appreciate your work—this fence is more than just a boundary; it adds value to your property.

