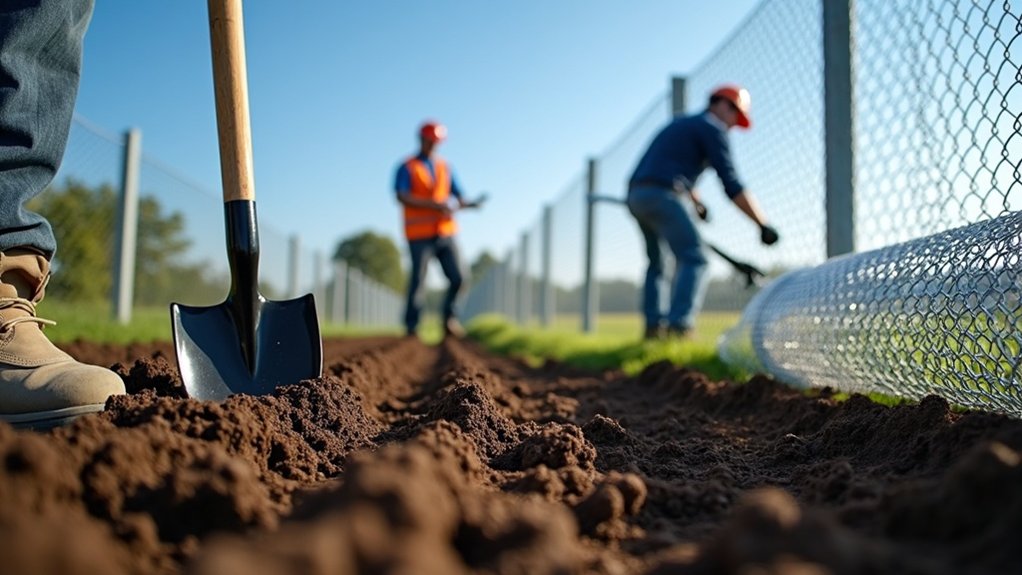
To install a chain link fence, first, plan your layout and check your property lines. Dig post holes to the required depth as per local codes, then securely set your terminal and line posts. Attach terminal post hardware and assemble the top rail, ensuring all hardware is facing outward. Next, hang the chain link fabric tightly using tension bands and secure it to the posts. Finally, check the overall stability and make sure it meets local regulations. Follow these steps for a successful fence installation.
Key Takeaways
- Plan and mark your fence layout, check property lines, and follow local laws.
- Dig post holes deep enough for stability, and set terminal posts firmly.
- Assemble the top rail and attach tension bands to terminal posts, with hardware facing out for easy access.
- Hang the chain link fabric, using a tension bar to secure it tightly to the posts with ties and bands.
- Do a final check to make sure posts are straight, rails are aligned, and the gate opens smoothly.
Planning and Preparation
Before installing a chain link fence, planning and preparation are key for a smooth process. First, check that your fence design complies with local regulations and stays within your property lines. Place fence posts about 4 inches inside the boundaries to avoid any issues. Use stakes and string to outline the perimeter, starting with the terminal post locations, and space intermediate posts about every 3 meters to keep everything aligned. Additionally, it’s important to maintain a maximum of 10 feet between fence posts to ensure stability and support. Don’t forget to contact local utility companies to mark any underground lines for safety. Clear the area of debris and gather all necessary materials and tools before starting to ensure a hassle-free installation. Additionally, a chain link fence is a cost-effective option that can meet various needs, making it a smart choice for many homeowners.
Post Hole Digging and Setting
When digging post holes for your chain link fence, stick to the recommended spacing for stability and alignment. Make sure to set terminal posts properly; these are crucial for anchoring the entire fence. Additionally, local codes may dictate the depth and diameter of your post holes, so be sure to check those requirements. A depth of at least 3 feet is recommended for sandy soil in Florida to ensure better stability. Don’t overlook the concrete curing time, as it impacts the longevity of your fence.
Recommended Hole Spacing
Proper spacing for chain link fence posts is essential for strength and cost-effectiveness. Here are some key guidelines:
- Space posts between 4 to 10 feet apart for a good balance of stability and efficiency.
- A common recommendation is to use 6 to 8 feet spacing for general support.
- For heavier fences, stick to 6-foot spacing for extra strength.
- Avoid exceeding 10 feet between posts to prevent sagging. Proper spacing is crucial for the overall functionality of the fence. Additionally, ensure that your post holes are dug to the recommended depth of 600mm (2 ft) for optimal stability.
Make sure your hole depth meets local codes, which usually require at least 24 inches for a 4-foot fence.
Accurate post spacing and hole depth are crucial for a sturdy fence that can handle the elements, so check your measurements before you start digging.
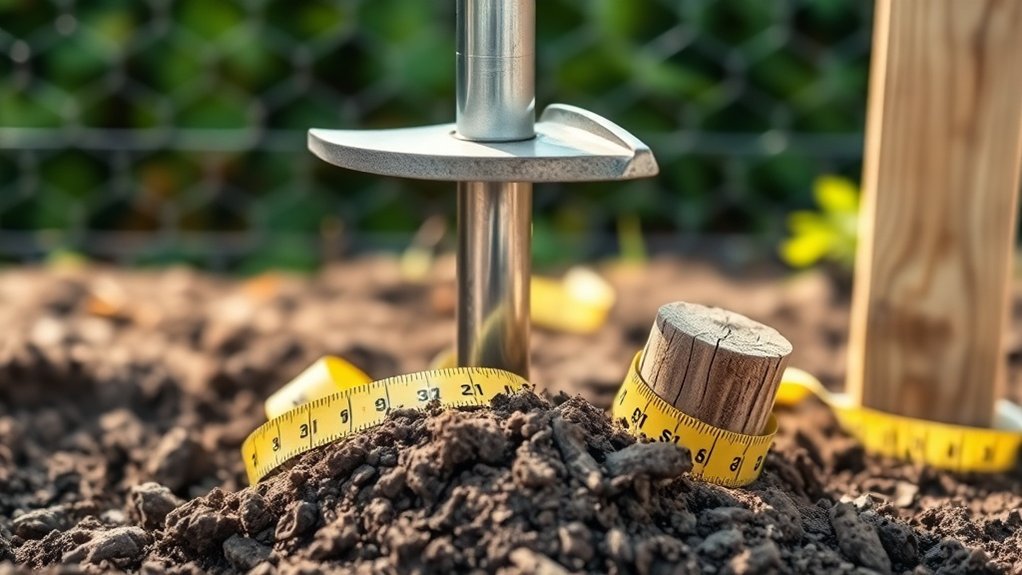
Setting Terminal Posts
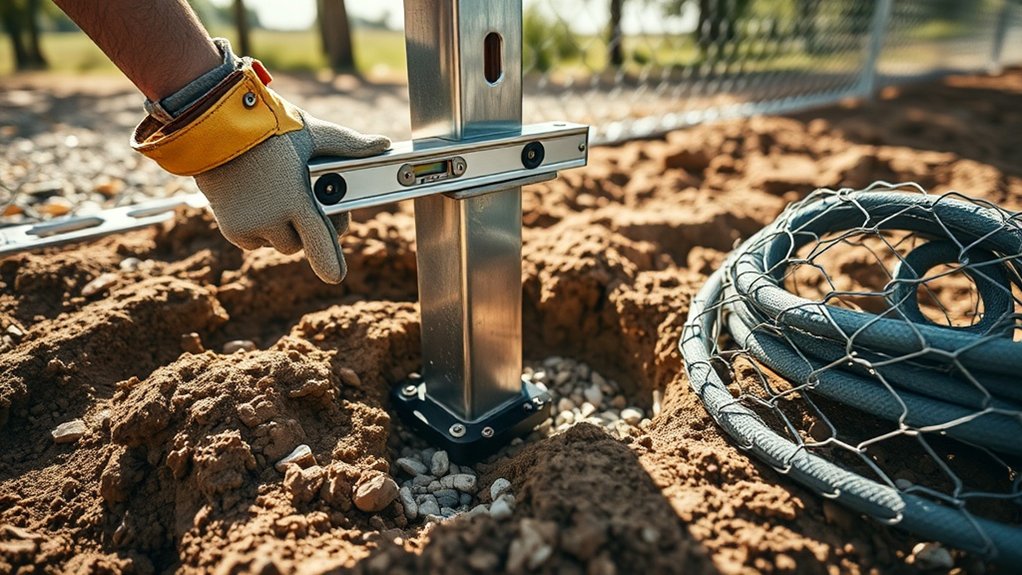
Setting terminal posts is crucial for a sturdy chain link fence. Start by digging holes that are 8 inches wide and 30 inches deep, with sloped sides for better stability.
Clean the hole sides to help the concrete stick better. Add gravel at the bottom for drainage, then place the posts at your marked spots, making sure they’re vertical with a level.
Pour concrete around the posts, leaving about 2 inches above ground. Compact the concrete to remove air pockets and brace the posts to keep them steady while the concrete sets.
This will ensure your fence is strong and durable.
Concrete Curing Time
Understanding concrete curing time is crucial for installing a chain link fence. Proper curing ensures your fence posts are stable.
Here are key points to remember:
- Fast-setting concrete takes about 20 to 40 minutes to set.
- Wait 2 to 3 days before putting tension on the posts.
- Temperature and humidity can influence curing time.
- Keep the concrete moist during curing for best results.
Installing Terminal Post Hardware
To ensure your chain link fence is strong, install terminal post hardware correctly.
Start by adding tension bands: for each terminal post, use one less band than the fence height in feet. Make sure the flat side of the bands faces the fabric side. For corner posts, use an extra set of bands. Secure the bands with carriage bolts, with the heads facing outward for a neat look.
Next, attach the top rail bands and cups, alternating their direction on corner posts.
Lastly, put on post caps to protect the tops of the posts and ensure a tight fit for stability.
Assembling Top Rail
As you assemble the top rail for your chain link fence, gather all necessary components: top rail lengths, rail end bands, and line post tops.
Follow these steps for a smooth assembly:
- Slide the top rail lengths through the line post tops.
- Connect the swedge ends internally for a clean fit.
- Secure rail end bands to terminal posts for stability.
- Ensure all hardware faces outward for easy access.
After securing each rail, double-check that connections are tight to keep your fence sturdy.
Doing this correctly is crucial for the fence’s stability and durability.
Hanging Chain Link Fabric
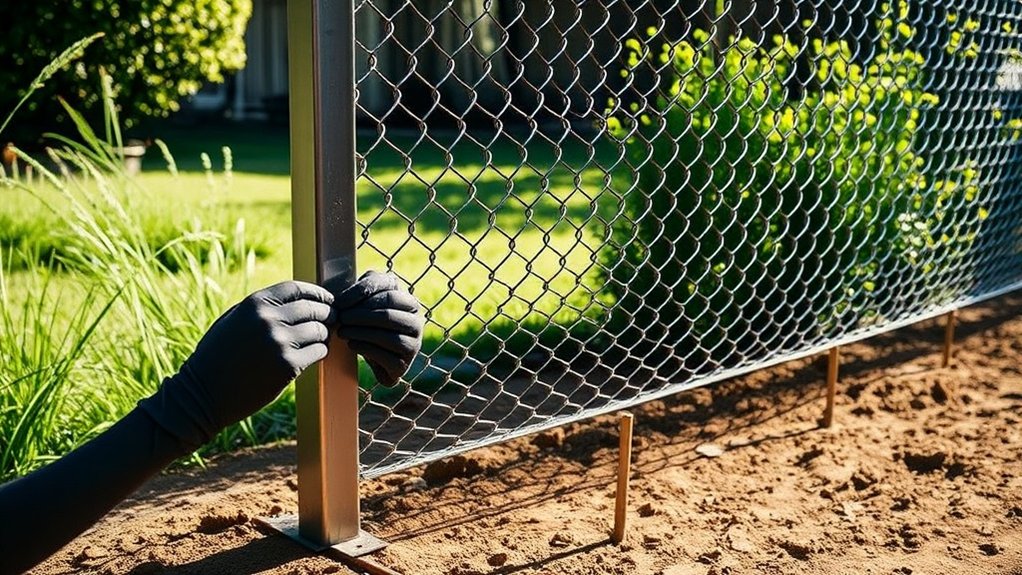
To hang the chain link fabric, start by unrolling it from the terminal post and aligning it with the fence line.
Use tension bands and carriage bolts to secure the fabric, making sure everything is spaced evenly and tight.
Check for any slack and adjust as needed for a snug fit.
Fabric Preparation Steps
Before hanging the chain link fabric, proper preparation is key for a smooth installation. Follow these steps for effective tensioning and orientation:
- Unroll the fabric outside the fence line to avoid twists.
- Measure the length to fit snugly between terminal posts.
- Position the top edge about 1 inch above the top rail.
- Insert a tension bar into the end row of mesh openings for a secure hold.
These steps will help ensure a taut and well-aligned fence, preventing complications during installation and ensuring durability.
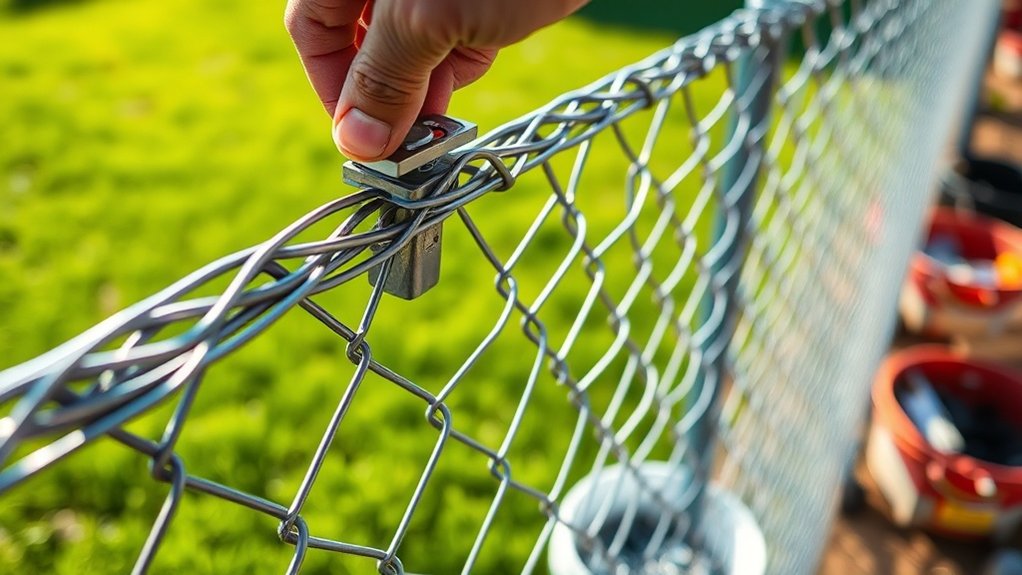
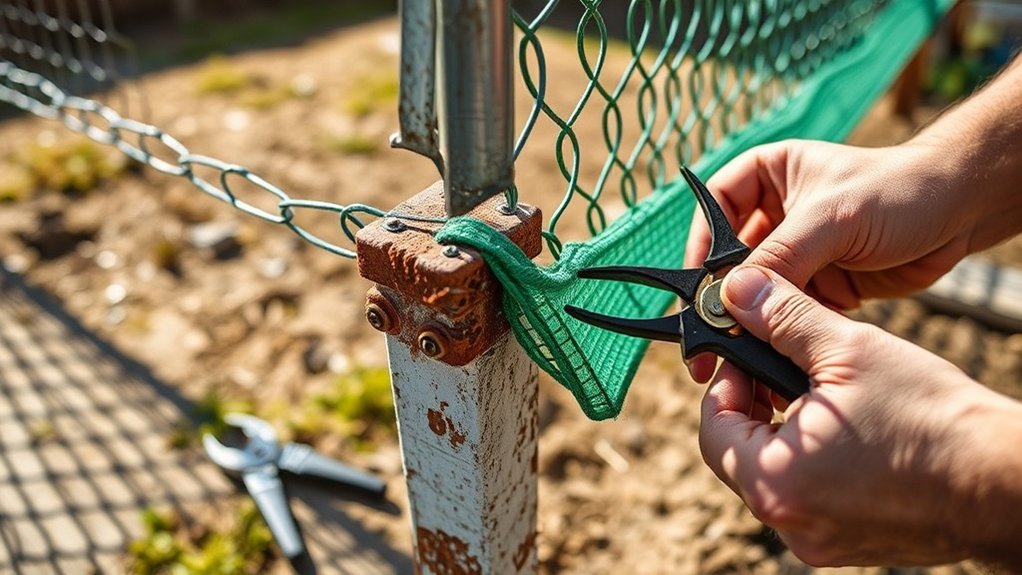
Securing Fabric Properly
Properly securing chain link fabric is key to a strong, lasting fence. Start by loosely attaching the fabric to the top rail using a few fence ties, spaced about 24 inches apart.
Then, secure the fabric to the line posts with ties about 12 inches apart to keep it in place.
Use a tension bar threaded through the fabric and connect it to terminal posts with tension bands and nuts to ensure even tension.
As you stretch the fabric, make sure it’s tight enough to have a little give.
Walk along the fence line to adjust any slack, wearing gloves for better grip and to prevent overstressing the mesh.
Adding Finishing Elements and Tension Wire
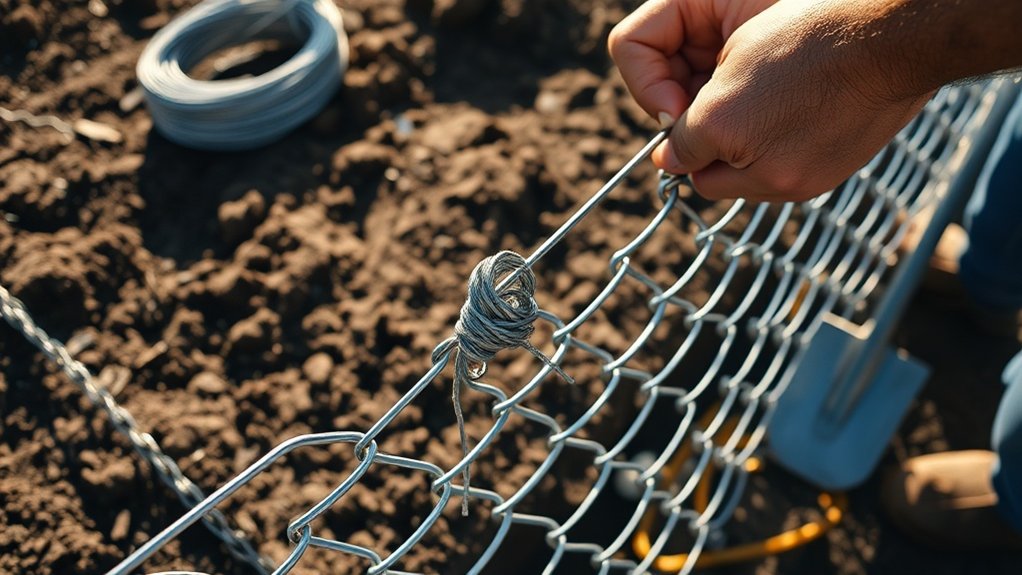
Adding finishing elements and tension wire is crucial for the stability and longevity of your chain link fence. Here’s how to do it effectively:
- Ensure the tension wire runs parallel to the fabric for optimal support.
- Attach the wire with clips spaced no more than 24 inches apart.
- Wrap the tension wire around the end band of the bottom rail for extra stability.
- Use tension bands and rail ends to securely fasten the fabric to the posts.
After installation, check that all clips and fasteners are tight to maintain even tension.
This careful attention will help keep your fence sturdy for years to come.
Tools and Materials Needed
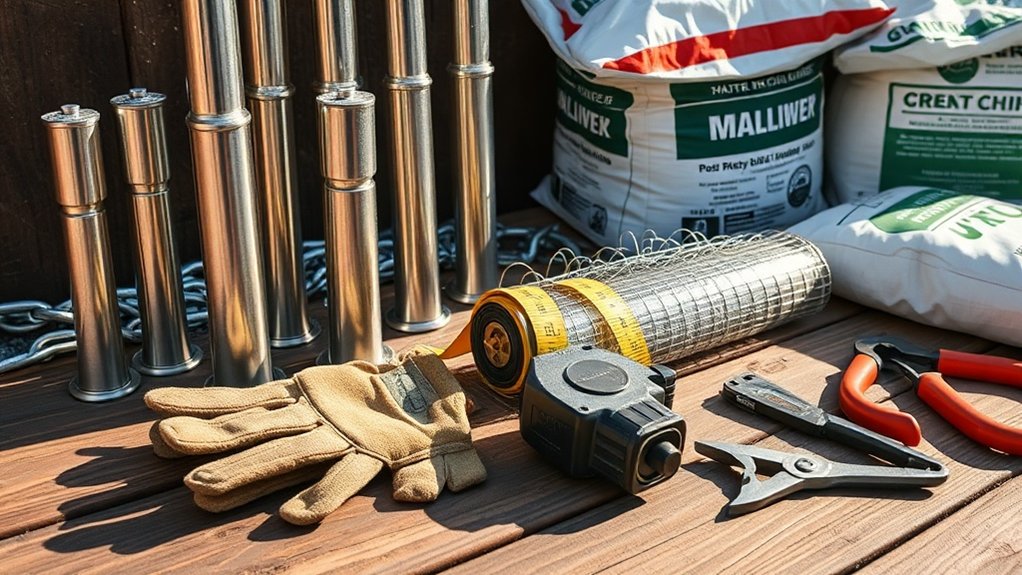
To install a chain link fence, you’ll need some key tools and materials.
Grab post hole diggers, tape measures, and levels for accurate setup.
Don’t forget the fencing hardware for stability.
You’ll also need concrete mix, chain link fabric, and gate components to finish the job efficiently.
Essential Tools List
When installing a chain link fence, having the right tools is crucial for a smooth project. Here’s a concise list of what you’ll need:
- Post Hole Digger: Essential for creating deep, straight holes for posts.
- Measuring Tape: Ensures accurate spacing and layout.
- Sledgehammer: Useful for driving stakes and adjusting post positions.
- Hand Stretcher: Keeps the fence fabric tight to avoid sagging.
Don’t forget to wear gloves and protective eyewear for safety.
With these tools and safety in mind, your installation will go much more smoothly.
Required Materials Overview
Before starting your chain link fence installation, gather essential materials for a strong and reliable structure.
You’ll need galvanized steel chain-link mesh, which comes in different gauges and can have PVC coatings for extra durability and a nicer look.
Use 2″ or 2.5″ diameter terminal posts at corners and gates, with smaller line posts for support.
Don’t forget fittings like tension bars, bands, and rail ends to keep the fabric tight.
You’ll also need concrete to set the posts, gravel for drainage, and optional tension wires for added security.
Each material plays a key role in ensuring your fence is sturdy and long-lasting.
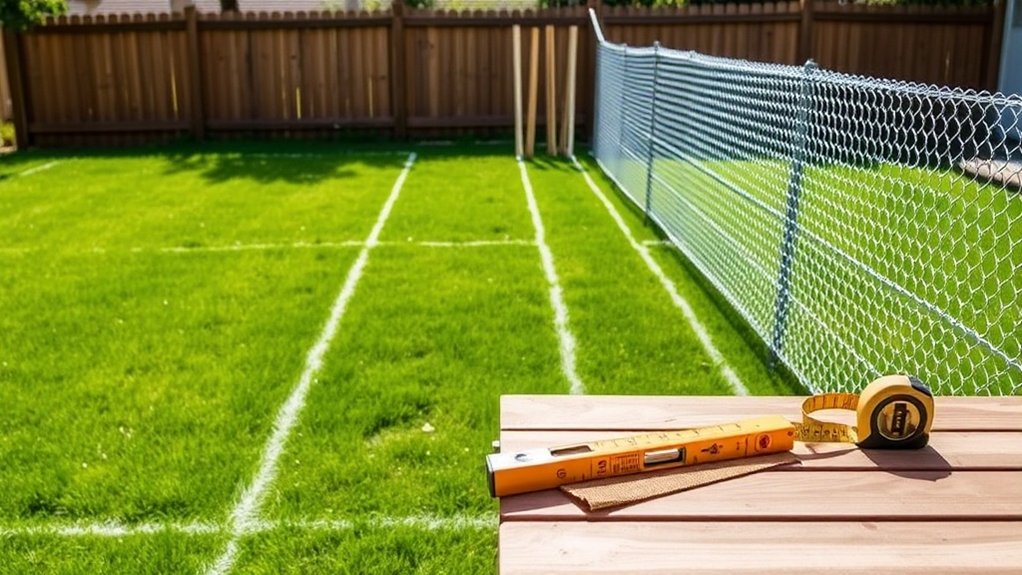
Measuring and Marking the Fence Line

Measuring and marking your fence line accurately is key to a successful chain link fence installation. Start by confirming your property boundaries with official land surveys. Use markers to outline corners and direction changes, creating a clear path for your fence.
- Use a measuring wheel or steel tape for accurate lengths.
- Stretch string or mason’s line between markers for a straight line.
- Mark post locations with spray paint, following local spacing guidelines.
- Check for underground utilities to avoid digging hazards.
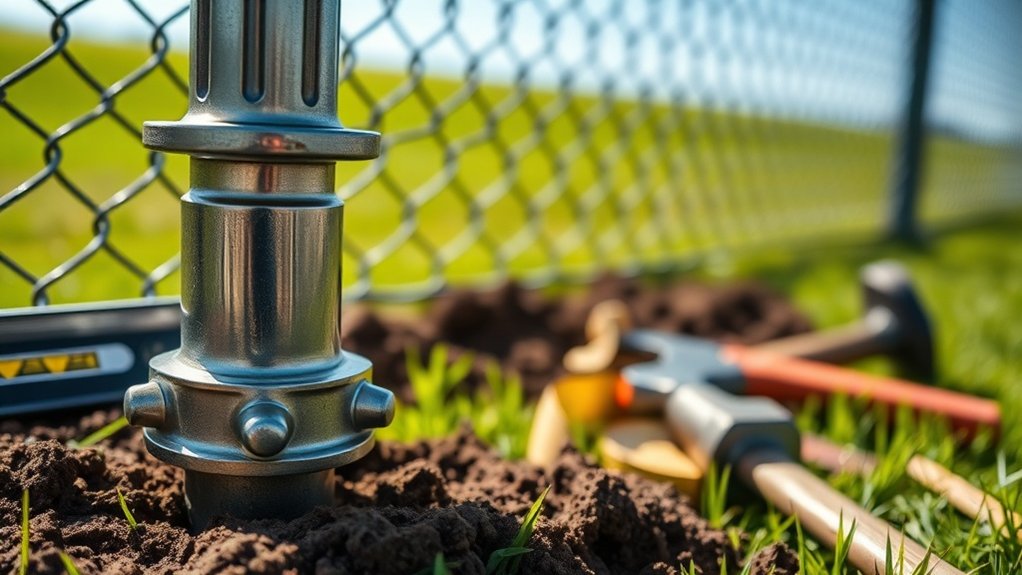
Ensuring Post Alignment and Stability
Proper post alignment and stability are crucial for your chain link fence’s durability and performance. Start with strong materials, like galvanized steel, to ensure longevity.
- Post Depth: Dig holes deep enough according to local codes, wider than the post diameter for concrete support. This prevents heaving.
- Material Selection: Use thicker and more durable materials to enhance the fence’s structural strength.
- Post Bracing: Securely brace posts with clamps and stakes to keep them vertical while the concrete cures.
- Check Alignment: Use string lines or laser levels to ensure posts are straight. Regularly check for alignment during installation.
- Adjust Misalignments: If any posts lean, use mechanical tools to correct them.
Securing Fabric to the Posts
To secure the chain link fabric to the posts effectively, follow these steps:
- Unroll the fabric and insert a tension bar through the first row of diamonds at the terminal posts.
- Attach the fabric to the terminal posts using tension bands, spaced 18 inches apart, and secure with carriage bolts.
- Loosely fasten the top of the fabric to the rail with wire ties for easy adjustments.
- Stretch the fabric between the terminal posts, ensuring it’s taut but not overly tight.
This method ensures stability and proper tension for the best results.
Final Inspection and Adjustments

Before you finish installing your chain link fence, do a detailed inspection.
Use a checklist: ensure all posts are straight and securely anchored. Check for any movement and make sure the rails are straight.
Test the gate to confirm that the hinges and latches operate smoothly and are free from rust. Inspect the wire fabric for damage, ensuring it’s properly installed above ground and tightly secured.
Look for rust on metal parts and any decay in nearby wood. Lastly, verify that your fence complies with local zoning and safety regulations.
Take note of any issues and make adjustments as needed. These final touches will boost your fence’s durability and safety for years to come.
Frequently Asked Questions
How Do I Choose the Right Type of Chain Link Fabric?
When selecting chain link fabric, focus on wire gauge and protective coatings. Make sure the gauge matches your fence height needs—higher gauges offer more security but may be less durable. For instance, a 9-gauge wire is great for high-security areas, while a 11-gauge is suitable for residential use. Always consider your specific application to ensure you get the right balance of strength and durability.
What Permits Are Needed for Installing a Chain Link Fence?
To install a chain link fence, you’ll likely need zoning permits and possibly building permits. Make sure your permit application includes clear plans and meets local regulations to prevent fines and delays. For example, if your fence is taller than the allowed height, you might need special approval. Always check with your local authorities to ensure you’re compliant.
Can I Install a Fence on a Slope?
Yes, you can install a fence on a slope. Just be sure to choose the right method: stepping or contouring. Stepping creates a series of flat sections, while contouring follows the land’s natural shape. Both methods ensure stability and an attractive look.
How Do I Maintain My Chain Link Fence Over Time?
To keep your chain link fence in good shape, check it regularly for rust and clean it with mild soap. Repaint any spots that need it. To prevent rust, manage moisture around the fence and use rust-inhibiting products. This will help your fence last longer.
What Is the Best Way to Remove an Old Fence?
To remove an old fence efficiently, start by detaching the fabric and pulling out the posts. Use tools like pliers, post pullers, and saws. Take a systematic approach for safety and to clear the area effectively.
Conclusion
As you step back to look at your newly installed chain link fence, think of it as a protective barrier for your yard. Each post supports the fence, ensuring safety and security. Just like a strong fence protects your property, your careful planning and execution have created a reliable boundary. With every adjustment, you’ve secured not just the fence, but also your peace of mind.

How to install a chain link fence in Broward County? It is advisable to plan ahead first before placing a Read more

How to choose the right aluminum fencing for your home in Broward County? Aluminum fences are a popular choice of Read more

A pergola plan can pave your way to build a wood pergola in no time at all while saving you Read more


