When installing metal fencing, steer clear of common pitfalls. First, always verify your property boundaries and check for utility lines to avoid costly mistakes. Ensure your posts are aligned by digging consistent holes and using a level to keep them straight. Choose high-quality materials that can withstand your climate for added durability. Don’t overlook local regulations; you may need permits. Finally, use proper installation techniques to ensure your fence is stable and lasts longer. Follow these tips for a smooth and successful installation.
Key Takeaways
- Always confirm property boundaries with deeds or a licensed surveyor to avoid disputes.
- Contact utility companies and use “Call Before You Dig” services to prevent accidents with underground lines.
- Dig post holes one-third the post height and twice the width to ensure stability.
- Regularly check post alignment with a level to avoid a crooked fence.
- Invest in durable, corrosion-resistant materials to prevent quick deterioration in your climate.
Detailed Installation Planning

When planning your metal fencing installation, follow a clear and organized approach to prevent mistakes.
Start by marking post locations, gate spots, and fence lines with wooden stakes or string. This helps ensure straight lines and consistent heights.
Next, create a timeline that includes site prep, like removing debris and checking utilities. Utility marking is essential to avoid costly damages during the digging process, as local regulations may dictate placement of utility lines.
Dig holes that are one-third the height of the posts, spacing them evenly and adjusting for any terrain changes.
Make sure the posts are centered and aligned correctly, keeping them vertical and level.
Once the posts are set, pour concrete carefully and let it cure fully before adding the panels. These steps will streamline your installation and improve the durability of your fence.
Verifying Property Boundaries

After setting up for your metal fencing installation, it’s crucial to verify property boundaries to prevent disputes.
Start by researching your property—check deeds and plat maps for boundary details. Look for physical markers like stakes or pins, which might be buried and require some digging or a metal detector to find. Ensuring that the outer face of the fence aligns with the boundary is essential to avoid property disputes with your neighbors.
Hiring a licensed surveyor is also a smart move, as they’ve the tools for precise measurements. Utilizing state-of-the-art instruments like GPS and Robotic Total Stations, surveyors can ensure accuracy in your boundary verification. Always compare your findings with legal documents to ensure you’re following local zoning laws. Proper positioning of fences aids in maintaining good neighbor relations.
Keep a record of your verification process to help avoid any future conflicts with neighbors.
Post Installation Precision

Post-installation precision is crucial for the durability and performance of your metal fencing. Here’s how to ensure everything is set correctly:
- Post Alignment: Use a post level to check that each post is vertical on two sides. Adjust with shims as needed while pouring concrete to keep the height consistent. Ensuring appropriate depths for each post based on soil conditions will also contribute to stability.
- Spacing: Position posts 2 to 3 meters apart and ensure they’re in a straight line for uniformity.
- Soil Compaction: Make sure to compact the soil tightly around each post to provide stability. Proper post depth and stability is essential to avoid any future leaning or instability in the fence.
- Concrete Curing: Allow 24 to 48 hours for the concrete to cure before attaching any panels.
Here’s a quick reference table:
| Aspect | Recommendation |
|---|---|
| Post Alignment | Use a level for vertical checks |
| Spacing | 2-3 meters on-center |
| Soil Compaction | Compact soil firmly around posts |
| Concrete Curing Time | Wait 24-48 hours before paneling |
Following these steps will help ensure your fence remains sturdy and effective for years to come.
Material Quality Considerations

When choosing metal fencing, prioritize material quality for durability and longevity.
Consider how different materials perform in your climate; for example, galvanized steel resists rust better in humid areas.
Opt for low-maintenance options to save time and effort, like aluminum, which doesn’t require regular painting.
Durability and Longevity
Durability and longevity in metal fencing depend largely on the quality of materials used. Here are key factors to consider:
- Material Strength: Steel is stronger than aluminum, making it better for high-security areas due to its resistance to fatigue and impacts.
- Corrosion Resistance: Aluminum resists rust naturally, while galvanized steel needs regular treatments to prevent rust from forming.
- Lifespan: Steel can last over 30-50 years, while aluminum typically lasts 20-30 years and vinyl lasts around 15-30 years, depending on care.
- Maintenance: Steel requires regular inspections and treatments, whereas aluminum needs very little upkeep, which can help it last longer.
Environmental Suitability
Choosing the right metal fencing material for your environment is essential for durability and performance. Consider the climate and corrosion risks in your area. Here’s a quick guide to help you choose:
| Environment Type | Recommended Material |
|---|---|
| Coastal Regions | Aluminum or Galvanized Steel |
| High Moisture Areas | Galvanized Steel |
| Extreme Temperatures | Aluminum with Special Coatings |
| Heavy Snowfall Areas | Reinforced Steel |
Opting for materials like galvanized steel or aluminum can significantly increase the lifespan of your fence. Avoid untreated iron, as it can rust quickly. Choose wisely to reduce maintenance costs and ensure your fence lasts.
Maintenance Requirements
Choosing the right metal fencing material is just the start; regular maintenance is crucial for its durability.
Here’s a simplified maintenance checklist:
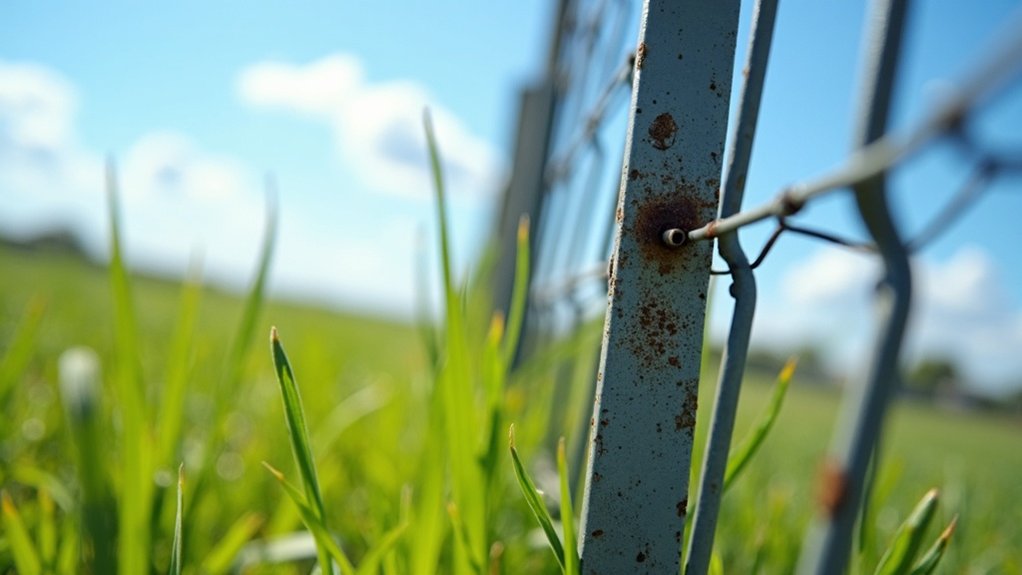
- Corrosion Check: Look for rust at joints. Treat small rust spots with sandpaper and a rust-resistant coating.
- Cleaning: Wash your fence monthly with mild soap. Skip high-pressure washers and harsh chemicals to keep the finish intact.
- Painting: Repaint when the color fades or every few years using outdoor-grade, rust-resistant paint.
- Hardware Care: Regularly tighten and lubricate hardware. Check posts for stability and rust, especially where they meet the ground.
Terrain and Soil Assessment

Before installing metal fencing, it’s crucial to assess the terrain and soil. Start by analyzing the land for slopes, rocky areas, and uneven ground—these may require special tools or designs.
Next, check the soil type and stability. For instance, loose or sandy soil typically needs gravel backfill, while clay or compacted soil might require pre-drilling.
Make sure post holes are deep enough to reach the local frost line, usually between 24-42 inches, adjusting the diameter based on the soil conditions.
Utility Line Safety Checks

Before installing metal fencing, make sure to check for utility lines.
Contact local utility companies to have underground lines marked, and consider hiring private services for unmarked utilities.
This helps prevent accidents and costly repairs during excavation.
Importance of Utility Checks
Before installing metal fencing, it’s crucial to check for utility lines to prevent serious accidents. Skipping this step can result in injuries, property damage, and extra expenses.
Here’s how to ensure safety:
- Identify utility lines: Look for both public and private lines.
- Follow safety protocols: Mark and document locations clearly.
- Conduct a site walk: Look for surface markers and irrigation systems.
- Use hand tools: Dig by hand near marked utilities to reduce risks.
Contacting Utility Companies
To ensure the safety of your metal fencing installation, start by notifying utility companies before any digging. Federal and state laws require you to reach out 48 to 72 hours in advance.
Use “Call Before You Dig” services to get markings for underground and overhead utility lines—this is crucial for safety. Keep a record of all communications and confirmations from the utility companies as proof of compliance.
Stay in touch with utility representatives throughout the installation. If you find any unmarked lines, stop work immediately and contact the utility company.
Following these steps will help minimize the risks of hitting utility lines during your fencing project.
Avoiding Underground Hazards
To avoid underground hazards when installing metal fencing, accurately detecting utility lines is crucial. Here’s how to do it effectively:
- Use cable locators to find buried electrical and utility lines.
- Employ ground-penetrating radar for detailed mapping of underground hazards.
- Check property surveys and utility maps to know where utilities might be located.
- Clearly mark utility lines with flags or paint before digging to help the installation crew.
Proper Installation Techniques

For a successful metal fencing installation, follow these essential steps.
First, accurately mark where your posts will go at corners and gates using spray paint or stakes. Make sure your measurements are spot on for the entire perimeter.
When digging post holes, aim for one-third the height of the post and twice the width for stability. Use a post-hole digger or auger for uniform holes, adding gravel at the bottom if you need drainage.
After placing your posts, secure them with concrete and let it cure completely before attaching the panels.
Keep a level handy to check alignment regularly, ensuring everything looks straight and preventing future issues.
Tool Selection and Usage

Choosing the right tools for installing metal fencing is essential for a professional look and strong structure. Here are the must-have tools:
- Cutting Tools: A metal cut-off saw ensures clean cuts. Dull blades can weaken your fence.
- Measuring Tools: Use a tape measure and level to align posts accurately and maintain proper spacing.
- Drilling Equipment: Power drills with sharp metal bits make fastening faster and easier.
- Safety Gear: Always wear gloves and safety glasses to protect yourself from metal shards.
Compliance With Local Regulations

Before starting your metal fencing installation, check local regulations. Know the rules about fence height, style, and placement in your area.
Make sure to survey your property lines to prevent any disputes. Many towns require permits for fencing, especially for commercial projects.
Be ready to submit a site plan with details about your fence’s type, height, and materials. Since permit reviews can take time, apply early to avoid delays.
Ignoring these rules can lead to fines or having to remove your fence. Following regulations not only protects your investment but also helps keep your neighborhood looking good and safe.
Frequently Asked Questions
How Can I Prevent Rust on My Metal Fence?
To prevent rust on your metal fence, regularly inspect it for signs of wear. Use galvanized materials for added protection and apply rust-inhibiting paint. Ensure proper drainage around the fence and keep nearby vegetation trimmed to minimize moisture exposure. This will help keep your fence in good shape and extend its lifespan.
What Is the Best Time of Year to Install a Metal Fence?
The best time to install a metal fence is in spring when the soil is soft and temperatures are mild. Winter can present challenges with frozen ground, but it may also reduce costs and improve scheduling if you plan ahead.
Can I Install a Metal Fence Myself Without Professional Help?
Yes, you can install a metal fence yourself. With the right tools and materials, it’s a manageable DIY project. Just be sure to follow the instructions closely to avoid common mistakes. For example, measuring accurately and digging post holes correctly can save you a lot of trouble later on.
How Long Does a Typical Metal Fence Last?
A typical metal fence lasts 15 to 40 years, depending on the material. Aluminum usually lasts 20 to 30 years, while steel can last 20 to 40 years with proper care. Regular maintenance can significantly extend its lifespan.
What Colors Are Available for Metal Fencing?
Metal fencing is available in several color options, including black, bronze, white, and earthy tones. A powder coating finish adds durability, protecting against rust and fading while keeping the fence looking great in various settings.
Conclusion
When installing metal fencing, small mistakes can lead to big problems. To avoid a shaky fence, take the time to plan thoroughly. First, double-check your property lines to prevent disputes with neighbors. Next, ensure your installation complies with local regulations to avoid fines. Remember, the durability of your fence relies on careful installation. By following these steps, you’ll create a strong metal barrier that protects your property for years.

How do aluminum, steel, wrought iron, and more elevate your property's aesthetic and security? Discover the best metal fencing options Read more

Overwhelmed by fencing choices? Discover the key differences between aluminum, steel, and wrought iron to find the perfect fit for Read more

Discover essential techniques to weatherproof your metal fence for any climate, ensuring its longevity and strength against the elements—find out Read more


