To restore faded paint and stain on older fencing, begin by cleaning the surface to eliminate dirt and grime. Next, use a chemical stripper to remove old finishes. Sand the wood to revive it, then apply a high-quality primer to fill in any imperfections. Choose a stain that suits your style, and finish with a protective topcoat. Regular inspections and maintenance will help keep your fence looking vibrant and durable. For more tips, explore additional resources.
Key Takeaways
To restore faded paint and stain on older fencing, follow these steps:
- Clean the Fence: Use an alkaline wood cleaner to remove dirt, algae, and stains. This ensures a clean surface for restoration.
- Remove Old Paint: Apply chemical strippers to get rid of old paint, then sand the surface to create a smooth finish for new stain or paint.
- Repair Damage: Fill any gaps or cracks with exterior-grade wood filler and prime the surface before applying new stain.
- Choose Quality Stains: Opt for high-quality stains with UV protection for better penetration and durability. Consider your local weather conditions when selecting a product.
- Regular Maintenance: Inspect and maintain the fence every 2-3 years to address wear and prolong its lifespan.
Cleaning and Preparing the Fence Surface

To restore your faded fence, start by cleaning and preparing the surface. Check for dirt, algae, and stains, as these can affect your efforts.
Use an alkaline wood cleaner made for fences to effectively remove grime. For mild stains, sprinkle baking soda and scrub gently with a soft brush. Additionally, ensure the wood surface is clean and dry for proper stain bonding before applying any new products. Regular cleaning is essential, as it enhances the appearance of wooden fences and can prevent future issues.
If you have a pressure washer, use it on a low setting (1,500-2,000 PSI) with a fan spray nozzle, keeping it a few feet from the wood. Rinse well and let the fence dry for at least 48 hours before applying a new stain.
Regular seasonal cleaning will help prolong your fence’s lifespan and keep it looking good.
Stripping and Bleaching Old Stain and Paint

Stripping and bleaching old stain and paint from your fence is key to restoring its look and getting it ready for a new finish.
Start by applying chemical strippers like gel-based Ready Strip or liquid Citristrip. Use a paintbrush for even coverage and seal it with plastic wrap for better results. Let it sit for 5-15 minutes until the paint starts to bubble. Thick safety gloves are recommended to protect your hands while working with these chemicals. Regularly checking for signs of wear can help ensure your fence remains in good condition.
Once it’s loosened, use wire brushes and putty knives to scrape it off. Rinse the area with water from top to bottom to prevent contamination.
Finally, clean up any leftover residue with mineral spirits and steel wool for a smooth surface before refinishing.
Reviving and Restoring Wood Appearance

Reviving your wooden fence can greatly enhance its appearance and longevity. Here’s a simple guide to get started:
- Pressure Wash: Use a pressure washer to clear away dirt and old finishes, but be gentle to avoid damaging softer woods.
- Sand the Surface: Use medium-grit sandpaper to smooth out rough spots and help stains adhere better. Regular cleaning is essential for maintaining your fence’s appearance and durability, as it prevents moisture buildup that can lead to damage.
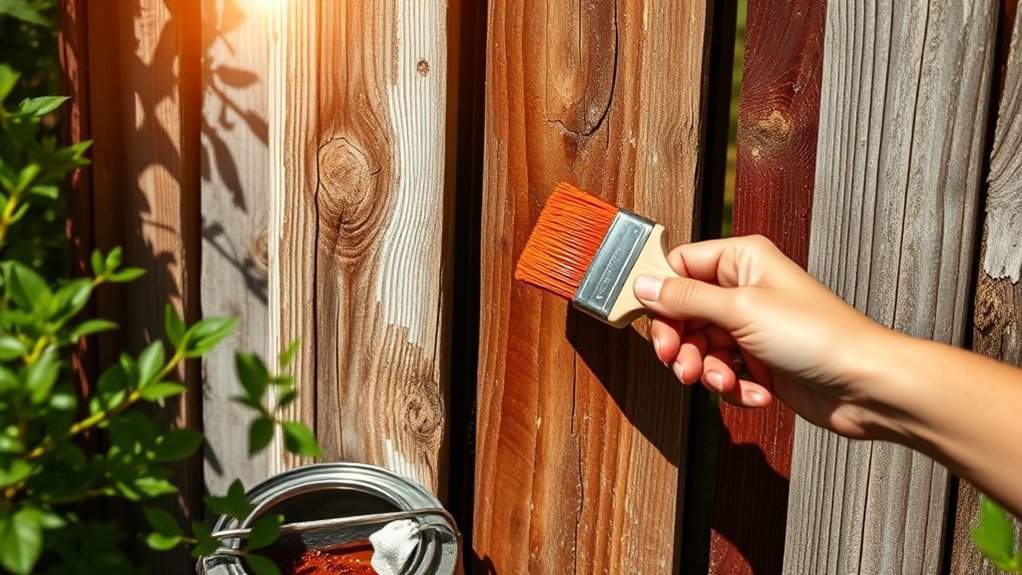
- Apply Stain or Paint: Choose a high-quality stain or paint for vibrant color and even coverage.
- Seal the Finish: Finally, seal the surface to protect against moisture and UV rays, ensuring your fence stays beautiful longer.
With these steps, your fence will look refreshed and be well-protected!
Priming and Filling Wood Defects

After restoring your wooden fence’s appearance, it’s time to prime and fill any defects to ensure its longevity. Start by cleaning the surface of debris and mildew. Fill gaps or cracks with exterior-grade wood filler and smooth it out with a putty knife. Once dried, sand it flush with the wood.
Here’s a quick primer guide:
| Primer Type | Use |
|---|---|
| Oil-Based | Seals knots and blocks stains |
| Latex (Water-Based) | General use for exterior wood |
| Shellac | Fast-drying and blocks stains |
| Flexible Filler | For larger gaps that may move |
| Exterior-Grade | Durable for outdoor conditions |
Once primed, your fence is ready for a fresh coat of stain or paint!
Choosing the Right Stain and Topcoat

Choosing the right stain and topcoat for your fence is crucial for durability and appearance.
Consider options like oil-based stains for deep penetration and water-based stains for quick drying. Look for UV protection to prevent fading.
A good topcoat can add extra protection and extend the life of your finish. Your choices directly affect how your fence looks and how long it lasts.
Stain Types Overview
Choosing the right stain for your fence is crucial for its look and lifespan. Here’s a simple breakdown:
- Transparent Stains: Best for new or attractive wood; they let the wood grain show.
- Semi-Transparent Stains: These enhance color while still revealing some grain, making them suitable for older wood.
- Solid Stains: Provide complete coverage and great UV protection, ideal for weathered wood.
- Oil-Based vs. Water-Based: Oil-based stains penetrate deeper and last longer, while water-based stains dry quickly and are easier to clean.
Keep in mind the type of wood and how it absorbs stain to ensure durability and color enhancement in different weather conditions.
Topcoat Selection Criteria
Choosing the right topcoat for your fence is crucial for its appearance and long-term protection.
Consider your local climate: if you’re near the coast, go for stainless steel or aluminum-based formulas to resist salt air. In humid areas, GAW or vinyl-coated options help prevent rust.
Look for “long-lasting” products to reduce the need for frequent repainting. For metal fences, rust inhibitors are essential to protect against weather damage.
When it comes to finishes, satin offers a nice balance of looks and functionality, while applying multiple thin coats improves adhesion.
Focusing on weather resistance and durability will extend your fence’s lifespan.
UV Protection Importance
To protect your fence from damaging UV rays, it’s crucial to choose the right stain. Here are key features to look for:
- UV-blocking pigments: These act like sunscreen for wood, shielding it from harmful rays.
- Darker stains with more pigment: They offer better protection against UV damage.
- Natural oils and resins: These nourish the wood, preventing brittleness and extending its life.
- Long-lasting UV protectants: These help maintain the fence’s vibrant color and structural integrity over time.
Applying Stain for Maximum Effect

For the best results when staining your fence, timing and weather matter. Aim for temperatures between 50°F and 90°F.
It’s best to stain in the early morning or late afternoon to avoid direct sunlight. Use a brush for better control or a sprayer for quick coverage, but always work in 2-3 foot sections.
Keep the leading edge wet to avoid lap marks. Apply a generous single coat and back-brush for better penetration.
Lastly, check the weather: ensure low humidity and no rain for 3-4 days after staining for proper curing.
Topcoating for Added Protection

Applying a topcoat is crucial for extending the life of your stained fence. It protects against weather and UV damage, helping to keep the color vibrant.
Here are some benefits of using a topcoat:
- Acrylic latex paint offers strong protection from weather and UV rays.
- Polyurethane creates a waterproof barrier that resists chemicals.
- Specialty acrylic paints come with UV inhibitors for added durability.
- Rubberized coatings provide flexibility and shield against harsh conditions.
Using a topcoat is a smart investment for your fence’s longevity.
Maintenance for Long-Term Durability

To ensure your fence lasts, conduct regular inspections at least twice a year.
Look for signs of wear, like loose screws or cracks, and fix them right away.
Don’t forget to reapply protective coatings on schedule to keep your fence strong and looking good against weather damage.
Regular Inspections Needed
Regular inspections are crucial for keeping your fence in good shape. Check your fence at least twice a year—spring and fall are ideal—and after severe weather.
Use this simple checklist during your inspections:
- Check if fence posts are stable and free from rot.
- Look for cracks or warping in boards and panels.
- Examine hardware for rust or looseness.
- Ensure gates are aligned and function properly.
Adjust how often you inspect based on your fence material and local weather.
Catching minor issues early can save you money on repairs and help your fence stay strong and attractive for years.
Timely Reapplication Schedule
To keep your wood fence looking good and lasting long, plan to repaint or restain it every 2 to 3 years.
If you live in a milder climate or use high-quality materials, you might stretch that to 3 to 5 years.
Pay attention to older fences or any signs of wear, and inspect regularly to determine when maintenance is needed.
Touch up any chips and clean your fence twice a year to avoid dirt buildup.
For the best results, apply new coatings in dry weather and ensure they’ve enough time to dry.
This will help protect your fence effectively.
Tips for Avoiding Common Mistakes

To restore faded paint on your fence effectively, avoid these common mistakes:
- Clean the fence thoroughly before you begin. This ensures the new paint adheres properly.
- Use exterior wood products that suit your local climate for better durability.
- Work in sections to avoid drying issues and ensure even coverage.
- Avoid direct sunlight while applying paint; extreme heat can cause uneven drying.
Following these tips will help you achieve a better and longer-lasting finish.
Frequently Asked Questions
How Long Does the Entire Restoration Process Take?
The restoration process usually spans several days, mainly due to drying times. Keep in mind that weather conditions, such as humidity or rain, can delay the timeline. To ensure the best outcome for your fencing project, plan ahead accordingly.
Can I Restore a Fence in Cold Weather?
Yes, you can restore a fence in cold weather. Start by cleaning the surfaces thoroughly. Use water-resistant stains that can adhere in low temperatures. Make sure to allow enough drying time, as cold weather can slow this process. Also, check that the fence is stable before you begin. Keeping these tips in mind will help ensure a successful restoration even in chilly conditions.
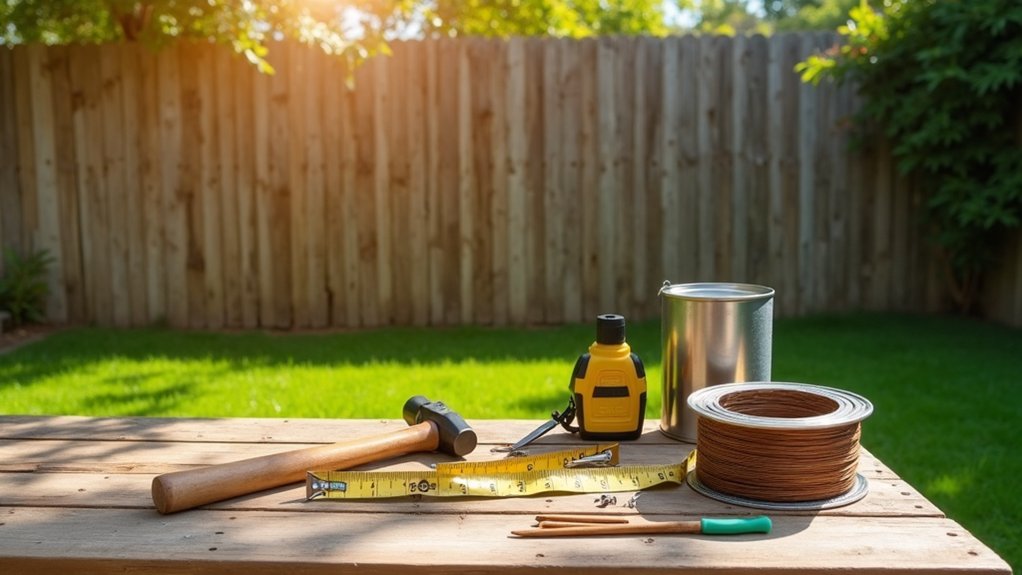
What Tools Are Essential for This Restoration Project?
To restore your fence, start with a pressure washer to remove dirt and grime. Use paint strippers for tough paint layers. Essential tools include sandpaper for smoothing surfaces and sprayers for an even, vibrant finish. These tools will help your fence stand out beautifully.
Is It Safe to Use Bleach on All Wood Types?
Bleach isn’t safe for all wood types. Oak and walnut handle it well, but pine and cedar can lighten unevenly. Consider using alternatives to prevent damage and achieve better results.
How Do I Know When to Reapply Stain?
Reapply stain when you notice signs like fading, peeling, or water soaking into the wood. Generally, aim to restain every 2-3 years, but adjust based on your specific environment.
Conclusion
To restore your faded fence, follow these simple steps for effective results. Regular maintenance is key to keeping your fencing in good condition and protecting your investment. Take your time with each step for the best outcome. With proper care, your fence will enhance your outdoor space and last for years. Happy restoring!

A comprehensive guide on the top five common fence repairs reveals essential tips for maintenance, ensuring your fence remains sturdy Read more

Follow these essential steps to revive your faded fencing, and discover the secret to long-lasting beauty that lies in expert Read more
Budget-friendly DIY fence repair tips can save you time and money—discover essential techniques that will transform your fence without breaking Read more


