To install a vinyl fence, first, check your local regulations and get any necessary permits. Gather your tools, like a post hole digger and concrete. Mark your layout clearly, paying attention to property lines and where gates will go. Dig holes for the posts at least one-third of their length deep for stability. Use a string line to ensure your posts are straight. Finally, follow the manufacturer’s instructions to secure the panels and rails. This will set you up for success, and don’t forget to look into maintenance tips and warranty details!
Key Takeaways
- Check local regulations and get the necessary permits before you start your vinyl fence project.
- Measure your property boundaries accurately and mark where the posts will go using stakes and a string line for alignment.
- Dig post holes to be one-third the length of the posts, making sure they’re clean and ready for concrete.
- Assemble the vinyl panels according to the manufacturer’s instructions, keeping proper spacing and alignment.
- Regularly inspect your fence, clean the surfaces, and check for any damage to ensure it lasts.
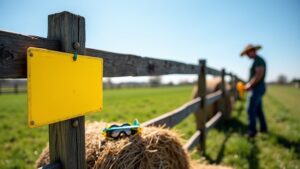
Initial Planning & Permissions

Before installing a vinyl fence, it’s essential to plan and secure the necessary permissions. Start by checking your neighborhood rules, as homeowners’ association (HOA) guidelines and local zoning laws can dictate fence styles and height limits. Make sure to consult local authorities to ensure compliance with regulations before you begin. Measure your property boundaries accurately to know where the fence will go, and inform your neighbors about your plans to keep relations positive. Make sure to find out if you need a permit and comply with local building codes. Additionally, consider the types of fence components you will need based on your fence design and layout. Also, check for underground utility lines to avoid any costly damages. Proper planning ensures you follow regulations and sets you up for a successful installation.
Tools & Materials Needed
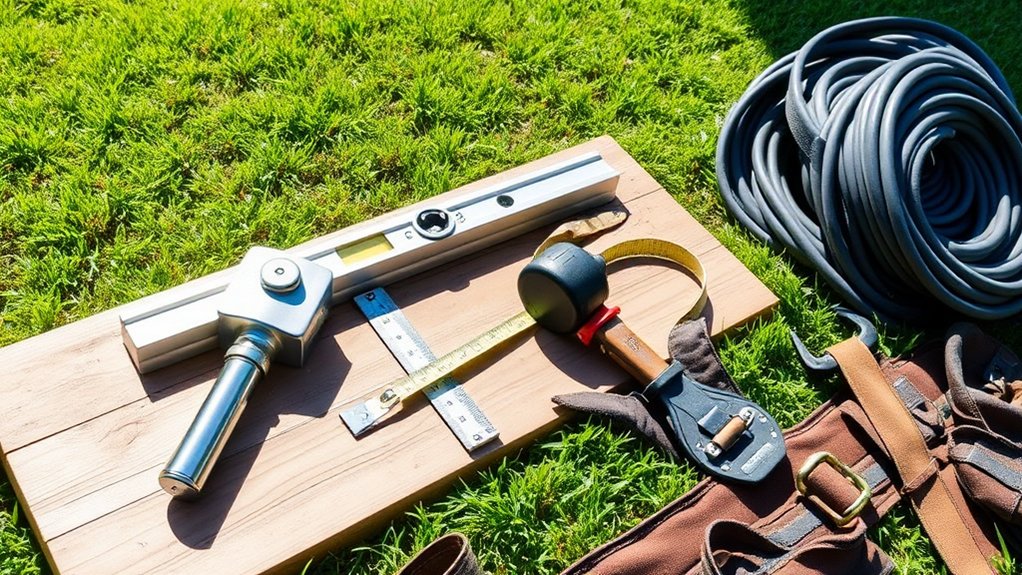
After securing permissions and planning your installation, the next step is to gather your tools and materials.
You’ll need:
- For Ground Preparation: Digging bar, shovel, post hole digger, and wheelbarrow.
- For Measuring and Aligning: Tape measure, string line with stakes, and ropes or spray paint for layout.
- For Installing Posts: Concrete, hammer, and tamping tool. Properly installed posts are essential for the durability of vinyl fences.
- For the Fence: Vinyl fence panels, posts, cap rails, and post caps.
Remember to wear safety gear like gloves and goggles. Check local regulations to ensure compliance before starting the installation.
Regularly maintain your tools to ensure they work well throughout the project.
With everything ready, you’re set for a successful installation!
Marking & Layout
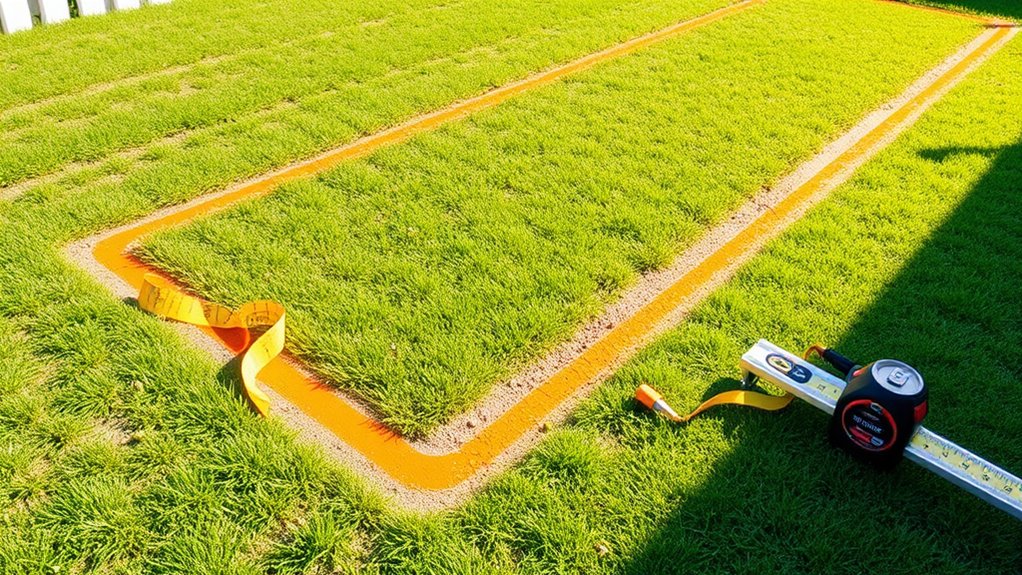
Before marking and laying out your vinyl fence, start by checking property lines and confirming legal boundaries to stay compliant with local regulations.
Be mindful of landscaping and utility lines as you plan. Determine where gates will go and leave extra room for installation. The importance of layout cannot be overstated, as it helps in visualizing the fence design and ensures correct material ordering. It’s also crucial to consider post depth requirements to ensure stability against environmental challenges.
Use stakes to mark post locations, making sure each stake is aligned with a taut string for a straight line. Space your stakes 6 to 8 feet apart and double-check your measurements.
Tools like measuring tapes and a line level will help keep everything aligned. Adjust your marking techniques for any changes in terrain to ensure your vinyl fence looks professional.
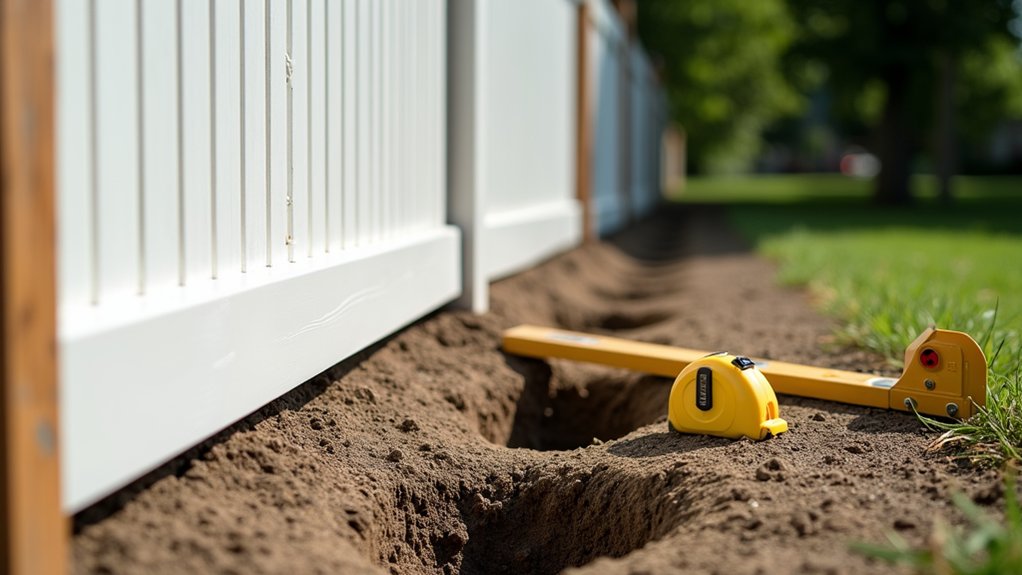
Digging & Post Placement
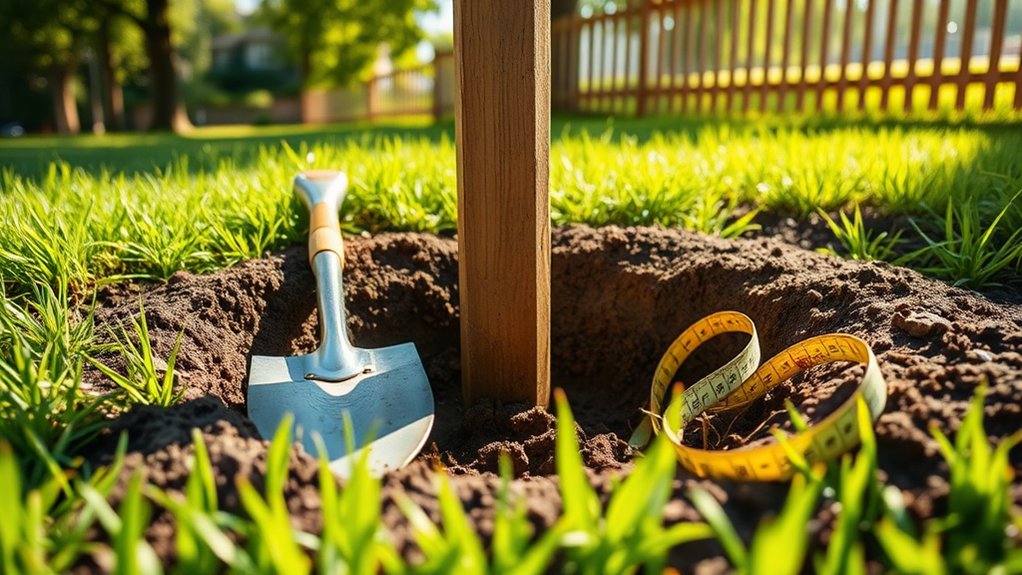
With your layout marked and post locations set, it’s time to dig post holes and secure the vinyl fence posts. Aim to dig holes that are one-third the length of the posts for stability. Use a post hole digger or auger for efficiency, and remember to check for underground utilities before you start.
| Step | Action |
|---|---|
| 1 | Dig post holes, taking soil conditions into account. |
| 2 | Remove debris from holes before adding concrete. |
| 3 | Mix concrete as per the manufacturer’s instructions. |
| 4 | Pour concrete into holes, securing the posts. |
| 5 | Use a string line to level and align the posts. |
Make sure to keep the spacing consistent along your fence line.
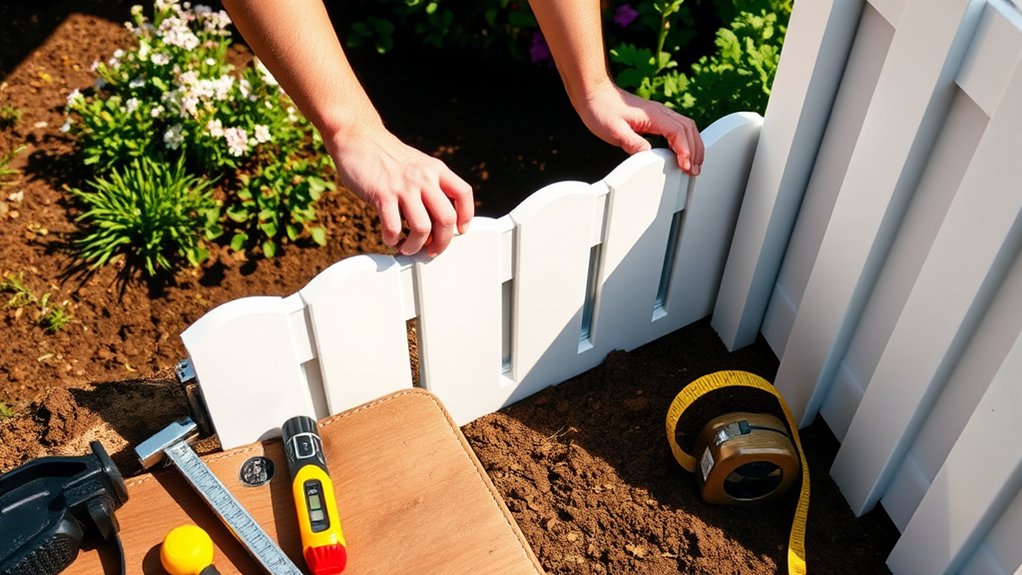
Installing Panels & Rails

Before installing the panels and rails, ensure all components are ready. Measure your panels for a precise fit and check for defects.
Start with the first panel: align the bottom and mid-rails within the grooves of the starting post and the next post. Insert the bottom rail into the first post, followed by the mid-rail for even weight distribution.
Slide the pickets into the rails, securing them as you go. Position the panel between the posts and use a string line to check alignment. Make adjustments as needed to ensure all rails fit snugly into the posts.
Finally, secure the rails if necessary to complete that section.
Finishing Touches & Upkeep
Now that your vinyl fence is installed, focus on the finishing touches and maintenance.
First, make sure the gate is properly installed and opens smoothly.
Regularly clean the surface and inspect for any damages to keep it looking good and sturdy.
Gate Installation and Adjustment
Once your vinyl fence is up, it’s time to focus on the gate. Choose a design that matches your fence style. Use heavy-duty hinges meant for vinyl to ensure smooth movement.
- Dig post holes a third of the post length for stability.
- Attach the hinges to the gate frame securely and adjust as needed.
- Install the latch by marking and pre-drilling holes for accuracy.
- Regularly check the gate for sagging or misalignment to keep it functioning well.
Surface Cleaning and Maintenance
Once your gate is functioning properly, it’s time to clean and maintain your vinyl fence to keep it looking good and lasting longer.
Start by hosing it down to remove dirt and debris. If you spot any stains like mold or mildew, choose the right cleaning solution: mix mild dish soap with water for light stains, or use a vinegar solution for tougher grime.
For stubborn stains, consider a specialized cleaner, but always rinse well to prevent residue. Make it a habit to clean your fence regularly, especially after heavy rain.
You might also want to apply UV protectants to prevent fading. Following these steps will help your vinyl fence stay fresh and extend its life.
Regular Inspection and Repairs
Regular inspections and repairs are crucial for maintaining your vinyl fence’s strength and appearance. Check your fence at least twice a year to catch any problems early.
Here are some straightforward repair tips:
- Look for cracks, holes, or warping in the vinyl panels.
- Ensure posts are straight and securely anchored.
- Test the gate to make sure it opens smoothly and check hinges for rust.
- Tighten any loose fasteners and replace missing ones.
Staying on top of these tasks will help your fence last longer and look great.
Maintenance Tips
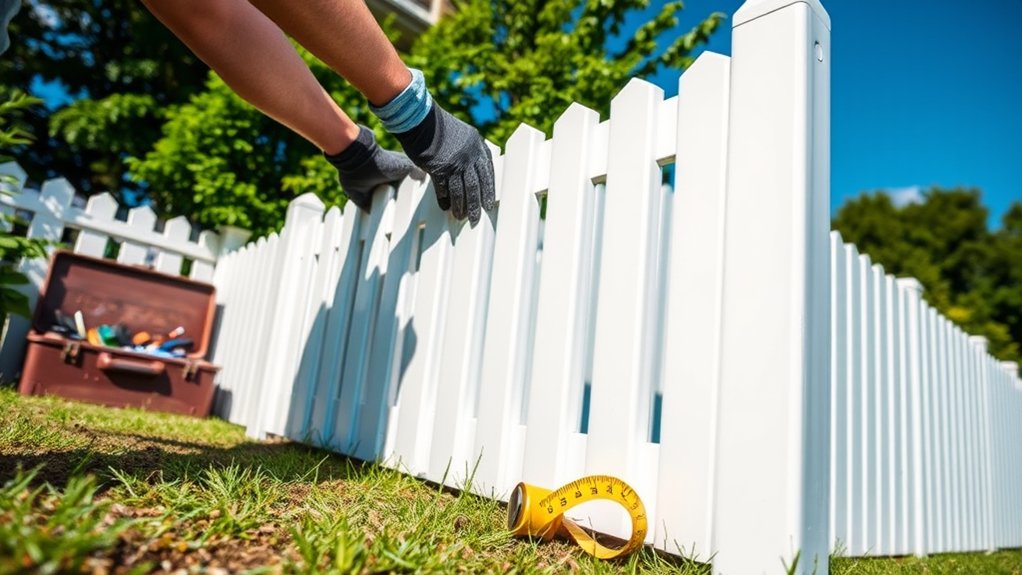
To maintain your vinyl fence, regularly clean it, inspect for damage, and care for it seasonally.
Use a mild soap and soft brushes to remove dirt, and look for any wear or damage during inspections.
These simple steps will help keep your fence durable and attractive over time.
Cleaning Techniques
To maintain your vinyl fence and keep it looking fresh, regular cleaning is key.
Follow these simple techniques:
- Hose Down: Spray the fence with water to clear off dirt and debris.
- Mild Soap Solution: Mix dish soap with water for light stains.
- Soft Brushes: Use a soft-bristle brush or sponge to avoid scratches.
- UV Protectants: Apply products that shield against sun damage to extend its life.
Damage Inspection
Inspecting your vinyl fence for damage is crucial to catch problems early. Start by visually checking the panels for warping, cracking, or discoloration.
Make sure the vinyl caps are secure and that the gates align and function properly.
Examine the posts to ensure they’re straight and firmly set in the ground, looking for any erosion around them.
Tighten any loose fasteners and check metal parts for rust; replace any worn hardware with galvanized or stainless steel.
Aim to do these inspections at least twice a year or after severe weather.
Keep a record of your findings to help maintain your fence’s integrity and extend its lifespan.
Seasonal Care
To keep your vinyl fence looking great and lasting longer, seasonal maintenance is key. Here are some straightforward tips:
- In spring and summer, wash your fence with mild detergent and water to get rid of dirt and mildew.
- Check for cracks and loose screws each season; tighten any that are loose and secure the posts.
- During winter, clear snow from the base to prevent warping, and check for any trapped moisture.
- Use plastic tools for snow removal to protect the vinyl surface from damage.
With these simple steps, your vinyl fence will stay in top shape year-round!
Warranty and Documentation

Understanding the warranty and documentation for your vinyl fence is crucial for protecting your investment. Most warranties cover defects in materials and manufacturing, like cracking or fading, but don’t cover damage from misuse or environmental factors.
Warranty periods can range from 5 years to a lifetime, depending on the manufacturer.
To file a claim, you’ll need your proof of purchase and possibly photos of any defects. Keep track of your installation date and installer contact information, as these details help with your claim.
Frequently Asked Questions
How Long Does a Vinyl Fence Typically Last?
A vinyl fence usually lasts 20 to 30 years, depending on its quality and installation. It’s low-maintenance, requiring just occasional washing and checks to stay durable over time.
Can Vinyl Fences Be Painted or Stained?
Yes, you can paint or stain vinyl fences, but it’s important to use the right products for good results. Choose a high-quality primer and exterior epoxy paint designed for nonporous surfaces. This will ensure better adhesion and a longer-lasting finish.
What Colors Are Available for Vinyl Fences?
Vinyl fences come in several color options, including white, beige, gray, and black. You can also choose unique styles like two-tone combinations or woodgrain finishes to give your fence a distinct look that complements your property.
How Does Vinyl Fencing Compare to Wood Fencing?
Vinyl fencing may have a higher upfront cost, but it saves you money in the long run with little maintenance needed. On the other hand, wood fencing requires regular upkeep, which can add up over time. Overall, vinyl is often the more cost-effective choice.
Are Vinyl Fences Environmentally Friendly?
Vinyl fences are not fully environmentally friendly, but they do have some benefits. They can be recycled, and their long-lasting nature means less waste overall. However, their production does release emissions, which indicates that better recycling programs are necessary to improve their environmental impact.
Conclusion
By completing these steps, you’ve successfully installed a durable vinyl fence that will last for years. A well-maintained fence boosts your property’s appeal while providing the privacy and security you need. Just like caring for a garden, regular upkeep will keep your fence looking great and functioning well. Stay attentive to maintenance, and your investment will serve you well for a long time.

Harness the charm and durability of wooden fencing—discover the top types that suit every home style and elevate your outdoor Read more

Find out how vinyl fencing combines affordability and durability, transforming your property while leaving you curious about its advantages over Read more

Create a stunning, personalized barrier with hybrid fencing—discover how combining materials can elevate your outdoor space in unexpected ways. Explore Read more