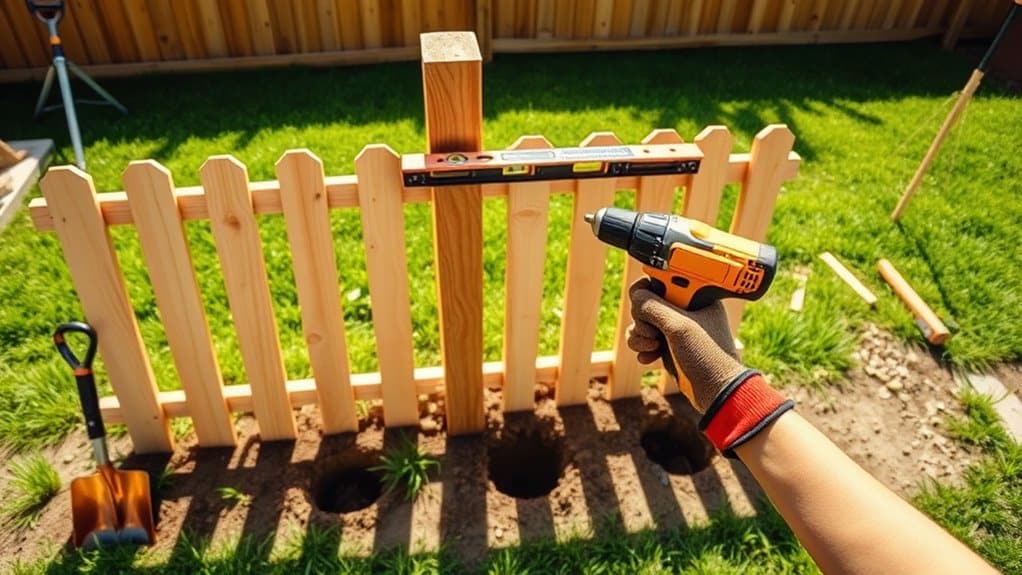
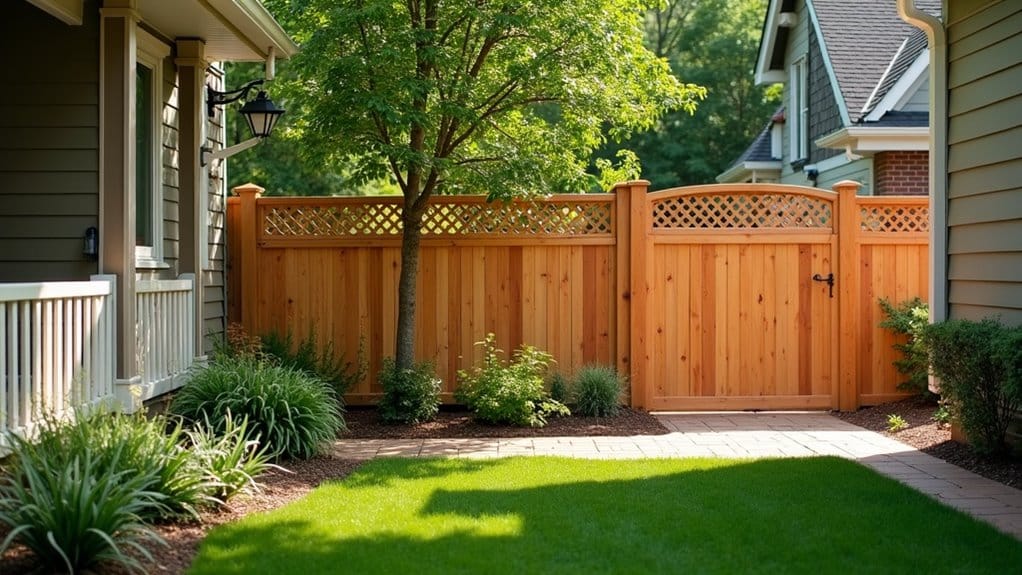
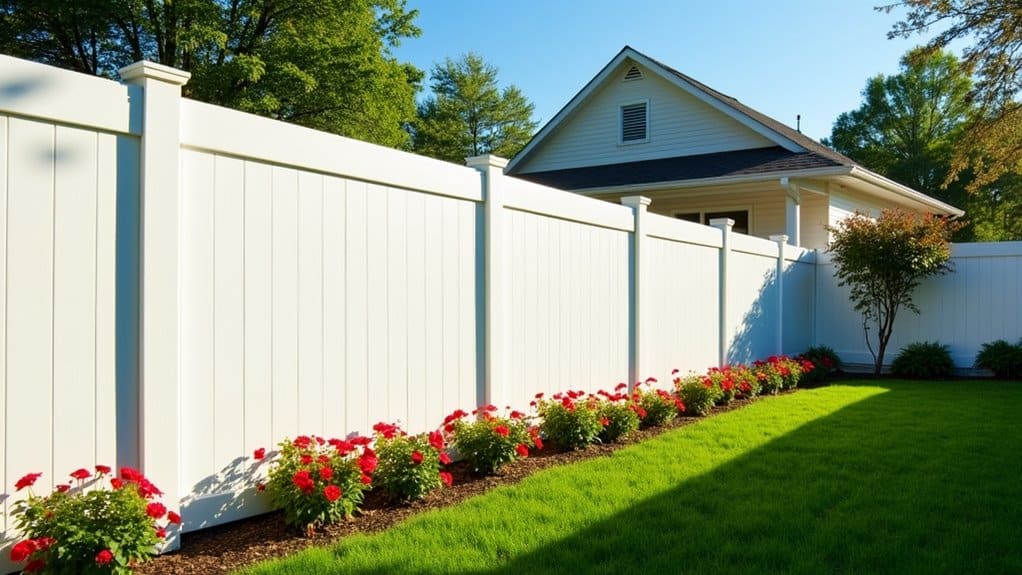
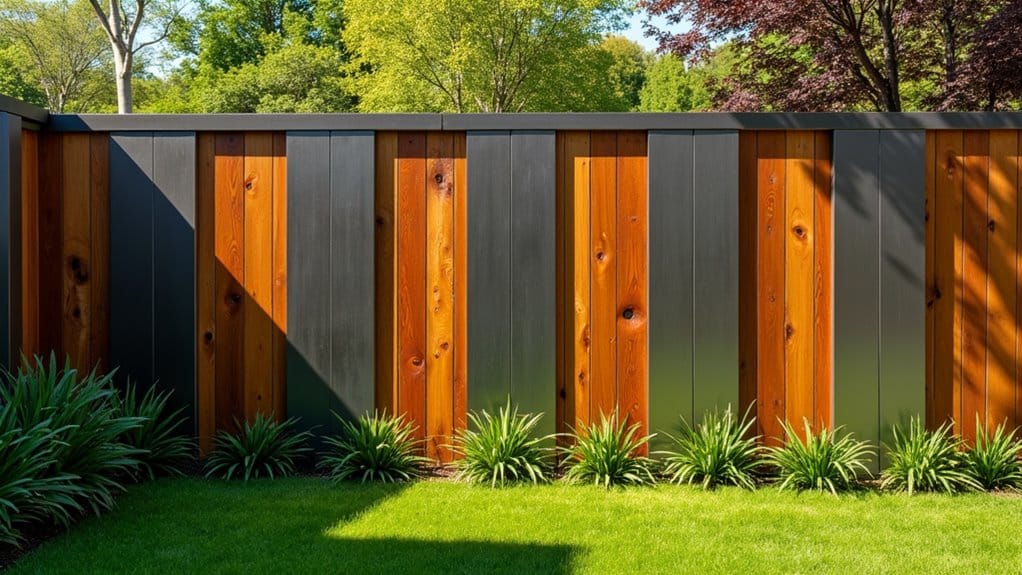
To install a residential fence, start by planning your project and checking local codes and property lines. Clear the area and mark where the fence will go. Dig post holes 24-30 inches deep and set the posts in gravel for drainage. Let them settle for 1-2 days. Then, attach pre-assembled panels using sturdy fasteners. Make sure everything is aligned and check for plumb regularly. Finally, inspect your fence often and apply weather-resistant treatments as needed. This straightforward approach will help you build a durable fence.
Key Takeaways
- Check local regulations and property lines before starting your fence installation to avoid any legal issues.
- Clearly mark where your fence will go and decide where the posts should be placed. Make sure the area is free of debris and utility lines.
- Dig post holes 24 to 30 inches deep. Add gravel for drainage and make sure the posts are straight and securely supported.
- Install the pre-made panels between the posts using strong fasteners. Regularly check to ensure the panels are straight.
- Keep an eye on your fence and make repairs as soon as you notice damage. Use weatherproof coatings to help it last longer.
Planning and Preparation
When installing a residential fence, careful planning is crucial for a smooth process and to meet local regulations.
Start by checking local codes, zoning laws, and permit requirements, especially for height restrictions and pool fencing. It's also important to assess specific purposes for the fence, as this will guide your design and material choices.
Communicate with your neighbors about your fence plans. This not only keeps them informed but may also be a legal requirement in some areas.
Share your design to address any concerns about shared boundaries.
Next, confirm your property boundaries by locating property pins or markers.
If you can't find them, consider getting a property survey to avoid encroaching on neighboring properties, which could lead to disputes.
Finally, prepare your yard by clearing away debris and marking any sprinkler lines to prevent damage during installation.
Keeping the area accessible for contractors will make the process more efficient.
Marking the Fence Line
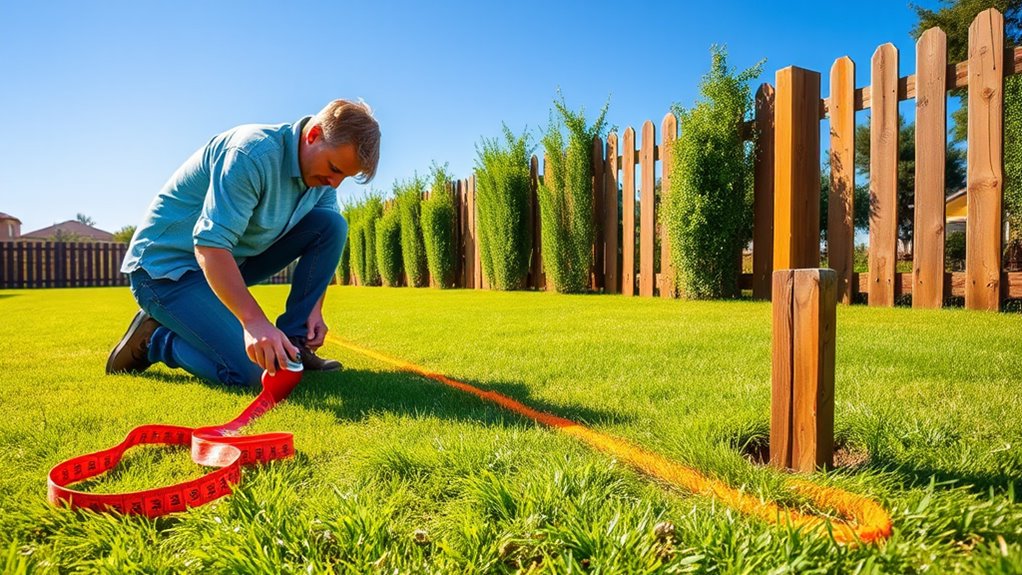
Before marking your fence line, accurately identify your property boundaries to prevent disputes. Property surveys can help clarify these boundaries and avoid future conflicts with neighbors. Clear the area along the intended fence line to simplify the installation process and help you visualize straight lines. Once your boundaries are set, you can easily mark the exact spots for your fence posts. Be sure to check for utility lines to avoid any damage during installation.
Identifying Property Boundaries
To identify your property boundaries accurately, start by reviewing your property deed, which outlines the dimensions and descriptions of your land. This is crucial to prevent future disputes. You can also obtain maps from your local assessor's or county recorder's office to help locate your boundary lines. It's also advisable to consider hiring a professional surveyor who uses licensed land surveying techniques to ensure accurate measurements. Additionally, be aware that local regulations may influence how your fence can be installed near property lines.
Here's a quick reference to aid your boundary identification:
| Method | Purpose |
|---|---|
| Check Property Deed | Details property boundaries and dimensions |
| Use Assessor's Maps | Visual representation of boundaries |
| Review Property Surveys | Shows accurate property lines and measurements |
| Consult Local Regulations | Ensures compliance with zoning laws |
| Mark Boundaries Physically | Uses physical markers to confirm boundaries |
After you've reviewed these documents, consider hiring a professional surveyor for precise measurements. They can clarify any discrepancies in boundary markers. Working with a fencing company that partners with surveyors can also ensure your fence is placed correctly, avoiding any encroachment on your neighbor's property.
Clearing the Fence Line
Clearing the fence line is crucial for a smooth installation and the longevity of your fence. Start by removing any obstacles like plants, debris, and overgrown branches. Tools like brush cutters and mulchers can make this task easier. It's important to remember that a clear fence line prevents damage to fences, ensuring long-term durability. Additionally, maintaining good neighbor relations during the clearing process can be beneficial for future interactions.
Don't forget to clear away rocks and standing water to create a safe, even surface. Manage vegetation by trimming trees and shrubs to avoid damage from overgrowth. Regular maintenance not only preserves your fence but also improves the look of your property.
After clearing, mark the fence line by placing stakes at the corners and stretching string between them. This will help visualize where to place the posts. Use inverted spray paint to mark each post location, ensuring consistent spacing. With the fence line clear, you're ready for a successful installation.
Digging Post Holes
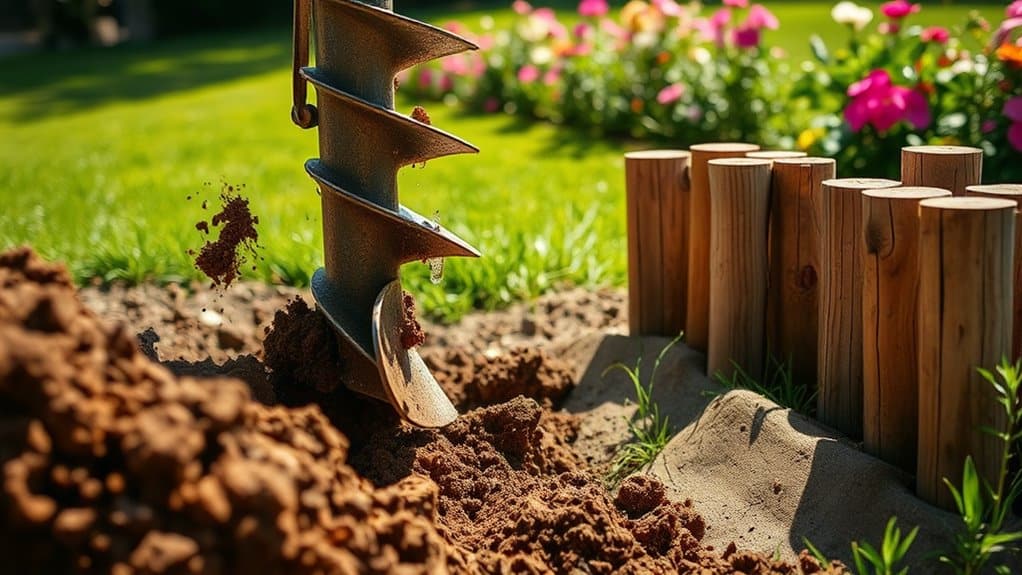
Now that you've marked the fence line, it's time to dig the post holes.
Use a post hole digger or power auger, aiming for a depth of 24 to 30 inches for stability. Consistent hole depth is key to supporting the posts and ensuring your fence is sturdy and level. Remember that the type of soil in your area may require adjustments to the depth for optimal post stability. It's essential to dig to a recommended depth of 600mm (2 ft) to prevent leaning and ensure the longevity of your fence.
Tools Needed for Digging
When digging post holes for a residential fence, using the right tools is crucial.
Start with manual post hole diggers, which are designed for creating deep, narrow holes ideal for fence posts. Look for diggers made of durable materials like fiberglass or steel for comfort and longevity. Heavy-duty construction ensures that these tools will last through multiple digging projects without breaking. It's important to dig holes that are 18-30 inches deep to provide proper support for the fence posts.
For tougher ground or larger projects, a power auger can be helpful, though it might be excessive for smaller jobs.
If you encounter hard soil, consider a tool like the HOLEVAC, which uses a vacuum to reduce mess and improve your digging efficiency.
Hole Depth Considerations
Determining the right hole depth for your fence posts is crucial for stability and durability. Here's a simple guide to help you:
- Depth Calculation: Dig about one-third of the post height plus an extra 6 inches for gravel. For example, if your posts are 6 to 8 feet tall, aim for a hole depth of around 2 feet.
- Soil Type and Weather: Take into account the soil and climate in your area. Sandy soils may need deeper holes, and if you live in a region with harsh winters, add 4 to 6 inches to reach below the frost line. Additionally, ensure that you consider local regulations regarding post installation to comply with any height limits.
- Frost Line: Check local codes for the frost line depth. Ensure the bottom of your post is below this line to avoid shifting.
Once you've determined the hole depth, remember to include that 6-inch gravel base for drainage. Compact it firmly before placing your posts. Following these tips will help ensure your fence stands strong for years.
Ensuring Uniformity and Stability
After ensuring the right depth for your fence post holes, the next step is to maintain uniformity and stability during installation.
Begin by marking the center of each post, setting back half the post's width from your string line. Clear away any debris or vegetation for a clean, level digging surface.
Use a post hole digger or power auger to dig each hole, aiming for consistent depth and width. Make the holes wider at the bottom for better stability and to prevent tipping. If you encounter rocks or roots, use a spade, digging bar, or reciprocating saw to manage them. Efficient posthole digging can significantly reduce the time and effort required for this task.
For effective drainage, add a layer of gravel at the bottom of each hole to prevent water buildup around the posts.
Position the posts centrally and check for plumb alignment. Finally, secure them with concrete, following the mixing instructions carefully. This attention to detail ensures a sturdy, long-lasting fence.
Setting Fence Posts
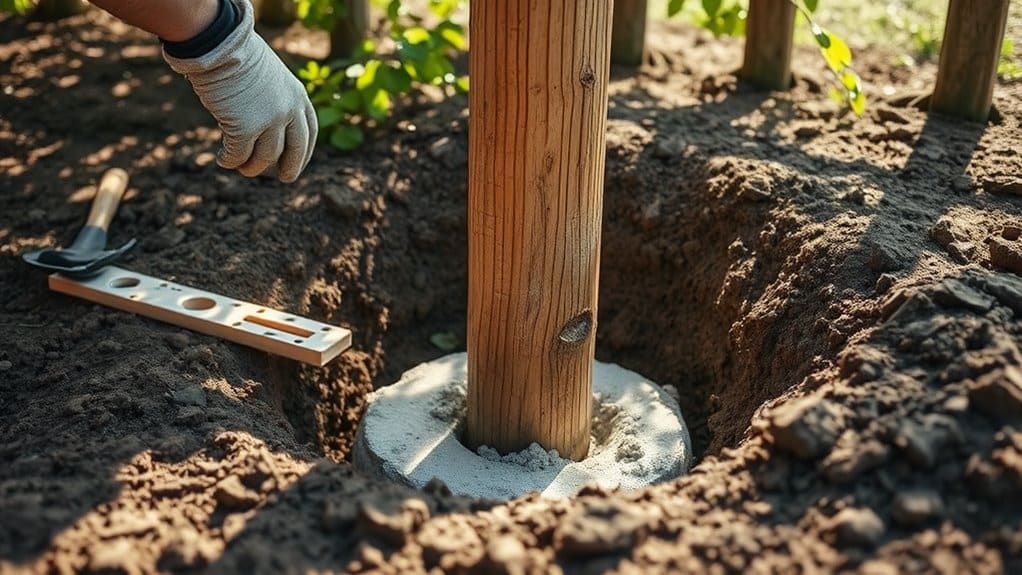
Setting fence posts is key to a strong, durable fence. Here's a straightforward guide to help you:
- Prepare the Base: Start by adding 6 inches of gravel at the bottom of each post hole for drainage. Compact it to create a solid base.
- Insert and Level Posts: Place the posts in the holes and check that they're straight using a level. This ensures your fence will look uniform.
- Post Bracing: Temporarily brace the posts to keep them upright while you fill the holes. This allows for adjustments before the concrete sets. Proper planning and preparation is essential to ensure a smooth installation process.
Once the posts are braced, fill the holes with soil or concrete, making sure to tamp it down as you go.
Take your time—properly setting the posts is vital for your fence's stability. Allow the posts to settle for a day or two before moving on to the next steps.
Installing Fence Panels
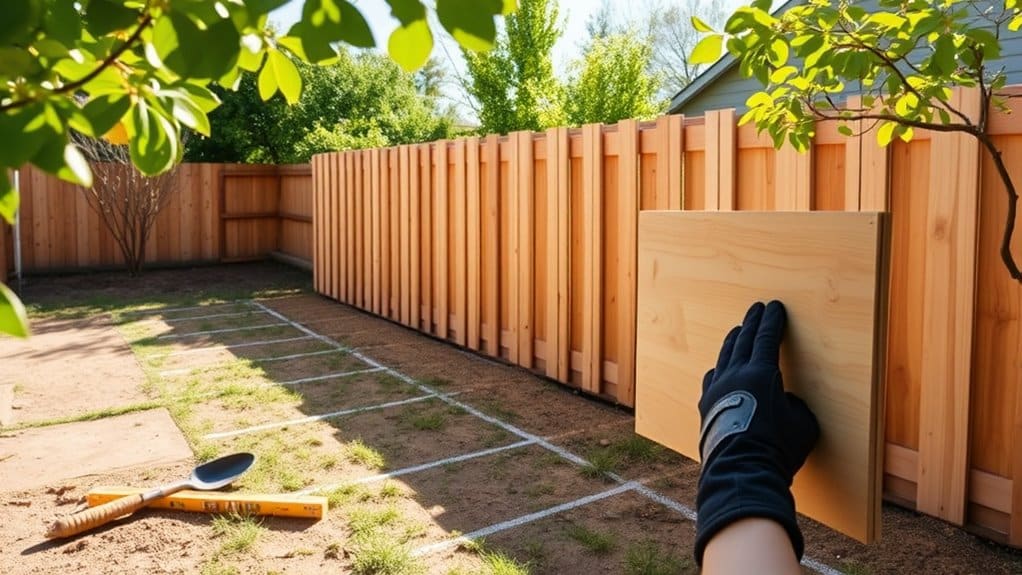
Installing fence panels is a key step in creating a boundary for your property. Start by choosing pre-assembled panels to make the job easier. Pick a wood type—like cedar, pine, redwood, or spruce—based on how long you want the fence to last and your budget. Ensure the panels and posts match in size and material for a cohesive look.
Clear the area of any obstacles and mark the fence line with stakes and string. Measure and mark where the posts will go, ensuring the line is straight and level. Position each panel between the posts, using a spacer to keep it straight. Secure the panels with screws, driving at least four screws into each side for stability. Additionally, ensure that the posts are installed with eight feet between them to allow for proper panel mounting.
Continue this along your fence line, keeping the height consistent. Use fasteners that match your wood type—hot-dipped galvanized or stainless steel work well with pressure-treated wood. This won't only boost your fence's durability but also enhance its appearance, making it a great addition to your home.
Final Checks and Maintenance
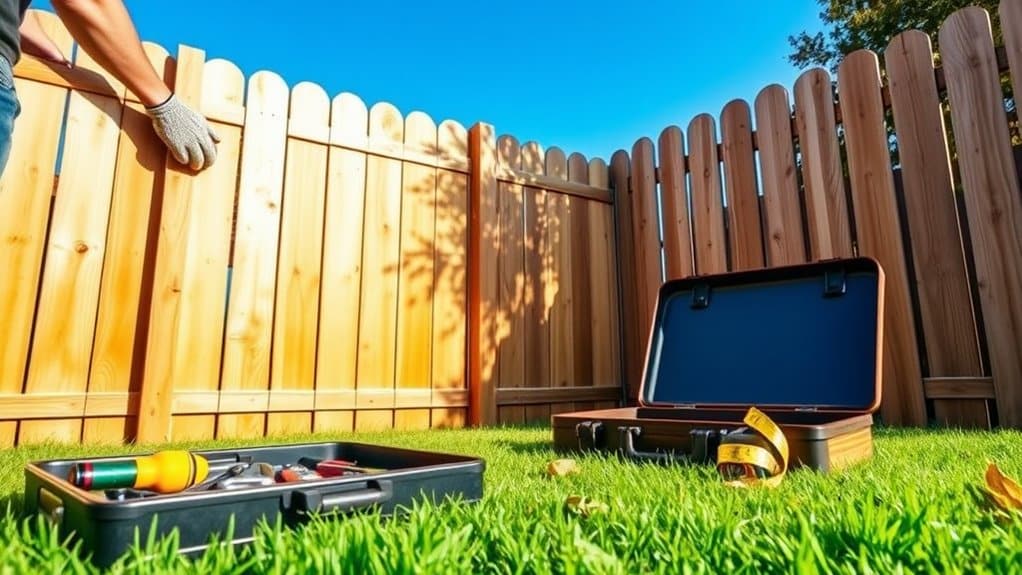
After securing the fence panels and ensuring proper alignment, it's time for final checks and maintenance to ensure your fence is effective.
Schedule inspections to confirm compliance with local building codes and property lines, preventing costly adjustments later.
Here are three key maintenance tips:
- Regular Inspections: Check for loose connections or damage at least twice a year. Fix any issues right away to keep your fence sturdy.
- Adjustments and Repairs: Be prompt in making adjustments, especially after severe weather, to avoid bigger problems later.
- Protective Treatments: Use weather-resistant coatings or sealants on wooden fences to prevent rot and decay while maintaining a good appearance.
Choosing the Right Material
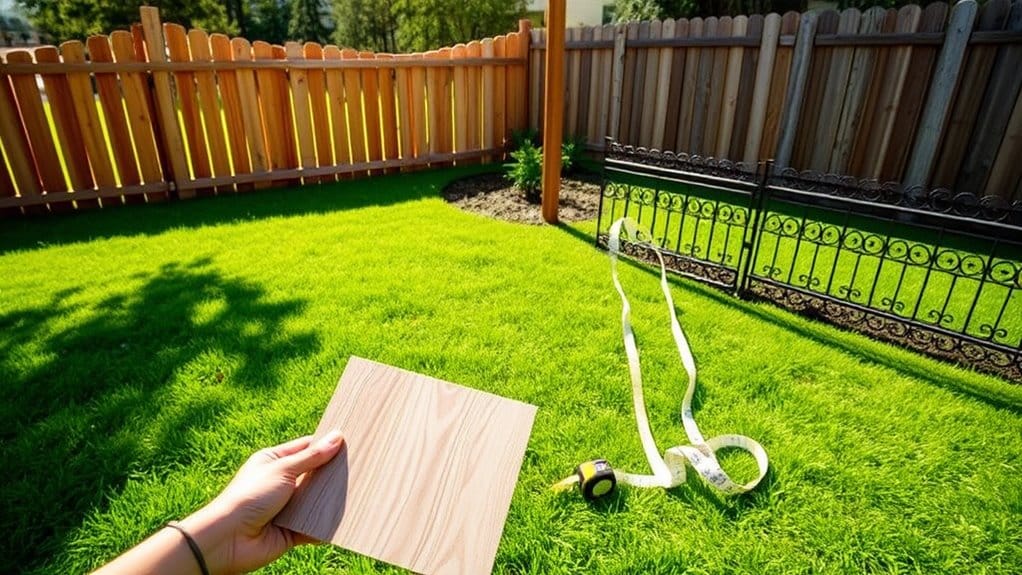
Choosing the right material for your residential fence is crucial for durability, appearance, budget, and function.
Start with durability. Wood looks great but needs upkeep; redwood can last about 25 years if cared for. Vinyl is low-maintenance, resists rot, and won't fade, making it a smart choice. Aluminum is stylish and won't corrode, while chain link is tough but can rust without treatment.
Next, consider aesthetics. Wood offers a rustic charm and design flexibility, while vinyl comes in various styles and colors that can mimic stained wood. Aluminum gives a modern look, but chain link may not be very attractive. If you want something different, bamboo adds natural beauty and unique color.
Finally, think about your budget. Wood costs between $13-$19 per linear foot, vinyl is more expensive but saves money over time, and chain link is the cheapest at $12-$14 per linear foot.
Understanding Local Regulations
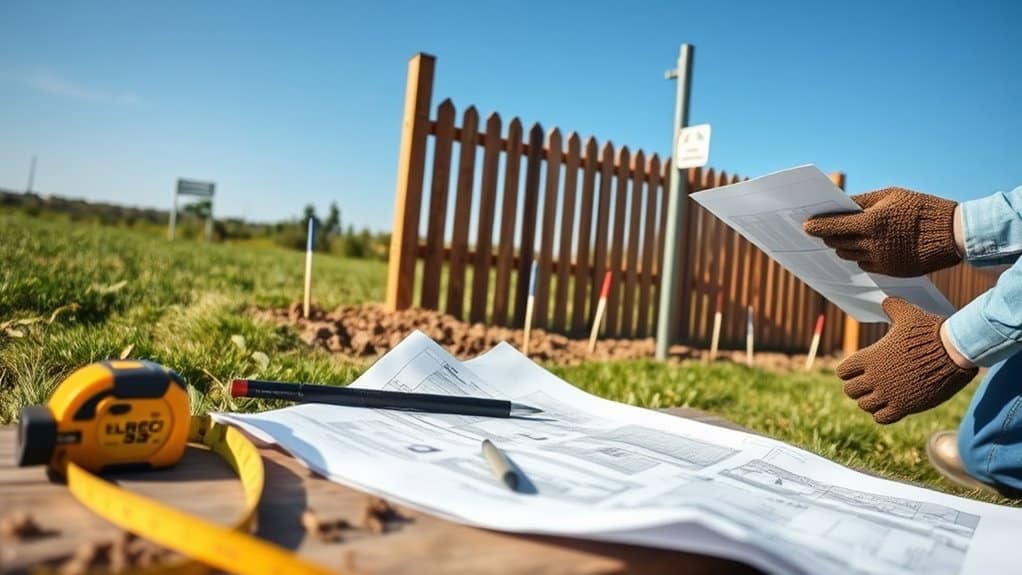
Navigating local regulations is crucial for a smooth fence installation. These rules cover important aspects like height restrictions and property line setbacks. Understanding fence regulations and zoning laws can save you from costly errors and ensure you meet all requirements.
Here are three essential points to consider:
- Height and Setbacks: If your fence is over 4 feet tall in the front yard, it must be set back 5 feet from the property line for each extra foot of height. For side and rear yards, the maximum height is usually 6 feet.
- Visibility Requirements: Make sure your fence doesn't block visibility within 10 feet of driveways or street corners. This is crucial for safety and adhering to local codes.
- Property Lines: Confirm your property boundaries, preferably with a land survey, to prevent disputes with neighbors. Ignoring property lines can lead to legal issues.
Tips for Long-Term Care
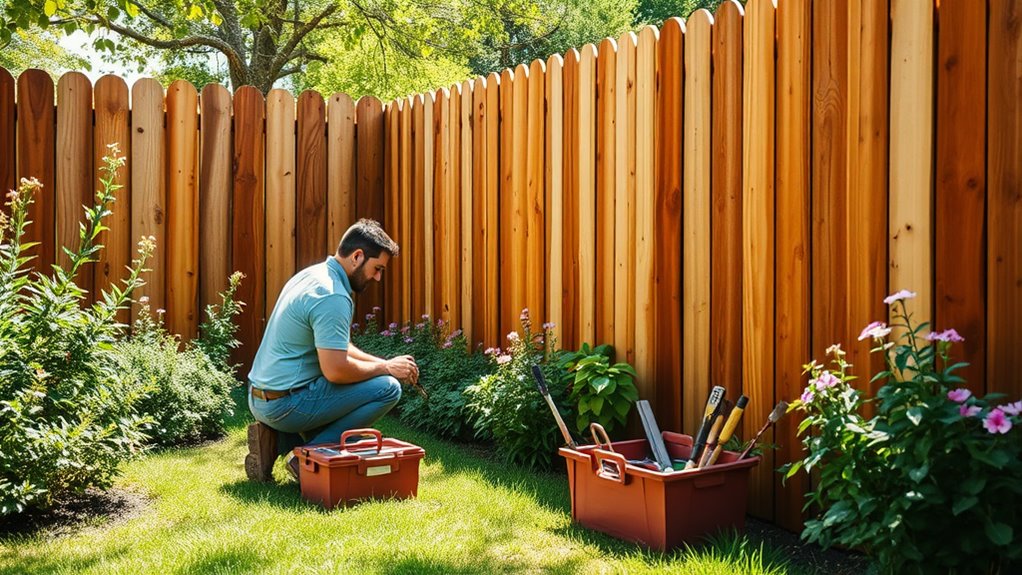
To extend the life of your fence, regular care and maintenance are key. Clean it every 2-3 years using a wire brush, hose, or power washer to remove dirt and prevent mold. Be careful with cleaning products to avoid damaging the wood.
Prevent moisture damage by directing sprinklers away from the fence and avoiding hanging items that could warp it. Trim nearby plants to reduce moisture and pests, and keep grills away to prevent smoke and grease stains.
Inspect your fence annually to catch any loose or broken parts early. Repaint or stain your fence every two years, and apply a sealant to protect the wood. Choose cleaners with mildewcides to fight mildew, and use outdoor wood sealers with UV protection against sun damage.
Address minor issues quickly to stop them from worsening. Regularly check posts for stability and ensure gates open smoothly.
Frequently Asked Questions
How Do I Choose the Right Fence Style for My Home?
To choose the right fence style for your home, think about your design preferences and the materials you like. Consider how much privacy you want and what fits your aesthetic. Also, check local regulations to ensure your choice works for your property. For example, if you want a classic look, a picket fence might be ideal, while a solid wooden fence offers more privacy. Keep it simple and choose what feels right for you!
Can I Install a Fence Myself, or Should I Hire a Professional?
You can install a fence yourself if you have the skills and time. For example, if you're handy and enjoy DIY projects, it might be a fun challenge. However, hiring a professional can save you time and ensure high-quality work. Professionals know local regulations and can guarantee a sturdy installation, giving you peace of mind.
What Tools Do I Need for Fence Installation?
For fence installation, you'll need essentials like a measuring tape, post hole digger, cordless drill, and level. Always prioritize safety when handling materials to ensure a stable and secure fence.
How Long Does It Take to Install a Residential Fence?
Installing a residential fence isn't just a weekend job. It typically takes 2 to 5 days, depending on factors like the type of materials, the terrain, and your specific project needs. So, if you're planning to put one up, be prepared for a bit of a time commitment!
How Can I Prevent My Fence From Leaning Over Time?
To stop your fence from leaning over time, select strong materials and ensure the soil is stable. Set the posts deep, add gravel for drainage, and plant grass or shrubs for support. Regularly check and maintain your fence to keep it standing tall.
Conclusion
Now that you've installed your fence, take a moment to appreciate your work. You've improved your home's value and created a space for memories. Remember, regular maintenance is key to keeping your fence in good shape. Check it periodically to ensure it remains sturdy and functional for years to come.

