DIY temporary fencing is an excellent solution for short-term needs and can save you money. You can build a strong barrier using materials like PVC pipes, wood stakes, or even upcycled items. This approach not only boosts security but also gives you the freedom to customize the look. Just be sure to plan for stability and check local regulations. For innovative designs and installation tips, keep reading!
Key Takeaways
- Use PVC pipes or ready-made panels for a quick, no-dig setup of a strong temporary fence.
- Get creative by using wooden pallets or old doors for a unique and budget-friendly fencing option.
- Add triangle bracing and anchoring to keep your fence stable against wind and weather.
- Check local rules on height and materials to avoid fines or safety problems.
- Boost security with anti-lift brackets and conduct regular maintenance for lasting durability.
Benefits of DIY Temporary Fencing
Choosing DIY temporary fencing offers several key benefits.
First, you save money by avoiding rental fees and doing the installation yourself, which is ideal for those on a budget. Additionally, this type of fencing provides enhanced security by acting as a physical barrier against trespassers. Furthermore, selecting cost-effective materials can significantly lower your expenses while maintaining quality.
You also have the flexibility to customize the materials and design to fit your specific needs. This hands-on approach lets you make adjustments as necessary, without waiting for professionals.
Plus, you’ll gain valuable skills and problem-solving experience along the way. Completing the project yourself can give you a great sense of accomplishment and boost your confidence for future tasks.
Materials for Creating Your Own Temporary Fence
When building your temporary fence, selecting the right materials is crucial. Consider using pre-made panels, metal posts, or PVC pipes for a sturdy and flexible option. To save money, you can also look for repurposed materials or plastic garden fencing to create an effective barrier without breaking the bank. Additionally, ensuring that the fence must effectively keep the dog out is essential for a successful semi-permanent fence. Using chain link fences can be a cost-effective choice for maintaining security while providing visibility.
Common Material Options
Building a temporary fence can be simple if you choose the right materials. Here’s a quick look at common options:
| Material | Use Case |
|---|---|
| PVC Pipes | Lightweight pet enclosures |
| Mesh Fencing | Flexible garden barriers |
| Wire Panels | Sturdy fencing for larger animals |
| Wooden Slats | Traditional and reconfigurable |
| Aluminum Fencing | Rust-resistant for coastal areas |
Consider durability and weather resistance for your needs. Many materials allow for quick assembly, making it easy to adjust your fence as needed. For instance, portable wire fences are ideal for short-term projects or temporary animal containment. Proper timing for installation can ensure a stable and durable fence, which is essential for the effectiveness of your temporary solution. Choose wisely for an effective temporary fencing solution!
Cost-Effective Solutions
When selecting materials for temporary fencing, consider both durability and budget.
PVC pipes with mesh fencing are a lightweight, easy-to-assemble option that requires few tools.
Recycled pallets are an eco-friendly, low-cost choice that provides sturdy, reusable panels.
If mobility is important, freestanding wire fence panels can be easily moved, though they may lack security.
For added stability, use metal ground spikes to secure posts without needing concrete.
Conduct a fencing cost analysis to find the most budget-friendly materials that meet your needs.
Each option offers a practical, cost-effective solution for temporary fencing.
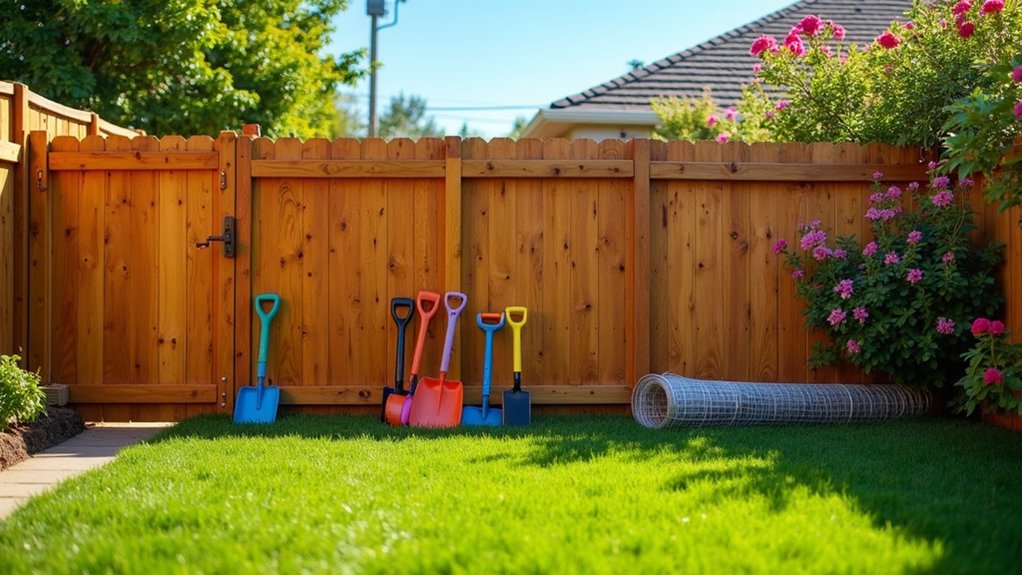
Easy DIY Temporary Fence Ideas
If you need a quick and simple way to create temporary fencing, here are some easy DIY ideas.
PVC pipes make for a sturdy, no-dig frame, perfect for tackling fencing issues. You can attach plastic garden fencing to the frame using rebar and zip ties for a safe and visually appealing solution.
For a more natural aesthetic, consider using wooden stakes in your garden. If you have pets, a portable dog run is a practical choice.
Additionally, hammering stakes into the ground allows you to secure your fence without any permanent installation, making it ideal for renters.
With these straightforward options, you can set up an effective fence in no time!
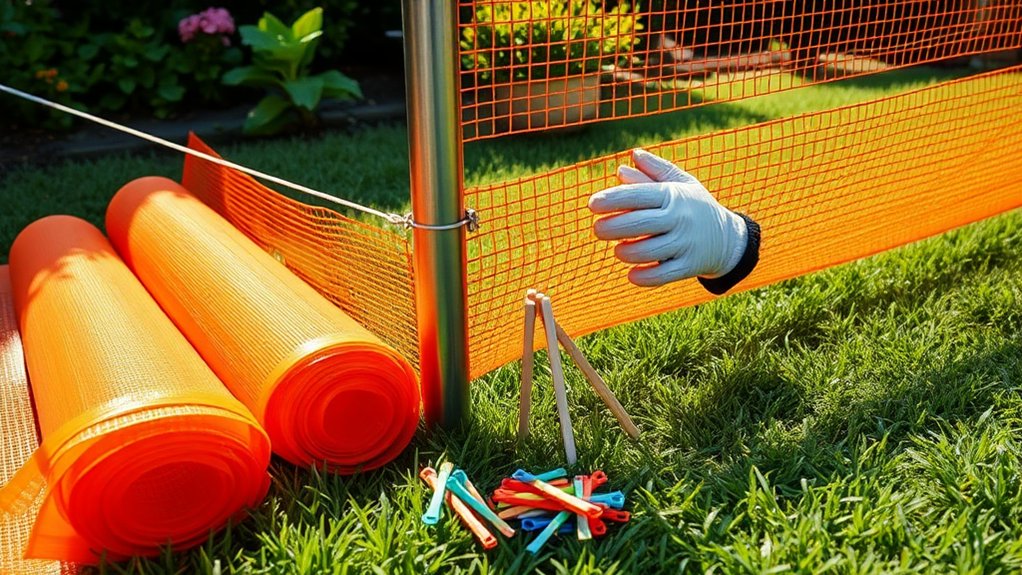
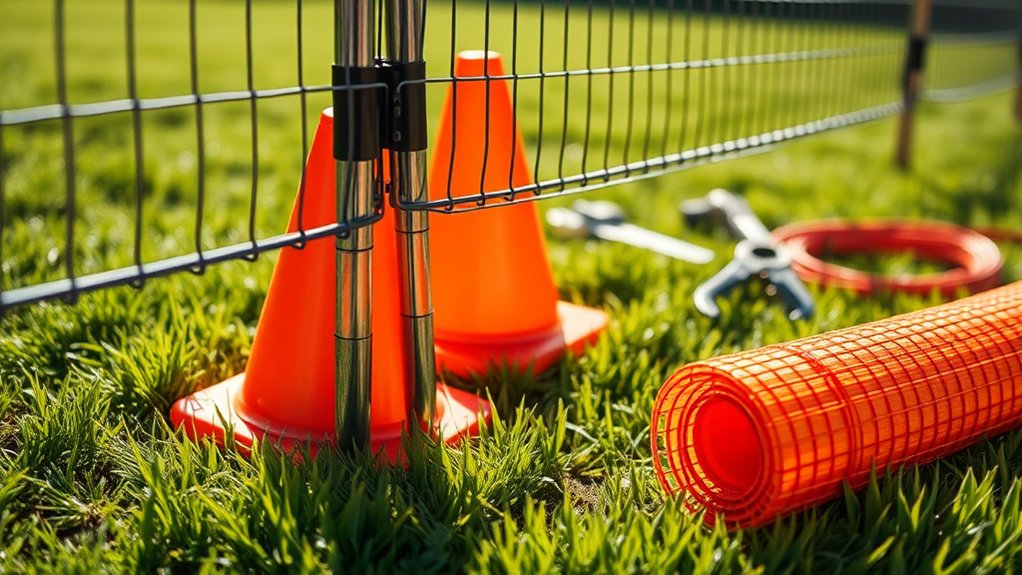
Step-by-Step Guide to Building a Portable Wire Fence
Building a portable wire fence is simple and requires just a few materials and a clear plan. Start by gathering your supplies, which typically include wire, posts, and tools like pliers.
Follow these basic steps for assembly to ensure a sturdy setup. For example, use sturdy posts that can withstand wind if you’re in an open area.
With some practical tips on installation, you can easily create a temporary barrier that works for your needs.
Materials Needed Overview
To create a portable wire fence, you’ll need a few key materials for quick assembly. Start with temporary fencing like plastic or metal wire mesh.
Use PVC pipes for posts and rebar for stability, along with zip ties to secure the mesh. Lightweight stakes will help anchor everything.
You’ll also need some tools: wire cutters to size the mesh, PVC pipe cutters to adjust the posts, and a hammer for driving in stakes.
A tape measure ensures precise measurements, and a level keeps your posts straight. With these materials and tools, you’ll be ready for an effective temporary fencing project.
Assembly Instructions
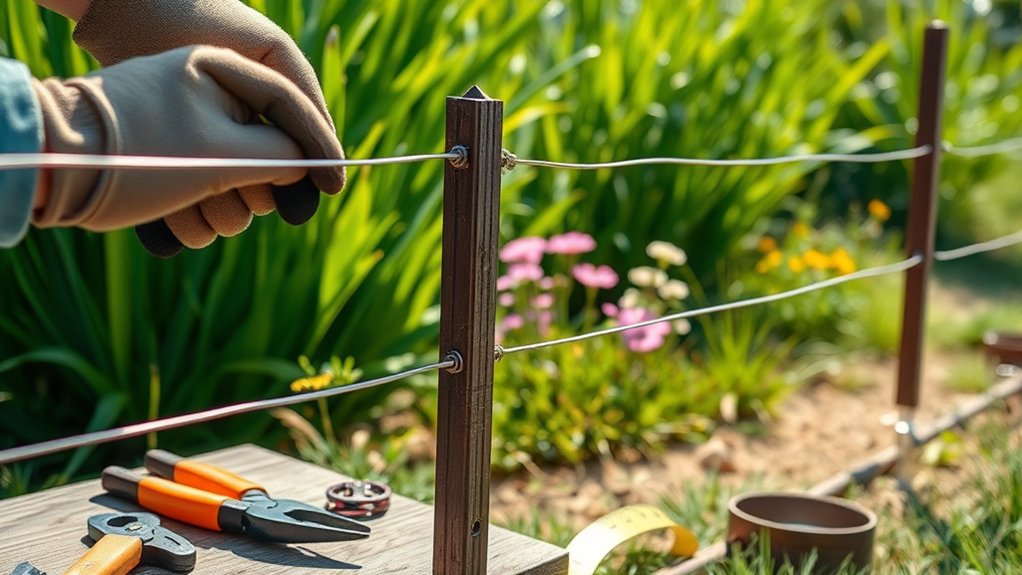
Gather your materials and tools to start assembling your portable wire fence. First, mark the boundaries using string lines.
Install anchor posts at the corners and ends for stability, and place T-posts every 8–10 feet along the straight sections to ensure they’re upright.
Unroll the wire fencing along your marked line and attach it to the posts using wire clips or staples.
For gates, create a frame with the same materials and secure the mesh.
Finally, trim any excess wire and check for gaps or loose connections. These steps will help you build a strong, temporary fence for your needs.
Installation Tips
When installing your portable wire fence, start with a solid plan. Choose your materials wisely and assess the site. Use metal T-posts or wooden posts, spacing them 2-3 meters apart for optimal support. For added durability, anchor your posts securely with concrete.
| Step | Action |
|---|---|
| 1 | Choose wire or mesh |
| 2 | Attach it with staples |
| 3 | Tension the mesh |
Consider electrifying the fence for extra security, but remember to follow safety guidelines. Regularly inspect your fence for wear and keep repair tools nearby. With these straightforward steps, you’ll set up a reliable temporary fence.
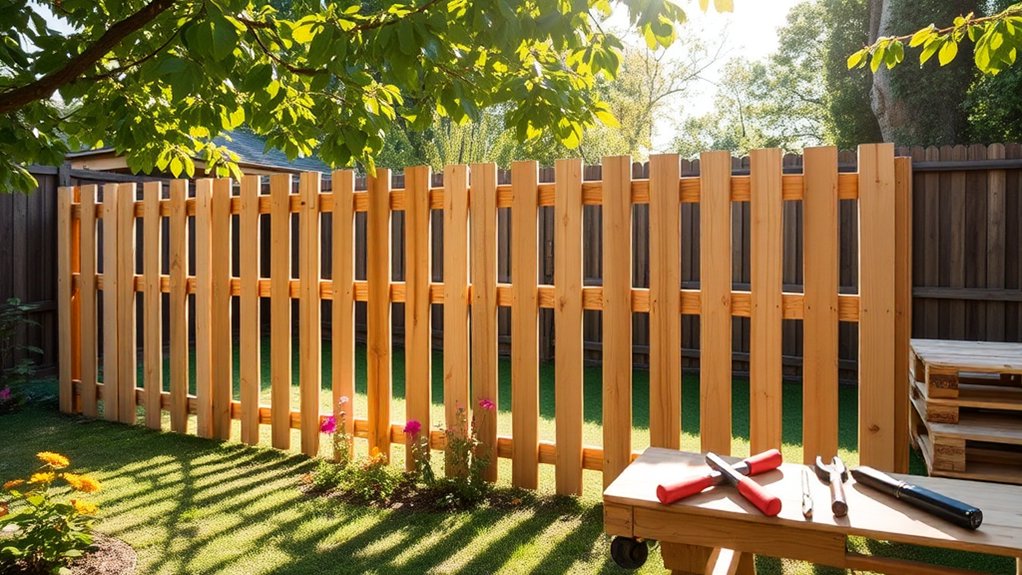
Using Repurposed Materials for Unique Fencing Solutions
If you want to enhance your outdoor space on a budget, using repurposed materials for fencing is a great choice.
For example, old doors can be transformed into unique fence panels with some support beams and a weather-resistant finish. You can also hang bicycles between posts for a fun and quirky look.
Wooden pallets are another cost-effective option that add rustic charm. Consider repurposing old skis or ironing boards for a creative, distinctive fence.
These ideas not only save money but also promote sustainability!
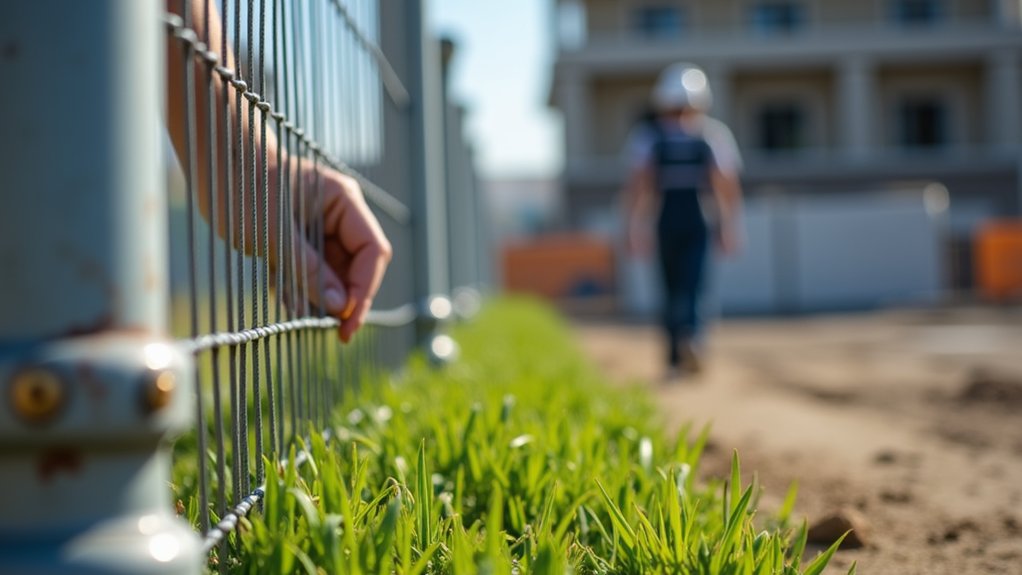
Ensuring Stability and Security in Your Temporary Fence
To ensure your temporary fence is stable and secure, especially for protecting your space or containing pets, consider these strategies:
- Stability Solutions:
- Block Bases: Provide a sturdy foundation.
- Jersey Barriers: Offer weight and stability.
- Sandbags: Easy to use and effective for extra weight.
- Effective Bracing:
- V-Bracing: Strengthens the fence against wind.
- Triangle Bracing: Distributes force evenly.
- Wind Braces: Help prevent tipping in gusty conditions.
- Security Enhancements:
- Anti-Lift Brackets: Prevent fence panels from being removed.
- High-Security Materials: Use tougher materials for added protection.
- Intrusion Detection Systems: Alert you to any breaches.
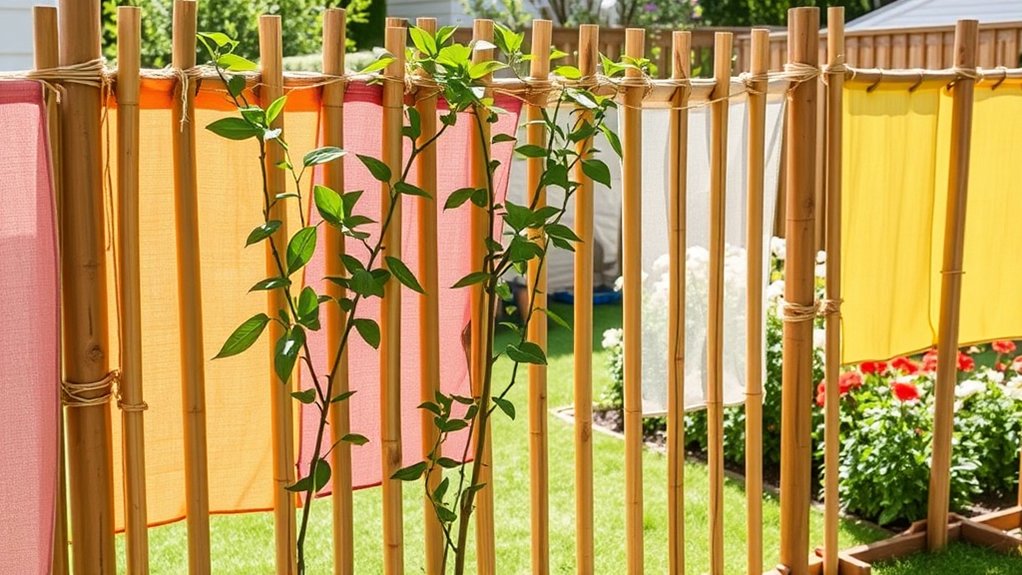
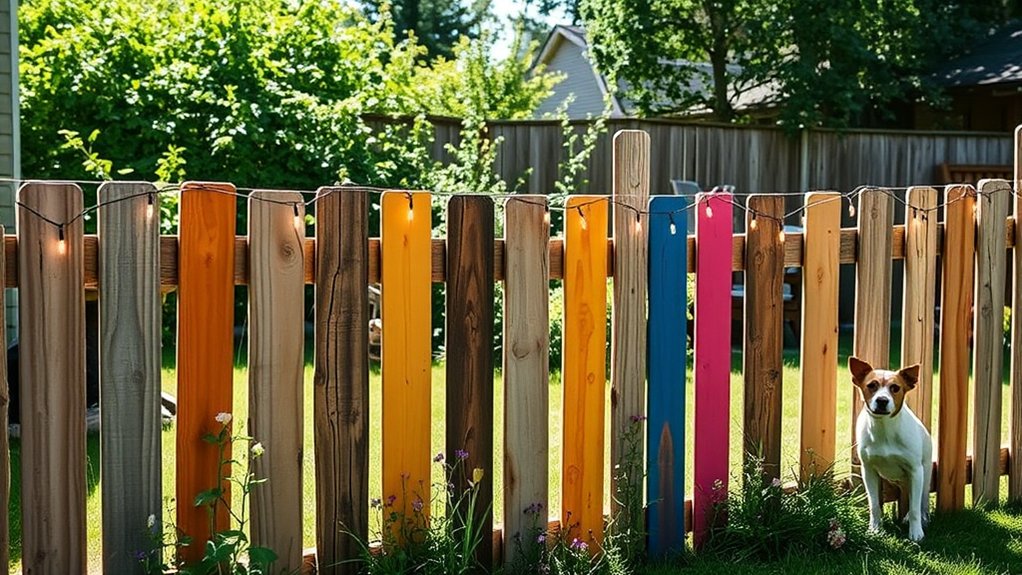
Aesthetic Considerations for DIY Fencing Projects
When planning a DIY fencing project, consider aesthetics to enhance your outdoor space. Here are some straightforward ideas:
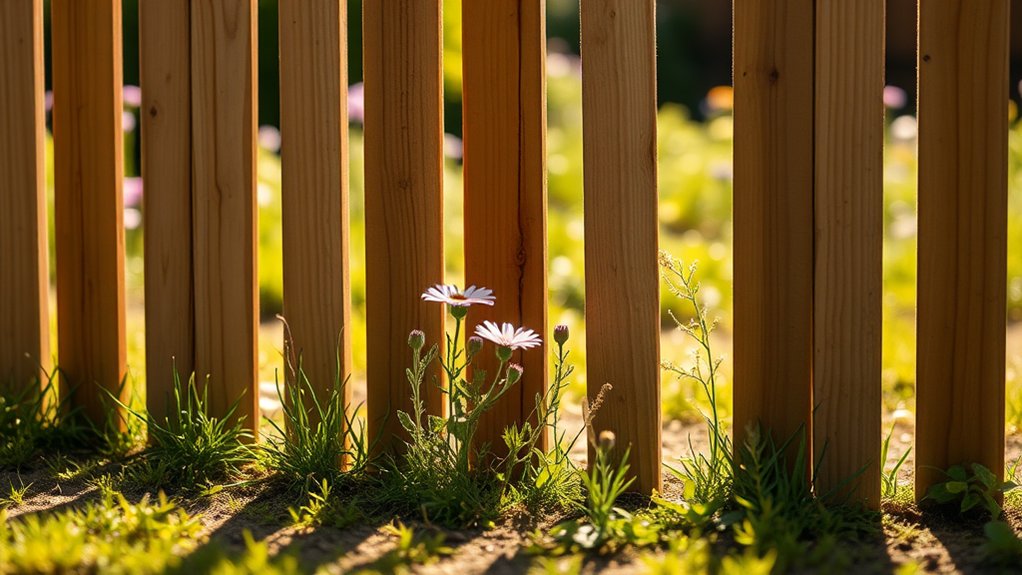
- Materials: Use bamboo or reclaimed wood for a natural look.
- Colors: Match your fence to your landscape—opt for bright panels for visibility or neutral tones for a more subtle appearance.
- Decorative Elements: Add personality with garden mesh or removable planters.
- Layouts: Design your fence to follow the contours of your garden for a unified appearance.
These choices can help create a visually appealing barrier that complements your environment.
Local Regulations and Guidelines for Temporary Fencing
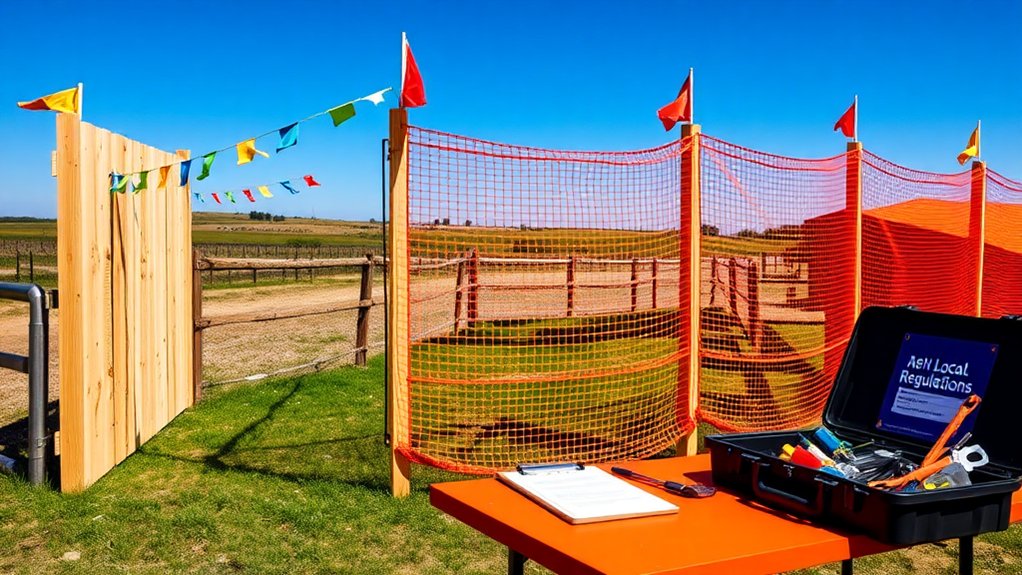
When setting up a temporary fence, it’s crucial to know your local regulations. Start by getting any necessary permits from local authorities.
Check material specifications and height limits to ensure your fence complies with community standards. Make sure your fence doesn’t block sightlines or create hazards.
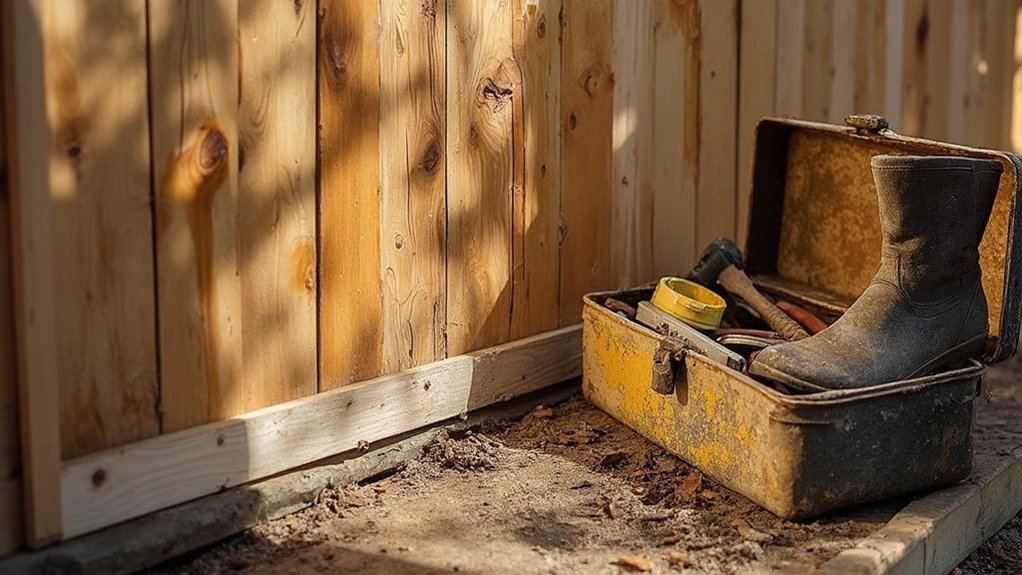
Regularly inspect for damage or safety issues. If you’re unsure about installation, hiring professionals can ensure everything is safe and up to code.
Frequently Asked Questions
What Tools Do I Need for DIY Temporary Fencing Projects?
For DIY temporary fencing projects, you’ll need a hammer, screwdriver, and tape measure for installing posts. Choose materials like wire, panels, or mesh based on your needs. For example, wire is great for pet containment, while panels offer more privacy.
How Long Does It Take to Set up a Temporary Fence?
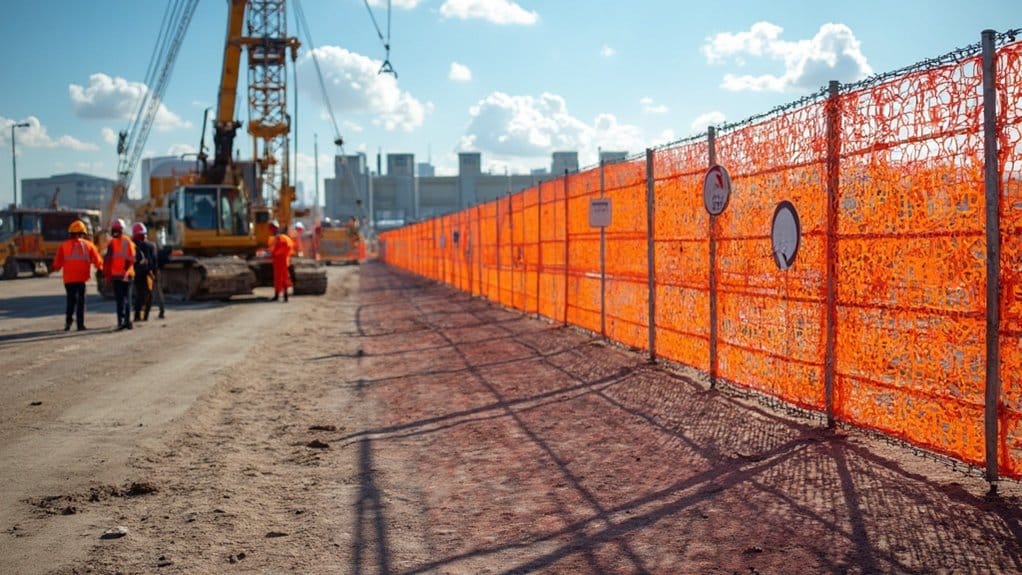
When installing chain-link fencing in a construction area, you can typically set up about 250 feet per hour. However, if you encounter rocky ground or bad weather, this could slow you down significantly, impacting how long the job takes.
Can Temporary Fencing Be Used Indoors?
Yes, temporary fencing can be used indoors for purposes like crowd control and safety barriers. Just ensure it’s stable and made of suitable materials to avoid any damage to your space.
What Are the Best Practices for Maintaining Temporary Fences?
To maintain your temporary fence, check its stability regularly, especially during windy or rainy weather. Remove debris, apply weather-resistant coatings, and ensure connections are tight. A bit of maintenance now can prevent bigger problems later, keeping your space safe and secure.
How Can I Ensure My Temporary Fence Is Environmentally Friendly?
To make your temporary fence environmentally friendly, opt for sustainable materials such as recycled plastic or biodegradable options. These choices help reduce waste and lower your ecological footprint while still being durable and effective.
Conclusion
DIY temporary fencing is a smart, budget-friendly option for short-term needs. Many homeowners choose DIY projects to save money and personalize their spaces. With easily accessible materials, you can construct a fence that meets your needs. Just ensure it’s stable and complies with local regulations, and you’ll have an effective and attractive fence in no time!
Uncover essential solutions to common fence installation problems that could save you time and money—find out how to avoid costly Read more
In exploring the best temporary fencing options for construction sites, discover which solutions ensure security and compliance while enhancing site Read more
Learn essential tips for maintaining temporary fencing that can extend its lifespan and prevent costly repairs—discover the best practices for Read more