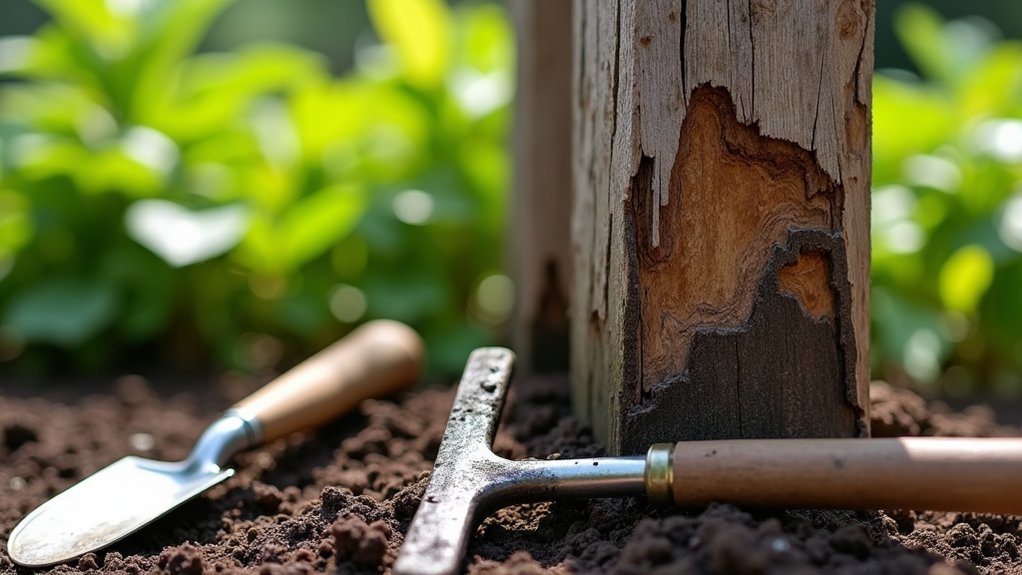
To tackle fence rot, start by checking for signs like dark spots, soft wood, or unstable posts. If you find rotting, use a reciprocating saw and wood chisels to cut out the damaged areas. Improve drainage by raising the posts and adding gravel to keep moisture away. Regularly apply wood preservatives and inspect your fence once or twice a year to catch any problems early. Following these steps will help keep your fence strong and looking good.
Key Takeaways
- Check your fence regularly for signs of rot like dark spots, soft wood, and loose posts.
- To remove rotting wood, use a reciprocating saw and chisels for clean cuts, minimizing damage.
- After removal, treat the area with fungicide to kill spores and apply wood preservatives for future protection.
- Ensure good drainage by raising posts and adding gravel to prevent water buildup.
- Regularly maintain your fence by staining it every 2-5 years and fixing issues promptly to prolong its life.
Understanding the Causes of Fence Rot
Fence rot can be caused by several factors, including environmental conditions, pests, and design issues.
Moisture from rain and snow can lead to fungi growth, especially if your fence doesn’t have good air circulation. If fence posts are buried too deep in wet soil, they soak up moisture, speeding up decay. Excess moisture creates an ideal environment for fungi to thrive, further exacerbating the problem. To mitigate these effects, choosing quality materials for your fence can significantly enhance its durability and resistance to rot.
Pests like termites can also weaken your fence.
To prevent these issues, use waterproof coatings, ensure proper drainage, elevate posts, and allow for airflow.
Types of Fence Rot and Their Impact
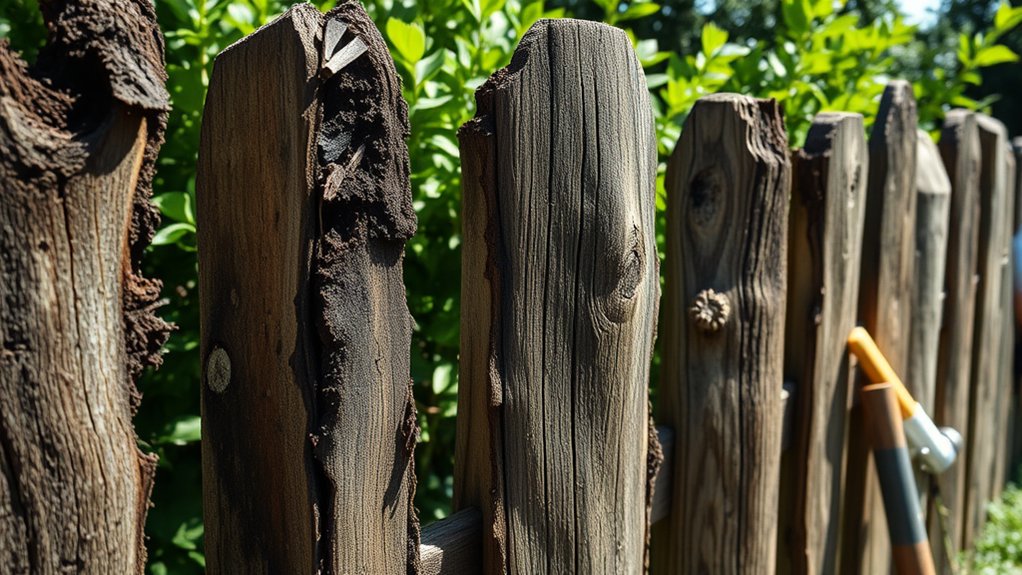
Knowing the types of fence rot is crucial for keeping your wooden fences strong. Each type has its own issues and effects.
| Type of Rot | Characteristics | Impact on Fences |
|---|---|---|
| Wet Rot | High moisture, fungal growth | Fast structural decay |
| Dry Rot | Lower moisture, cracking wood | Gradual but serious damage |
Wet rot often starts at the bottom of the fence where water collects, while dry rot can happen even if it’s not very wet. Both weaken the fence, risking a collapse if not fixed. To keep your fence stable and avoid expensive repairs, regularly check for rot and ensure good drainage and airflow. Additionally, wet rot is commonly associated with the fungus C. puteana, which thrives in conditions of excessive moisture.
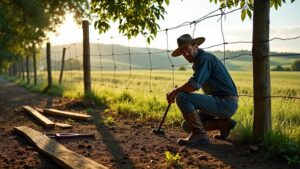
Identifying Fence Rot Early
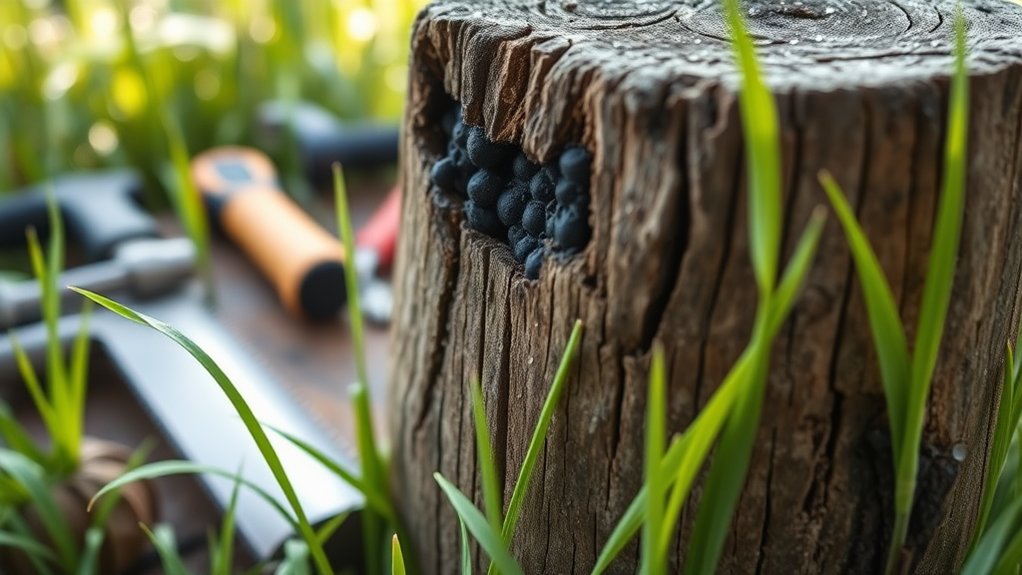
How can you spot fence rot early? Start by checking for dark spots near the ground—these often indicate trouble.
If the wood feels soft or crumbles when you press it, that’s a sign of rot. Wobbling posts usually mean rot at the base.
Look for greenish-black patches of mold or vertical cracks that allow moisture in. Areas most at risk include the bottom of posts and shaded spots where water collects. To prevent rot, ensure good ventilation and conduct regular inspections to catch issues early and keep your fence strong. Prolonged exposure to rain and snow can significantly contribute to the decay of your fence, so it’s crucial to monitor these conditions closely.
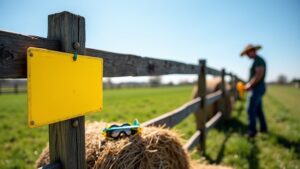
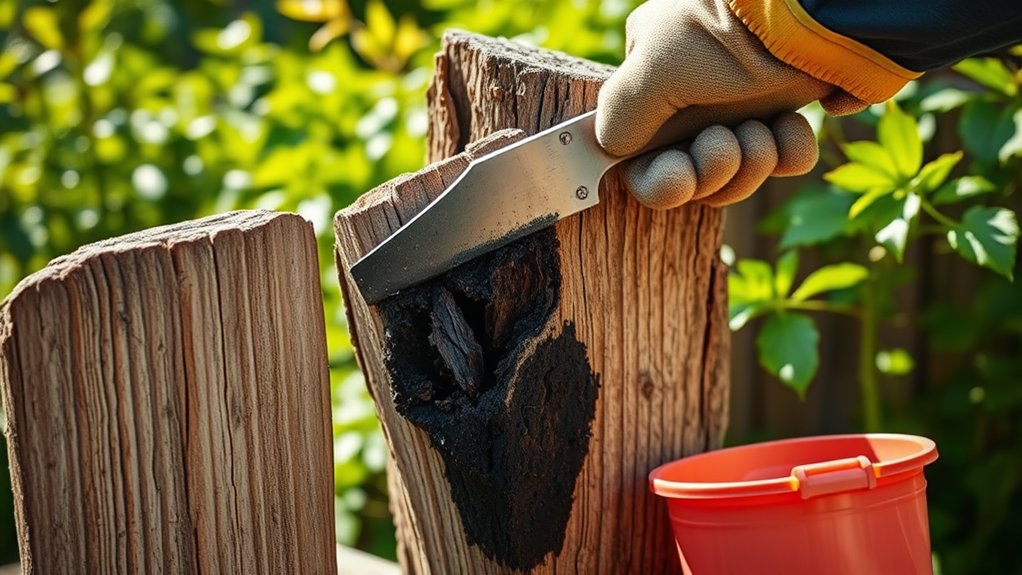
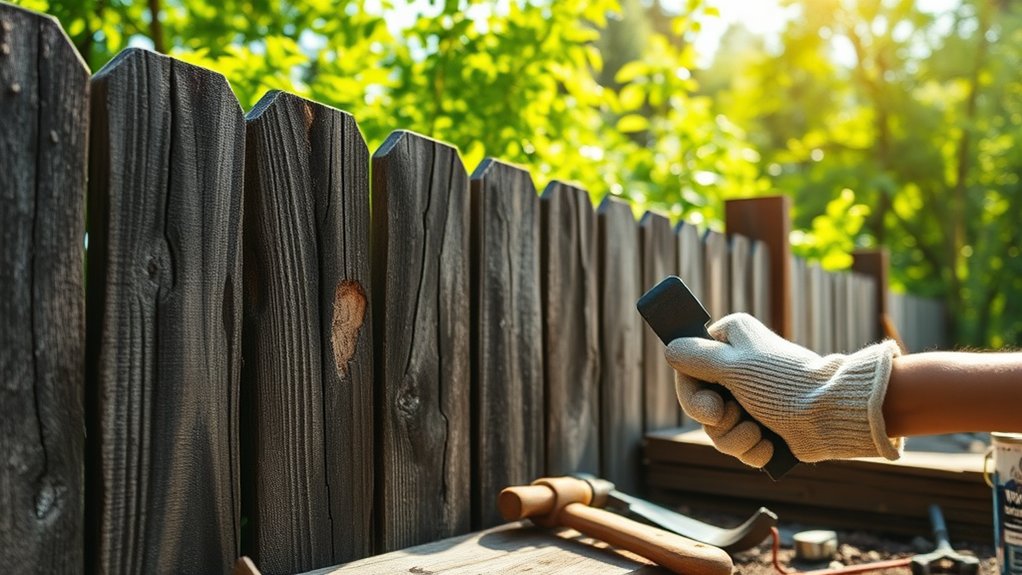
Tools Needed for Removing Rotting Wood
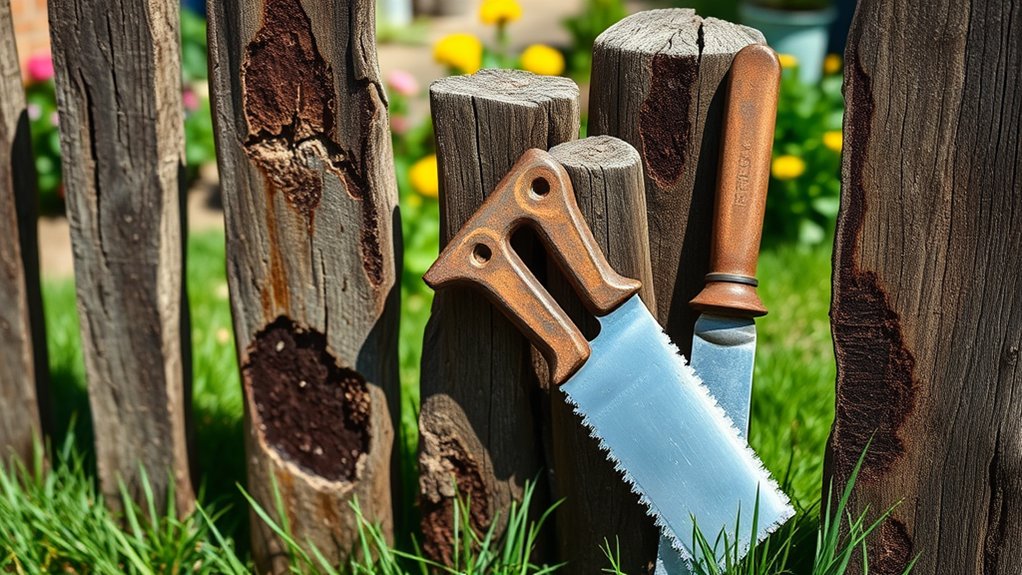
To remove rotting wood, you’ll need basic tools like a reciprocating saw and a framing hammer.
Protect yourself with safety glasses and gloves to avoid injury from debris.
Finally, have your repair and treatment supplies ready to prevent future rot.
Essential Cutting Tools
When removing rotting wood from your fence, having the right cutting tools is crucial for both efficiency and safety. A reciprocating saw is great for tearing down sections, while a circular saw is ideal for thicker pieces.
For precise cuts in tight spots, a hand saw and a wood chisel set are useful. Don’t forget a pry bar for stubborn pieces.
Use proper cutting techniques for clean cuts and minimal damage. Regularly sharpen blades and maintain your tools to keep them in good shape.
With the right tools and techniques, you’ll make quick work of your fence repair project.
Protective Gear Required
Removing rotting wood from your fence requires the right tools and safety gear.
It’s important to protect yourself from sharp edges, falling debris, and harmful materials.
Here’s what you need:
- Safety glasses to protect your eyes from splinters.
- Work gloves to shield your hands from sharp surfaces and nails.
- Dust mask or respirator to avoid inhaling mold and dust.
Using this protective gear is a smart move to keep yourself safe during this potentially dangerous task.
Repair and Treatment Supplies
To effectively tackle rotting wood in your fence, having the right tools is essential. Start with specialized fence removal tools, like those from Mr. Fence, to safely extract damaged posts.
Next, consider a rot repair kit, such as the EndRot System, to preserve your posts and stop further decay. Use post protection sleeves, like Postsaver Pro-Wrap, for long-lasting rot prevention.
Regular maintenance is crucial, so invest in equipment for staining and sealing your wood to reduce rot risk. Don’t forget power tools, wood strippers, and safety cutsaws for efficiently replacing rotten sections.
With these supplies, you can successfully restore your fence.
Step-by-Step Guide to Removing Rotting Wood
Removing rotting wood from your fence is crucial for its stability and lifespan. Here’s a straightforward guide:
- Check the Damage: Inspect how deep the rot goes to decide if you need a full replacement.
- Get Ready: Assemble tools like a reciprocating saw and a hammer. Don’t forget your safety gear.
- Take Out the Post: Cut the post above and below the rails, then wiggle it free. If needed, use a shovel for extra leverage.
Make sure to clear away debris and check nearby areas for any additional damage.
This helps reinforce your fence, ensuring it remains strong for years.
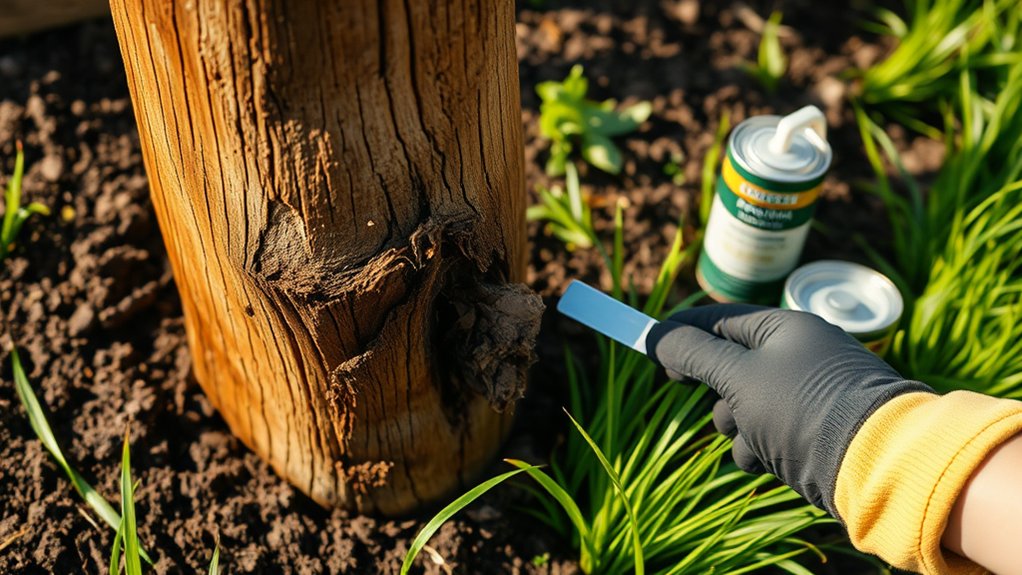
Treating Remaining Wood After Removal

After removing the rotting wood, treat the remaining areas to prevent future issues.
First, apply a fungicide to eliminate any remaining spores.
Next, use a wood preservative for extra protection.
Finally, sand the surfaces smooth for better adhesion of your treatments.
Apply Fungicide Treatment
To protect your fence from fungal infestations, it’s essential to apply a fungicide after removing any rotted wood. This not only eliminates existing fungi but also prevents future growth, helping your fence last longer.
Here are three important tips for applying fungicide:
- Prep the Surface: Clean the wood thoroughly so the fungicide sticks well.
- Use the Right Amount: Follow the product instructions for the best results.
- Choose Wisely: Opt for safer fungicides when you can, and stick to EPA guidelines for safe use.
Use Wood Preservative
After treating any fungal issues, it’s important to preserve your fence’s wood. Start by choosing a wood preservative. For example, Barrettine Premier Wood Preservative protects against rot, while DEFY Crystal Clear Wood Stain offers UV protection. If you prefer non-toxic options, Eco Wood Treatment is a good choice.
Before applying the preservative, clean the surface thoroughly to remove debris and old finishes. Once dry, use a brush, roller, or sprayer to apply the preservative evenly, paying special attention to ends and joints.
Multiple coats increase durability, so ensure each layer dries completely before adding the next. Regular inspections and timely reapplications will help keep your fence protected from moisture and decay.
Sanding for Preparation
Sanding is essential for prepping your wood fence for a new finish, making it smoother and more durable. Follow these simple steps for effective sanding:
- Clean the Fence: Start by pressure washing to remove dirt and old stain.
- Choose Sandpaper: Use 150-grit sandpaper for initial sanding to smooth out rough spots.
- Sanding Tools: An orbital sander works well for larger areas. Don’t forget to wear a respirator to avoid dust inhalation.
Make sure the wood is completely dry before you start sanding, allowing at least 24 to 48 hours. Regular cleaning and inspections are also crucial for maintaining the overall longevity of your fence.
This careful preparation revitalizes your fence and helps achieve a lasting finish. Take your time and enjoy the process!
Choosing the Right Wood for Your Fence

Choosing the right wood for your fence is crucial for its durability and appearance. Cedar and redwood are top picks due to their natural resistance to rot and insects.
Cedar has oils that enhance its durability, while redwood can last 20-30 years thanks to its tannins.
If you’re on a budget, consider pressure-treated pine; it’s affordable and lasts 20-40 years because of its chemical treatments.
For a distinctive look, cypress turns a beautiful silver-gray over time, although it doesn’t last as long.
Premium options like Ipe and Black Locust are very durable but come at a higher cost.
Make your wood selection carefully to ensure your fence looks good and stands the test of time. Additionally, consider durability of vinyl fences as it offers a long-lasting alternative without the maintenance issues associated with wood.
Installation Techniques to Prevent Rot
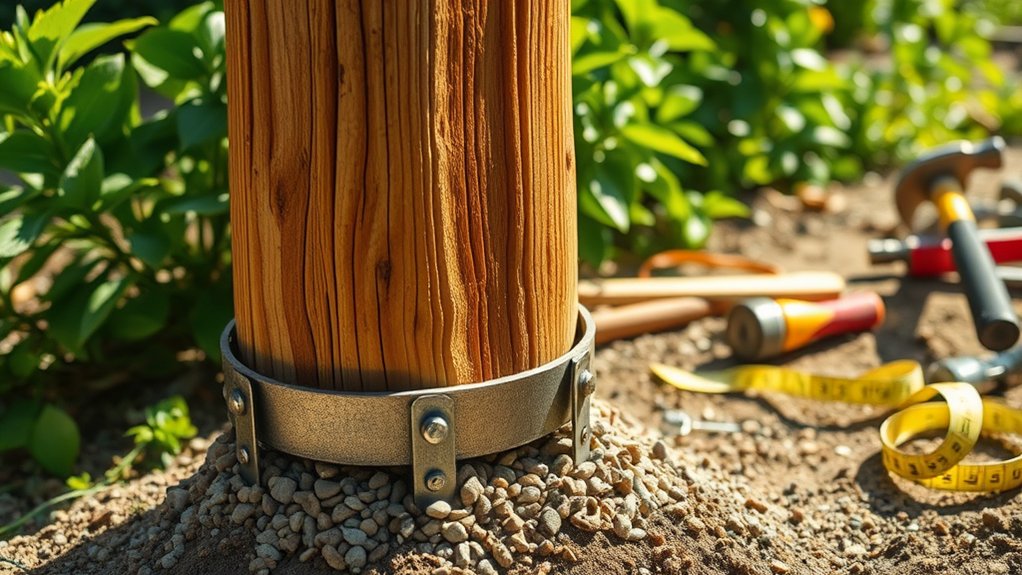
When installing a fence, using the right techniques can significantly reduce the risk of rot. Here are three key methods to consider:
- Elevated installation: Use brackets to mount wood posts above ground, preventing them from touching the soil.
- Waterproof wrapping: Apply heat-shrunk rot sleeves around the posts for a strong moisture barrier.
- Gravel layer: Surround the posts with gravel underground to improve drainage and keep moisture away.
These techniques can extend the life of your fence and minimize the need for repairs or replacements.
Investing in these methods now will lead to a more durable fence for years to come.
Importance of Proper Drainage

Proper drainage is crucial for the longevity and stability of your fence. It helps prevent soil erosion, keeping the ground stable and ensuring your fence stays upright.
By managing stormwater, you also protect against water contamination and support healthy landscaping, which boosts plant growth and biodiversity.
Additionally, good drainage prevents excess water from damaging foundations and eases the burden on public infrastructure, reducing flooding risks in your area.
Investing in effective drainage systems not only protects your fence but also contributes to a healthier environment and a stronger community.
Maintenance Tips for Longevity

To keep your fence in top shape and extend its life, follow these simple tips:
- Wood treatment: Apply a quality stain or sealant every 2-5 years to protect against moisture and UV rays.
- Moisture control: Keep plants and water sources away from your fence to prevent rot and mold.
- Regular inspections: Check your fence once or twice a year for damage, fixing any loose boards or rust spots right away.
These steps will help ensure your fence remains sturdy and attractive for years to come.
Regular Inspections and Signs of Trouble
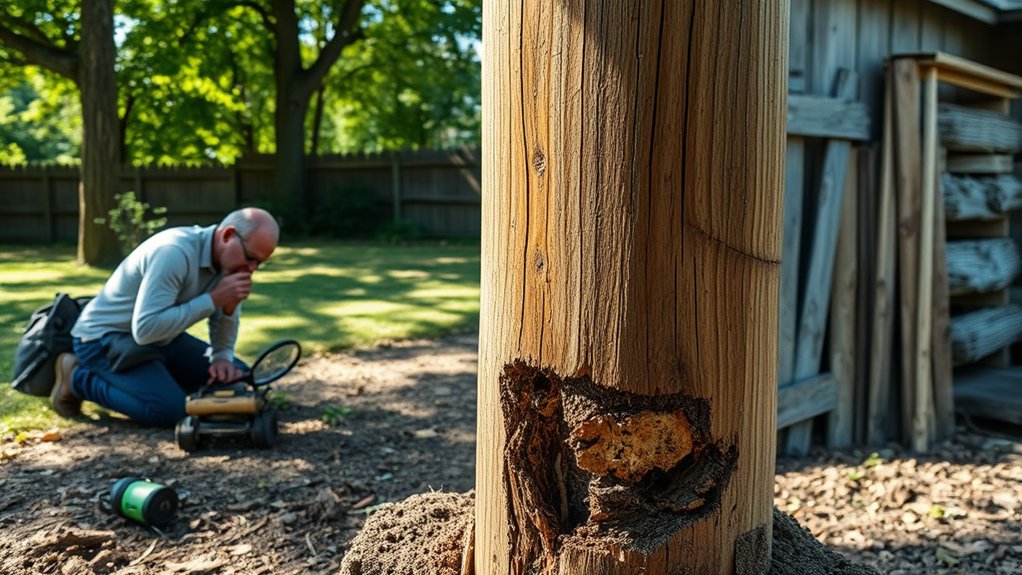
Regularly inspect your fence to keep it in good condition.
Check for signs of rot, such as soft spots, discoloration, and crumbly wood.
Catching these issues early can help you avoid bigger problems later and extend your fence’s lifespan.
Visual Inspection Techniques
Regularly inspecting your fence is crucial to catch issues early.
Here’s how to do it effectively:
- Check the Fence Line: Look for broken panels, rust, or rot—don’t overlook small damages.
- Test Stability: Shake posts and press on wooden panels to find soft spots that may signal rot.
- Examine Hardware: Inspect fasteners, hinges, and latches for rust or looseness to ensure they work properly.
Common Rot Indicators
After inspecting your fence, watch for common signs of rot.
Soft wood that crumbles or feels spongy indicates decay. Dark spots or patches suggest moisture damage.
Look for mold or mushrooms, as they can be harmful. Deep cracks and flaking wood show structural issues.
If the fence leans or sags, it may be unstable. Regular checks and quick action are key to keeping your fence strong and looking good.
Best Practices for Ongoing Protection
To protect your fence from rot, focus on quality materials and regular maintenance. Here are some key practices:
- Use Pressure-Treated Wood: This type of wood is treated to resist moisture, decay, and insects, giving it a longer lifespan.
- Apply Wood Preservatives: Regularly use preservatives to guard against moisture and pests.
- Inspect Seasonally: Look for damage at least twice a year to catch problems early and avoid expensive repairs.
Frequently Asked Questions
How Can I Tell if My Fence Is Worth Repairing?
To decide if your fence is worth repairing, inspect it carefully. Check for signs like major rot, leaning posts, or widespread damage. If more than 20% of the fence is affected, it’s often better to replace it instead of repairing.
What Are the Costs Associated With Fence Rot Repair?
Repairing fence rot can cost anywhere from $180 to over $4,000, depending on how severe the damage is. The type of materials you use matters too—untreated wood is more prone to rot, which can lead to higher repair costs and more complex fixes.
Can Fence Rot Affect My Property Value?
Yes, fence rot can significantly lower your property value. A damaged fence makes your home less appealing, which can turn away potential buyers and lead to lower offers. For instance, a rotting fence can give the impression that the property isn’t well-maintained. Keeping your fence in good shape is crucial for maintaining its value.
Are There Warranties Available for Rot-Resistant Fencing Materials?
Curious about warranties for rot-resistant fencing materials? You can expect different coverage levels. Treated wood often comes with limited warranties, while composites may offer lifetime options. This helps protect your investment from decay and damage.
How Often Should I Replace My Fence Entirely?
Replace your fence when you see major wear, like frequent repairs or rotting. Wooden fences usually last between 10 to 20 years, so check them regularly to catch issues early.
Conclusion
To prolong the life of your fence, tackle rot early. Untreated wood can lose up to 80% of its strength in just a few years due to moisture. Regularly check your fence and ensure proper drainage to prevent rot. These simple steps not only protect your investment but also keep your property looking good. Don’t delay—take action today!

Harness the charm and durability of wooden fencing—discover the top types that suit every home style and elevate your outdoor Read more

Find out how vinyl fencing combines affordability and durability, transforming your property while leaving you curious about its advantages over Read more

Create a stunning, personalized barrier with hybrid fencing—discover how combining materials can elevate your outdoor space in unexpected ways. Explore Read more